Posts Tagged ‘pompom’

from the north country: fox and owl

It’s been so fun to read these wintry posts.  I like winter for many of the same reasons as my fellow guest bloggers but  I think mostly  I like it out of necessity…otherwise I’d be crabby straight through from October to May.  Getting outside even just for a bit is a high priority for our family but there are some days (like today) up here in Minnesota where it’s just too cold to have much fun outside.  On these days crafts and art projects are in order, so here is a fun sewing project for grown-ups and young sewers alike:

A Stocking Cap for a Small Friend (my first tutorial!)

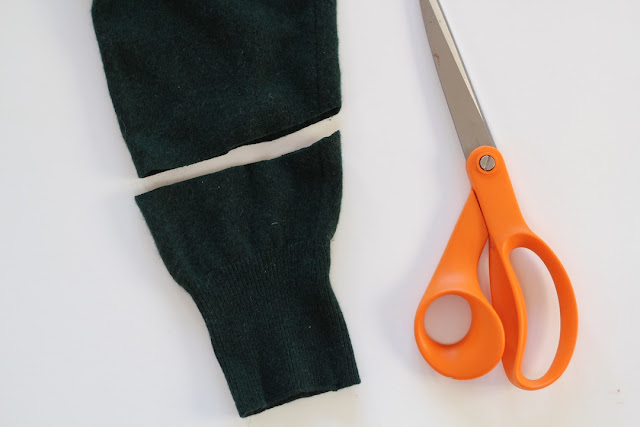
Cut off the cuff and a couple of inches of sleeve from an old sweater.  A sock would work very well too.


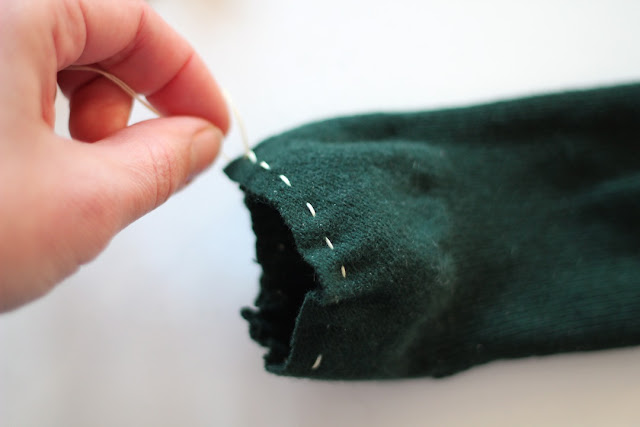
Turn the piece inside-out and do a running stitch about 1/4″ from the cut edge with strong thread all the way around the top.  Pull tight and secure with a knot.

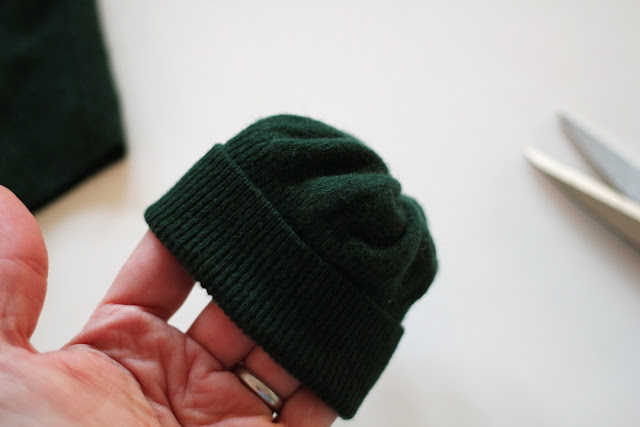
Turn it right side out and fold up the cuff a bit…hey look, it’s already so hat-like!

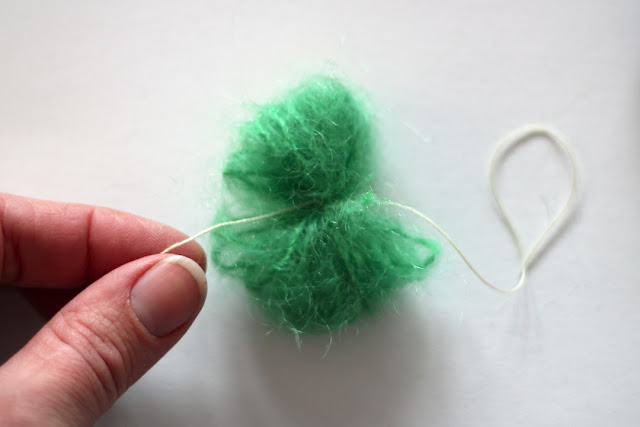
Now make a little pom pom.  There are lots of places to lean how if you have never made one before…like here.

I like to felt my pom poms a bit by rubbing them between my hands in warm soapy water.  This step is not necessary but I think it looks super cute and helps scale down your pom pom.  The yarn must be wool in order to do this step.

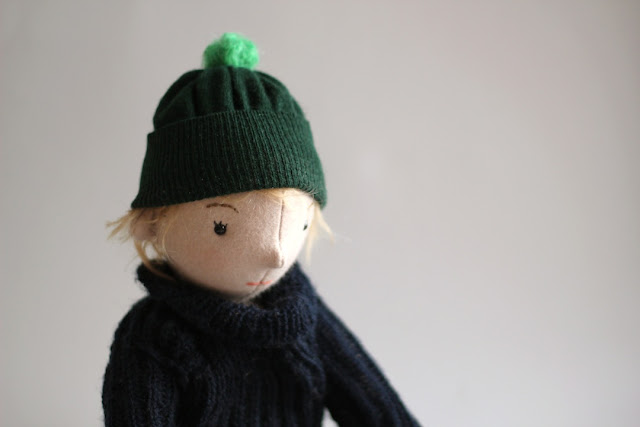
Now stitch the pom pom to the top of the hat.

finis

<<<<<<<<<<<<<<<<<<<<<<<<<<<<<<<<<<<<>>>>>>>>>>>>>>>>>>>>>>>>>>>>>>>

I’m Erika from Fox and Owl.  I make dolls and animals and drawings and have a little blog where I talk about art and craft and show lots of gratuitous pictures of my adorable children.  Come visit me there sometime!

Thank you Meg for letting me be a guest on your excellent blog!

straw and pompom garland tutorial

the straw and pompom garland hanging on a mirror

a straw and pompom garland

I ordered a bunch of natural straws from the lovely online shop, Imagination Childhood (they call them swedish straws). I bought them for another project (thursday’s tutorial!), but I loved working with them so much I wanted to make a simple garland with them too. Obviously this can be done with plastic straws or even some pretty paper straws, if you don’t have any swedish straws lying around. But the natural straws are, well, natural and because of the they are curved slightly and the colors are mottled and the surface uneven, all of which makes them pretty beautiful.

materials

materials for make a pompom and straw garland

To make this garland I paired the natural color of the straw with cream colored yarn, which is a little on the understated side (for me). I think bright, almost neon, pompoms in christmas light colors would look pretty fantstic too.

  • natural straws
  • bowl or pan in which the straws can lie flat
  • yarn
  • button thread (or any heavy duty thread)
  • yarn needle

directions

First you have to make some pompoms. If you have a pompom maker you are good to go, if you don’t that’s fine too–just use this simple tutorial over at Bella Dia for making pompoms using only your fingers. You can, of course use the little store bought pompoms too.

making pompoms

While you are making your pompoms put the natural straws in some very hot water to soak. This makes the straw less brittle and less likely to split when you cut them. They should sit about an hour–enough time to make a bunch of pompoms. When you are ready to use them, take them out from the water, drain and wipe them off gently.

soaking the straws

To cut the straws, make a mark on one straw every two inches. If your yarn needle is shorter than two inches, make your straws a little shorter too–this will make things a little easier when you make the garland. Then take about 5 or 6 straws, including the one you marked, in your hand and line them up. Then cut. Some might go flying, but if they are still a little damp they shouldn’t go too far.

cutting natural straws

Now take a long piece of thread, knot it, and stick it through a pompom. It might take a few tries before you find the right spot where the knot doesn’t go right through. Then alternate pompom, straw, pompom, straw. Finish with a pompom and hide the knot in the yarn. If you want to keep going but ran out of thread, ready another needle and thread (knotted) and insert the need where the last straw and pompom meet, then just keep going.

pompom garland on the tree

variations

Pretty paper stars also look nice between the natural straws. Popcorn might work, dried orange slices would look nice.  And I bet you can think of a bunch of other things too.

a christmas present for my lovely readers: a week of handmade ornament tutorials!

I will be accepting advertisers  on Elsie Marley starting January 2011. If you are interested in reserving a spot please email me and we can discuss the specifics! Thanks! elsiemarleyblog@gmail.com