Posts Tagged ‘guest post’

cooking the books at things for boys

cookbooks from the library


Abby from things for boys asked me to be a part of her Cooking the Books series. The idea is that we all have (or in my case check out from the library) an enormous amount of cookbooks, but we don’t always cook the recipes in them. I love a good kick in the pants challenge like this series! Head on over to Abby’s blog to see which book I picked from that huge stack!

kcwc guest post: kelli from true bias

I only discovered Kelli’s blog, true bias,  a little while ago, but once I did I was hooked. She sews beautiful garments for herself–we’re talking handmade blazers here, people. But every so often some beautiful little clothes she made for her daughter would pop up on her blog. So I asked if she would be interested in kcwc. Lucky for us she said yes. I mean just look at what she did with a tee shirt pattern! 

kelli from true bias

I was really excited to be part of kcwc this year.  I am a bit of a selfish seamstress and love sewing for myself, so it’s good when I get a bit of an extra push to sew for my daughter.  I just got my first serger about a week ago so sewing up some knits with Rae’s Flashback Skinny Tee pattern was a perfect way to break it in.

I used the skinny tee pattern to make two boyfriend cardigans for my 2 year old daughter.  It was a really easy conversion.  I lengthened the front and back pieces by about an inch.  Otherwise the back and sleeves were left exactly the same.  I then cut the center front of the front piece and cut out a deep v at the neckline.  I added a 2 inch wide band to the bottom of the cardigan and a 1 inch band all the way from the hem, around the neckline, and back down again to the hem.  I added a few button holes and cute buttons, a little edge stitching and there you have it, a boyfriend cardigan to get us through chilly spring days.

edit to add- I asked Kristin how she sewed buttonholes on knit fabric without it turning out a disaster (like when I do it). Here’s what she said:  I found that if I put a bit of interfacing on the backside the buttonhole went much better.  Then you can just cut around the buttonhole to get rid of the excess.

I hope you will try some too.  It took me about 4 hours start to finish to make both of them on my serger.  I am super happy with the outcome.  Can’t wait to be inspired by all of you next week.  I will be sewing along as well.

kcwc guest post: kristin from skirt as top

kristin from skirt as top

Kristin hasn’t been blogging for all that long, but she quickly became the hot new blogger because wow! can she sew! She sews for her baby boy, her twirling little girl, and now herself (check out that awesome top up there).  For that daughter that never stops dancing, Kristin turned the Flashback Skinny Tee pattern into a dress with extra ruffly sleeves.  It is amazing what one pattern can do. Like Heather said yesterday, you could use this one pattern for all your kcwc sewing needs!

IMG_0296

When Meg contacted me with her idea to have a bunch of gals sew Rae’s flashback skinny tee pattern, I immediately knew what to do – remix it into a dress!  My daughter is almost four and wants to wear a dress every day.  She considers them essential for dancing, her most favorite activity.  I like sewing dresses, especially when they’re washable, comfortable, and easy for her to play in (I’m a practical mama).  Jersey knit is the perfect material for all of that!

IMG_0295

I made this simple flutter sleeve tank dress with an XXL Old Navy shirt from the clearance rack plus scraps of a t-shirt from another project.  I have trouble finding good knit fabric and I almost always end up using repurposed sale rack men’s shirts – as big as I can get ’em!  Extra bonus points if I can preserve the factory hem, though Rae offers great hemming tips within the pattern as well.

Untitled

I extended the hemline of the 3T skinny tee pattern about 6″ (use a dress you already have as a guide), and made it A-line by using a straight edge, starting at the armpit and finishing about 3″ from the side of where the original pattern would be if it were dress length.  I trimmed the tops of the shoulder seams about 1/2″ (though I might recommend a little more), bound the armholes per Rae’s pattern instructions, and widened the neckline a bit.  I also added a little pocket for extra detail.

IMG_0289

For the flutter sleeves, I added 5″ to each armhole measurement and cut two strips to that length, each 1.5″ wide.  I rounded the ends and gathered them along the longer edge.  I attached each sleeve to the underside of the armhole, topstitching both on the outside and inside edges of the binding to catch it securely.  I left the edges raw, since knit doesn’t fray.

IMG_0276

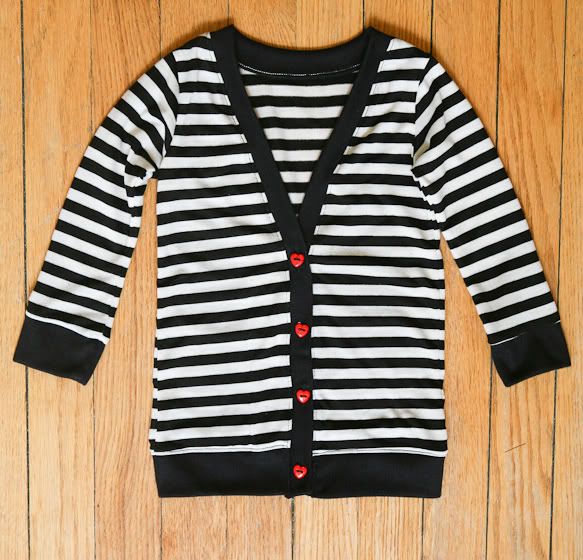
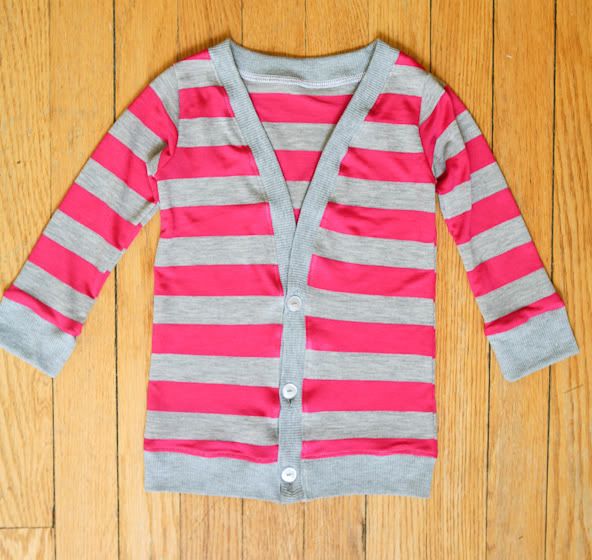
The skinny tee pattern is a quick sew and so versatile, it’s great for adding your own customizations!  I first sewed a “regular” version here as practice before remixing it into a dress.

Thanks for designing such an awesome pattern, Rae, and thanks for having me, Meg!  I’m so excited to sew along and be inspired next week!  Come check out what I’m making over at skirt as top.

kcwc guest post: meg from sew liberated

meg from sew liberated

I started following Meg’s blog, Sew Liberated, back when she was a Montessori teacher in Mexico. She’s moved back to the states and had a few boys since then, but her loving, teacherly voice is always present. Meg’s patient, creative Montessori spirit shows through not only in her parenting, but in her home and sewing too. If you haven’t seen her latest book, Growing Up Sew Liberated, do yourself a favor and pick up a copy!

matchy matchy skinny tee + basic pocket pants

At first, I had visions of using one of his dad’s old tee shirts to make him an indie-chic Flashback Skinny Tee. But then Finn entered the sewing studio. And, as we all know, almost-three-year-olds have very strong opinions about certain things. (Well, I’ll be honest – at first, he just wanted to cut the car fabric. Cutting, his all-time favorite activity, was just what I was about to do (with another fabric) so we went ahead and cut the car fabric together for his shirt.) In the end, I can most certainly say that this was our first creative collaboration.

matchy matchy skinny tee + basic pocket pants

He handed me pins, pulled out pins, and trimmed threads. Thanks to Rae and her super straightforward pattern, the boy and I had a lovely time together. I now have a sewing assistant.

matchy matchy skinny tee + basic pocket pants

Why stop at the tee, though, when the tee came together in less than an hour? Finn needed a pair of shorts, so I shortened the Basic Pocket Pants pattern from my book Growing Up Sew Liberated and altered the waistband so that I could use the knit fabric instead of the conventional woven-with-elastic method. I attached the stretchy knit waistband in the same way that you attach the collar to the Skinny Tee.

matchy matchy skinny tee + basic pocket pants

The boy and his pockets, which are always filled with sticks and weeds.

matchy matchy skinny tee + basic pocket pants

For Finn’s Skinny Tee, I opted for the 1 inch cuff finish, and used my all-time favorite lazy person’s finish for the shirt’s hem: Lite Steam-a-Seam2. Just apply the strip close to the raw edge on the wrong side of the fabric, remove the paper, fold up the hem, finger press, then make the bond permanent by pressing with an iron.

matchy matchy skinny tee + basic pocket pants

Happy sewing, everyone!

kcwc guest post: heather from well crafted

It’s hard to really get a sense of someone over the interwebs, but I think if Heather lived anywhere near me I would be on her doorstep quite often. She does so much, so well: mothering, cooking, sewing, knitting, dying, and a good deal more. All of it is done with a simple, “hey what if I did this” attitude.  Then whatever she ends up making is perfectly stunning. You can see all of her work on her blog, well-crafted.

heather from well-crafted

Hey there! I’m honored to be included as a guest here on elsiemarley and am really looking forward to KCWC next week. My plan is to stick with making things my girl will really need and wear this summer. Since she pretty much only lives in knit tops and leggings, it was perfect that I got to give the Flashback Skinny Tee pattern a whirl! Because the pattern only goes to size 5, I had originally thought I’d give away the finished tee but it ended up fitting L perfectly and so we are both happy about that!

FBSTforKCWC.03

This pattern is an excellent basic. I stuck with a fairly straightforward version of it, with the only changes being the band at the bottom (really into that right now) and short sleeves. Oh the things you could do with this: asymmetrical hems, boat-neck, flared out and turned into a dress with elastic at the waist, shorten it and add a dirndle skirt (maybe using a woven). The possibilities are endless.

My big box of knits got dragged out from under the cutting table and despite it’s being full of beautiful col0rs, we went with this white one for two reasons: 1. It was the softest. 2. I had white thread in my serger. Three cheers for laziness!! To spice things up we did a little freezer paper stencil design on the front. I cut out tiny triangles in a grid pattern and we took turns painting each row to create a rainbow effect. We used this fabric ink instead of paints which turned out really nice.

FBSTforKCWC.02

FBSKforKCWC

It was good to sew with a knit fabric again—it’s been a while for me.  Although I am still doing battle with the “ripple effect” around the sleeve holes, I refuse to let that get in my way of creating a summer wardrobe full of knits for my comfort-loving girl! Maybe I’ll even use this pattern as the basis for all the clothes I make next week. That might be cool…

Don’t forget to check back each day this week for more KCWC inspiration.

Thanks again for having me Meg!