Posts Tagged ‘tutorial’

bunny at the door!

bunny at the door! a tutorial by elsie marley

We don’t have many easter decorations: a few eggs, some bunnies here and there, maybe some flowers, but that’s it really. We needed something easter-y…and fast, because easter is this weekend! I came up with this giant easter bunny peaking in your front door. It’s like Kilroy Was Here got together with Donnie Darko and made an adorable bunny.  You can make one too–in the next 10 minutes even!

BUNNY AT THE DOOR TUTORIAL

(more…)

diy summer passport

diy summer passport

I mentioned last week that I was thinking about making a summer passport. And would you look at that: I did! It was super easy and I’m going to tell you how to do it.

small moleskine

diy summer passport

materials:

  • a small moleskine plain journal with a kraft paper cover. They are called Cahiers and are sold in sets of three (for 7 bucks).
  • crayons, markers, pencils, whatever
  • a list of activities (see below)
  • stickers, or a date stamper

summer passport diy

directions:

1. Make your cover. We went with the basic, Summer Passport 2013. You could get a little more exciting, like THIS IS GOING TO BE THE JONES’ BEST SUMMER EVAR!

summer passport diy

2. Write something fun to do on every right hand page. This ends up being about 30 activities, which I think is doable for summer. It also leaves the left page open for writing about when you did that activity (optional, obviously).

summer passport diy

3. Draw a box under the activity. This is where you will put the stickers (or stamp the date) when you do that activity. If you plan to do something often, make sure to draw a big box. My daughter seems to think we will be going to the pool a lot this summer. :)

summer passport diy

4. Go do something! Here’s a list of 40 things to get you started:

list of summer activities

  1. run through the sprinkler
  2. blow bubbles (last year, we made super big bubbles!)
  3. eat watermelon (in star form maybe?)
  4. make a giant fort
  5. make grape sculptures
  6. eat corn on the cob (and make your own awesome holders!)
  7. buy a treat from the ice cream truck
  8. go to the farmer’s market
  9. sign up for your library’s summer reading program
  10. play in the rain
  11. write a letter to Grandma
  12. make your own gummy treats
  13. wash the car
  14. find a new park in your town
  15. go swimming!
  16. make paper airplanes
  17. learn cats cradle
  18. paint with chalk paint
  19. build a fairy house
  20. feed the ducks
  21. get your face painted
  22. watch fireworks
  23. play sidewalk simon
  24. catch fireflies
  25. play badmiton
  26. sail boats down a tin foil river
  27. water balloon fight!
  28. be a super spy–make invisible ink
  29. make ice cream or popsicles
  30. make your own stickers
  31. exploding paint bombs!
  32. go to a local fair
  33. have a magic potion lab
  34. make saltwater taffy
  35. have a lemonade stand (or a tattoo stand!)
  36. camp in the backyard
  37. go fishing
  38. go bowling
  39. see a concert in the park
  40. pick strawberries


What are you doing this summer? Add your ideas in the comments!


guest post by nele from spiegel stiksels

nele from spielgel stiksels

Nele’s work caught my eye in last spring’s kcwc and I’ve been following her blog, Spiegel Stiksel, ever since. She lives in Belgium where she makes beautifully tailored clothes for her kids. Her fabric choices always blow me away! She has a real eye for color and pattern. And today is no exception. Nele took the Kid Pant pattern and changed it up with just a bit of elastic–and some super amazing circus print fabric!

* * * * * * * * * * * * * * * * * * * * * * * * * * * * * * * * * * * * * * * * * * * * * * * * * *

Hello everybody! How exciting to be guest posting here!

When Meg asked me to make something from the MADE kid pants pattern, I knew immediately
what I was going to do. I’ve used this pattern before for my youngest girl.

My girl started circus school last week and needed new pants for her classes. So I got to work and
made here real circus pants. The fabric I used is from Kokka and I bought it at Vermiljoenshop last year.

Since my girl has grown since the last time I used the pattern I had to adapt it a little. So I cut the
pattern into pieces and added some extra width and length.

I also lined the pants with a black and grey striped jersey fabric for extra softness and coziness. I put
an elastic between the two layers at the ankles.

The pants are actually completely reversible. I ended up cutting and sewing a separate waist band.

Thanks for having me, Meg. I’m looking forward to sewing along next week and getting inspired.
Happy KCWC everyone!

* * * * * * * * * * * * * * * * * * * * * * * * * * * * * * * * * * * * * * * * * * * * * * * * * *

 Thank you, Nele!


kcwc guest post: sophie from cirque du bebe

sophie from cirque du bebe

I’m guessing you already know Sophie from Cirque du Bebe. The clothes she sews for her kids are so stylish and unique they are unforgettable. I mean look at that telephone blazer! Sophie took the Kid Pants pattern and turned it into the comfiest pants in town. She was kind enough to write up a tutorial too!  Lucky you (and me)!

* * * * * * * * * * * * * * * * * * * * * * * * * * * * * * * * * * * * * * * * * * * * * *


Can you believe the next Kids Clothing Week Challenge is just around the corner? It feels like just yesterday I was face first on the sewing nook floor, making pattern angels in the debris and murmuring ‘Just keep sewing…just keep sewing’ to myself. I’m a tad excited to be taking part in the Pre-KCWC celebrations with a cozy, lazy, fall-worthy take on Dana’s toddler / kids pants tutorial. Which happens to have a special place in my stitchy heart as the tutorial behind my first ever (successful) attempt at pants for my then-two-year-old, now four-year-old boy. You’re just going to have to take my word for it that these low ‘n lazy lounge pants you see here started with a) Dana’s pants pattern. And b) a thrift store sweatshirt. If you like low crotches and you cannot lie… this one’s for you!


You’ll need…

  • Ribbing for a wide comfy waistband
  • Elastic wide enough to fill out your waistband (the elastic I’ve used here is 2″ wide)
  • Knit fabric / something fancy to up-cycle like an unloved men’s hoody.
  • Scissors, co-ordinating thread, hand-sewing needle, tracing paper or similar, marker, safety pin.

Did the thrower-outer not see the potential before him?

1) Follow the steps in Dana’s tutorial to produce your own front and back pants pattern pieces.


2) Lay your fabric on the fold and place one of the leg pattern pieces on top so that the point of the crotch sits just over the folded edge of the fabric. To make our low n’ lazy curved crotch, take the marker and draw a curve from the tip of the crotch down the inside of the leg, finishing about an inch inside the edge. Repeat for the other pattern piece.


3) To cut the piece out, start at the bottom, cut to the end of the new line but stop there. Cut the rest of the piece out except for the section above the crotch tip because we want that bit to stay on the fold. Repeat for the other piece. You’ll end up with a front and a back piece that resemble the shape below.


4) With right sides facing sew front and back pieces together at the side seams and the crotch seam with a 3/8 ” seam allowance. Finish the edges or leave them raw. The advantage of dissecting something like a hoody is you can pinch cute features like this pocket, which I’ve attached to the front here. Useful for storing things like cars, raisins etc.


5) To get the dimensions for the ribbing piece, the height here is determined by how wide you’d like your waistband x 2 plus a seam allowance for top and bottom. The length of the ribbing will be the size of your kiddos waist minus 4 “. Once you’ve cut out the piece, fold in half with right sides together like so. Sew together with a 3/8 ” seam allowance leaving a gap of about 1″ in the middle of the top half. Bit of a mouthful.


6) Turn the right way out, fold in half. Does it look like this?


7) Using a fabric marker or a pin, mark the centre point of the ribbing on the opposite side to the ‘gap’.


8) To attach waistband to pants we’re going to line up the raw edge of the ribbing piece with the raw edge of the top of the pants. But most importantly make sure the ‘gap’ is facing the outside and lines up with one of the side seams. Pin this point in place.


9) Find the center point you marked earlier and pin it to the opposite side seam. Once these two points are pinned, it makes it easier to spread the rest out.


10) Pin your layers together feeding the ribbing around the whole perimeter of the pants and stitch with a 3/8 ” seam allowance. Finish the edge or leave it raw.


11) Turn out the right way and press the seam downwards. Starting to take shape!

12) Cut elastic to the length that will be comfy for your child and hook a safety pin through one end. Feed it through the ribbing making sure the other end doesn’t slip through.


13) Secure the ends of the elastic together, using zigzag and going back and forth several times. Stuff it back inside the casing and hand-stitch the opening shut neatly. Lastly, hem your pant legs, or you could even add cuffs. And you’re done!


We’re approaching spring here and while it’s still cool enough in the mornings for knit fabric loungies, they get rolled up into cuffs during the day, which look pretty cute on their own.

* * * * * * * * * * * * * * * * * * * * * * * * * * * * * * * * * * * * * * * * * * * * * *

Thank you so much Sophie!


kcwc guest post: jessica from a little grey

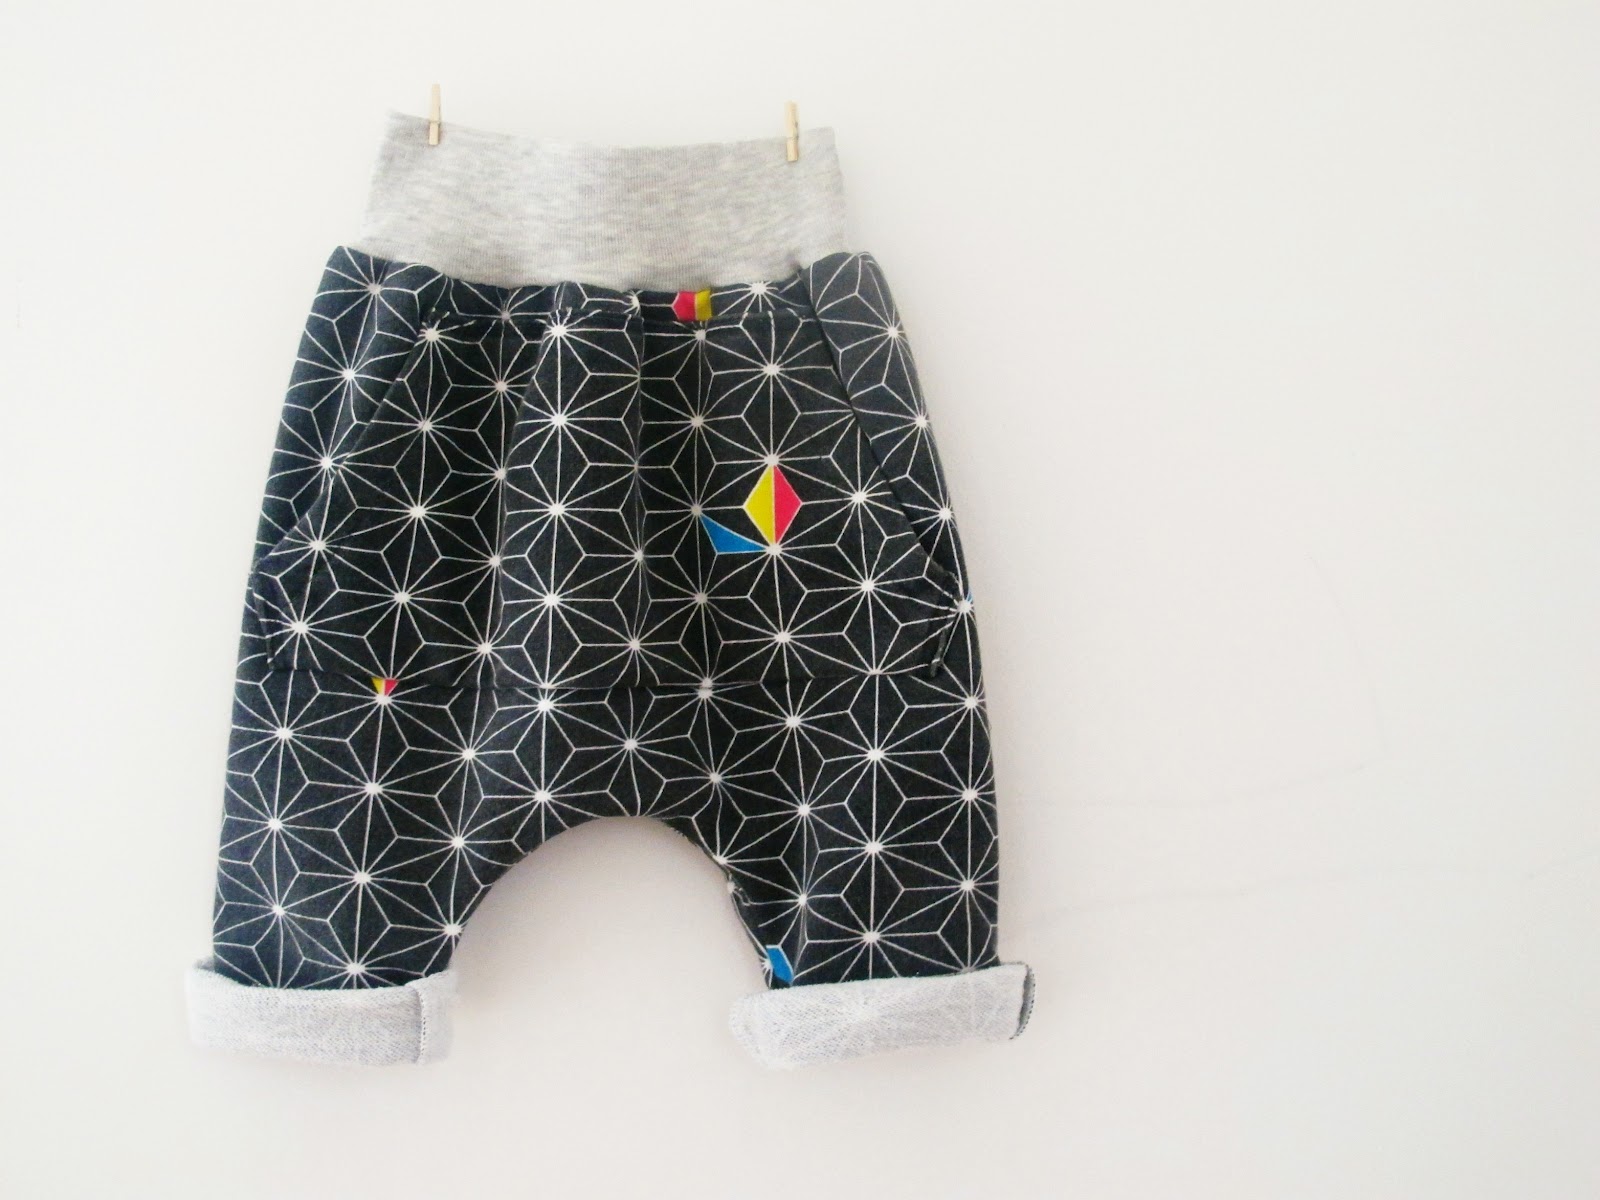
I discovered Jessica, and her blog A Little Grey, when she won Project Run & Play last spring. The clothes she made were super stylish but still wearable, modern but not serious, and cute but not cutesy. Pretty much everything I strive for, but rarely get just right. She is a very talented seamstress who makes amazing kid clothes. (not to mention stunning quilts) And today is no exception. Jessica took the Kid Pants pattern by Dana and turned it into a runway look. Check it out!

* * * * * * * * * * * * * * * * * * * * * * * * * * * * * * * * * * * * * * * * * * * * * * * * * * * * * * * * * * * * * * * * *

Hey, I’m Jessica from A Little Gray, and I’m downright chuffed to be kicking off the pre-KCWC festivities. I love this event so much, but in the spring I didn’t get to participate because I was competing in Project Run & Play. (Which is going on again right now, by the way. Lots of inspiration there.) But this time around, I am all in!

You should know that I love to sew boy clothes. I have a little girl too, but for some reason the boy sewing comes much more naturally to me. Color blocking has been a great trend for a while now, but it seems like girls have been having all the fun with blocked skirts and dresses. When I saw this new collection from Michael Kors, I knew my 3 year old needed to rock some color blocked pants.


This first pair is inspired directly by those Kors men’s pants that are different colors on the front and back. Using Dana’s fantastic kid pants pattern, I simply cut the front pattern piece from peacock blue corduroy and cut the back from navy. Not much to explain there, but it’s something I never would have thought to do before.

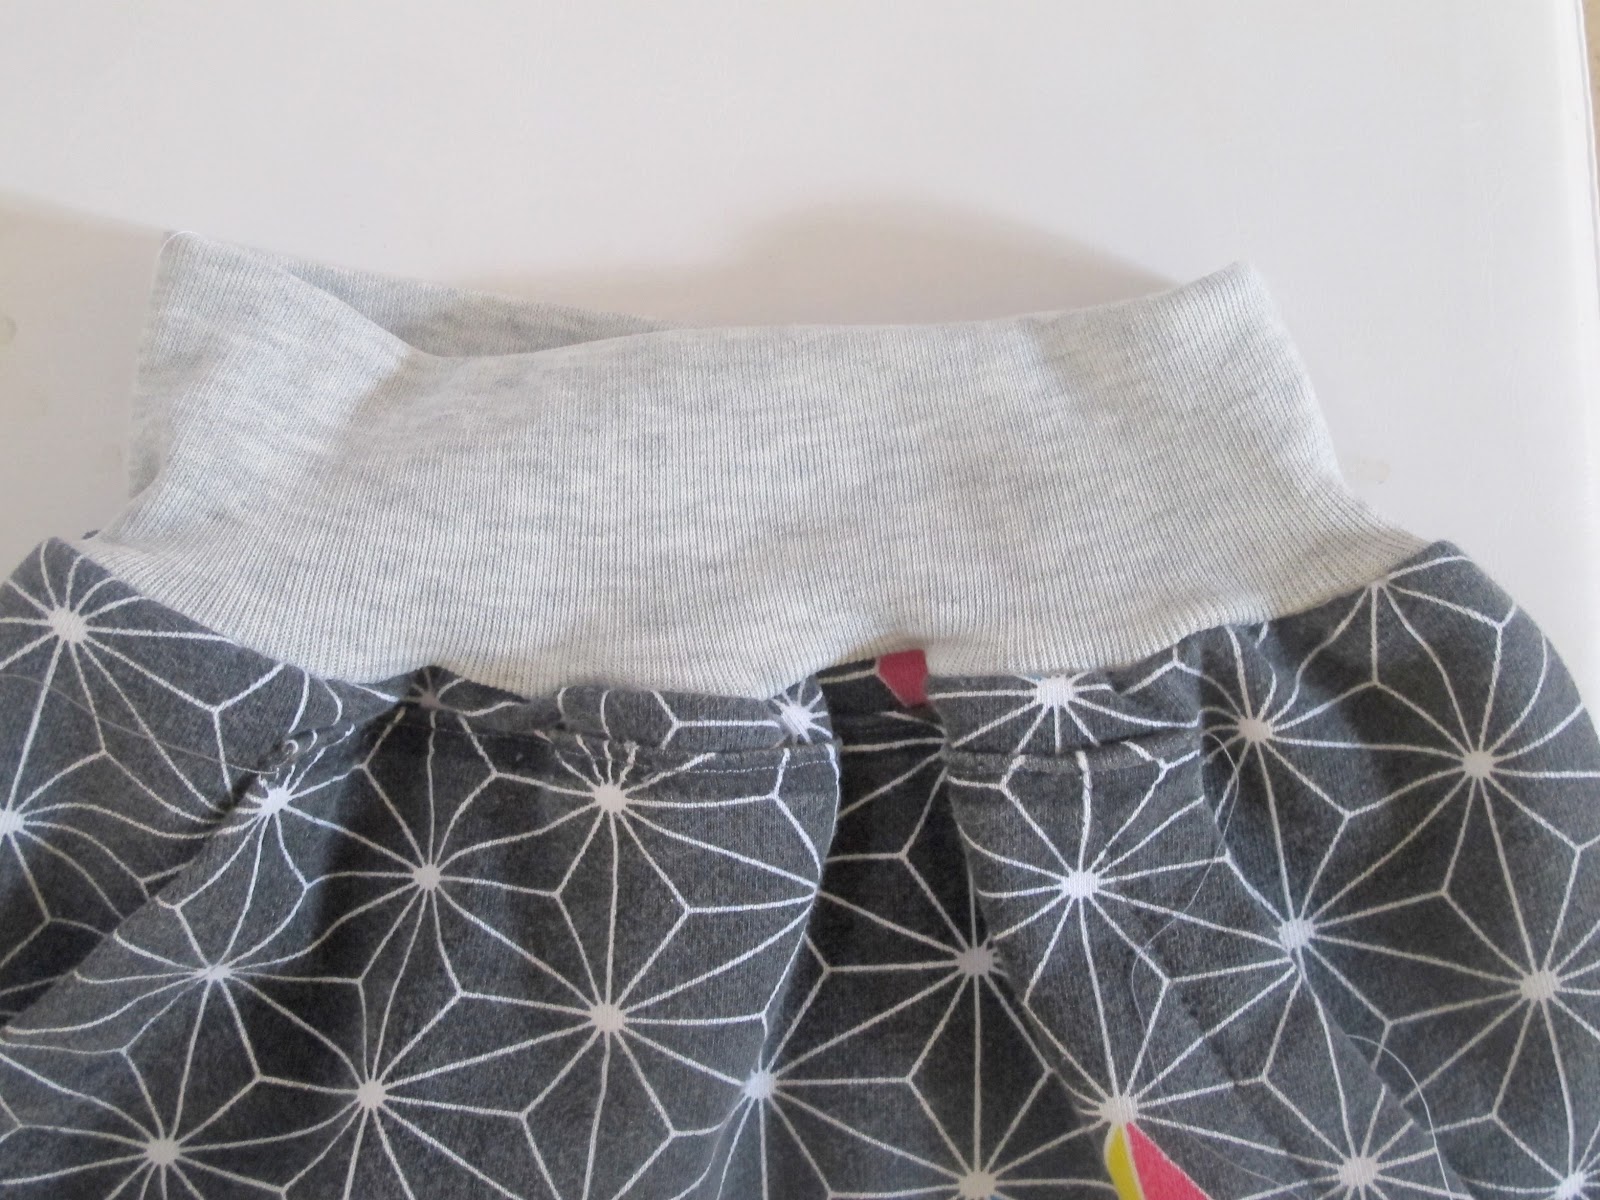
I also cut them a little skinnier (see below) and added back pockets with contrasting bright blue topstitching. I think back pockets are such a great way to make pants look much more polished and professional. I basically make mine like this tutorial. You can use an existing pair of pants to make a pocket pattern.

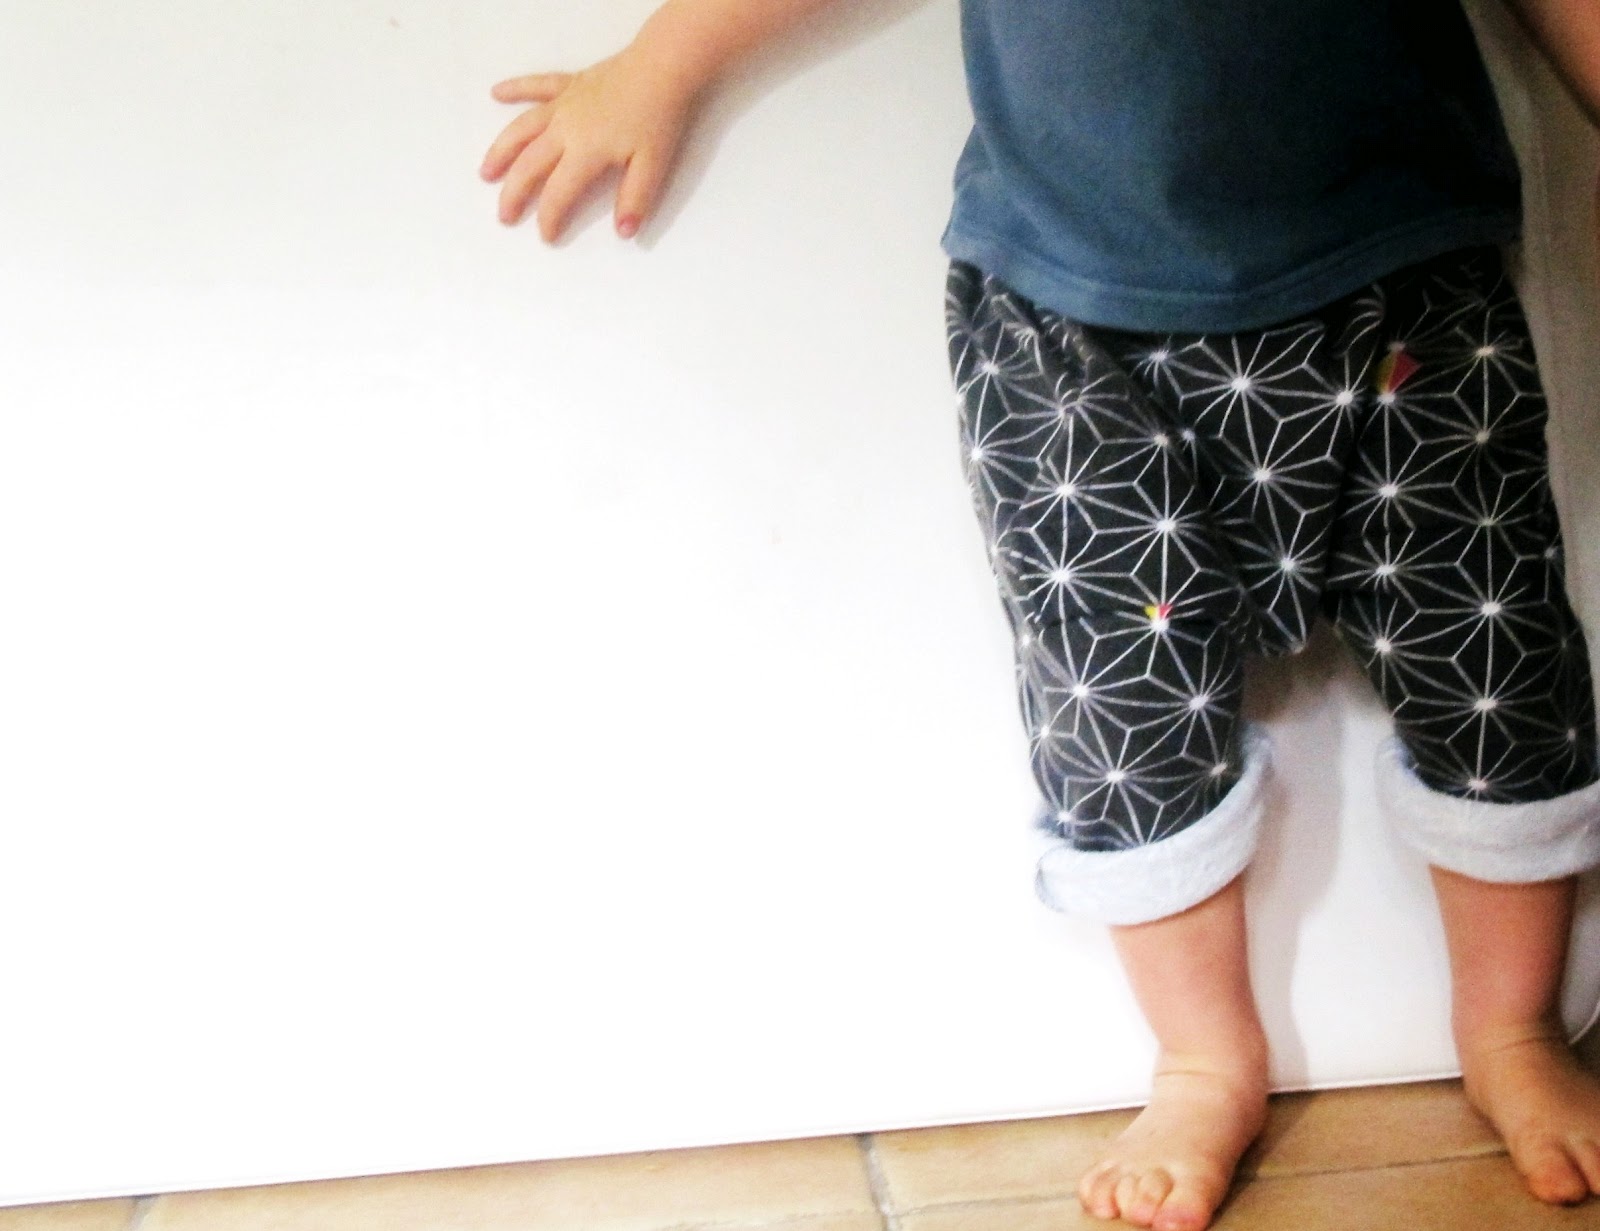
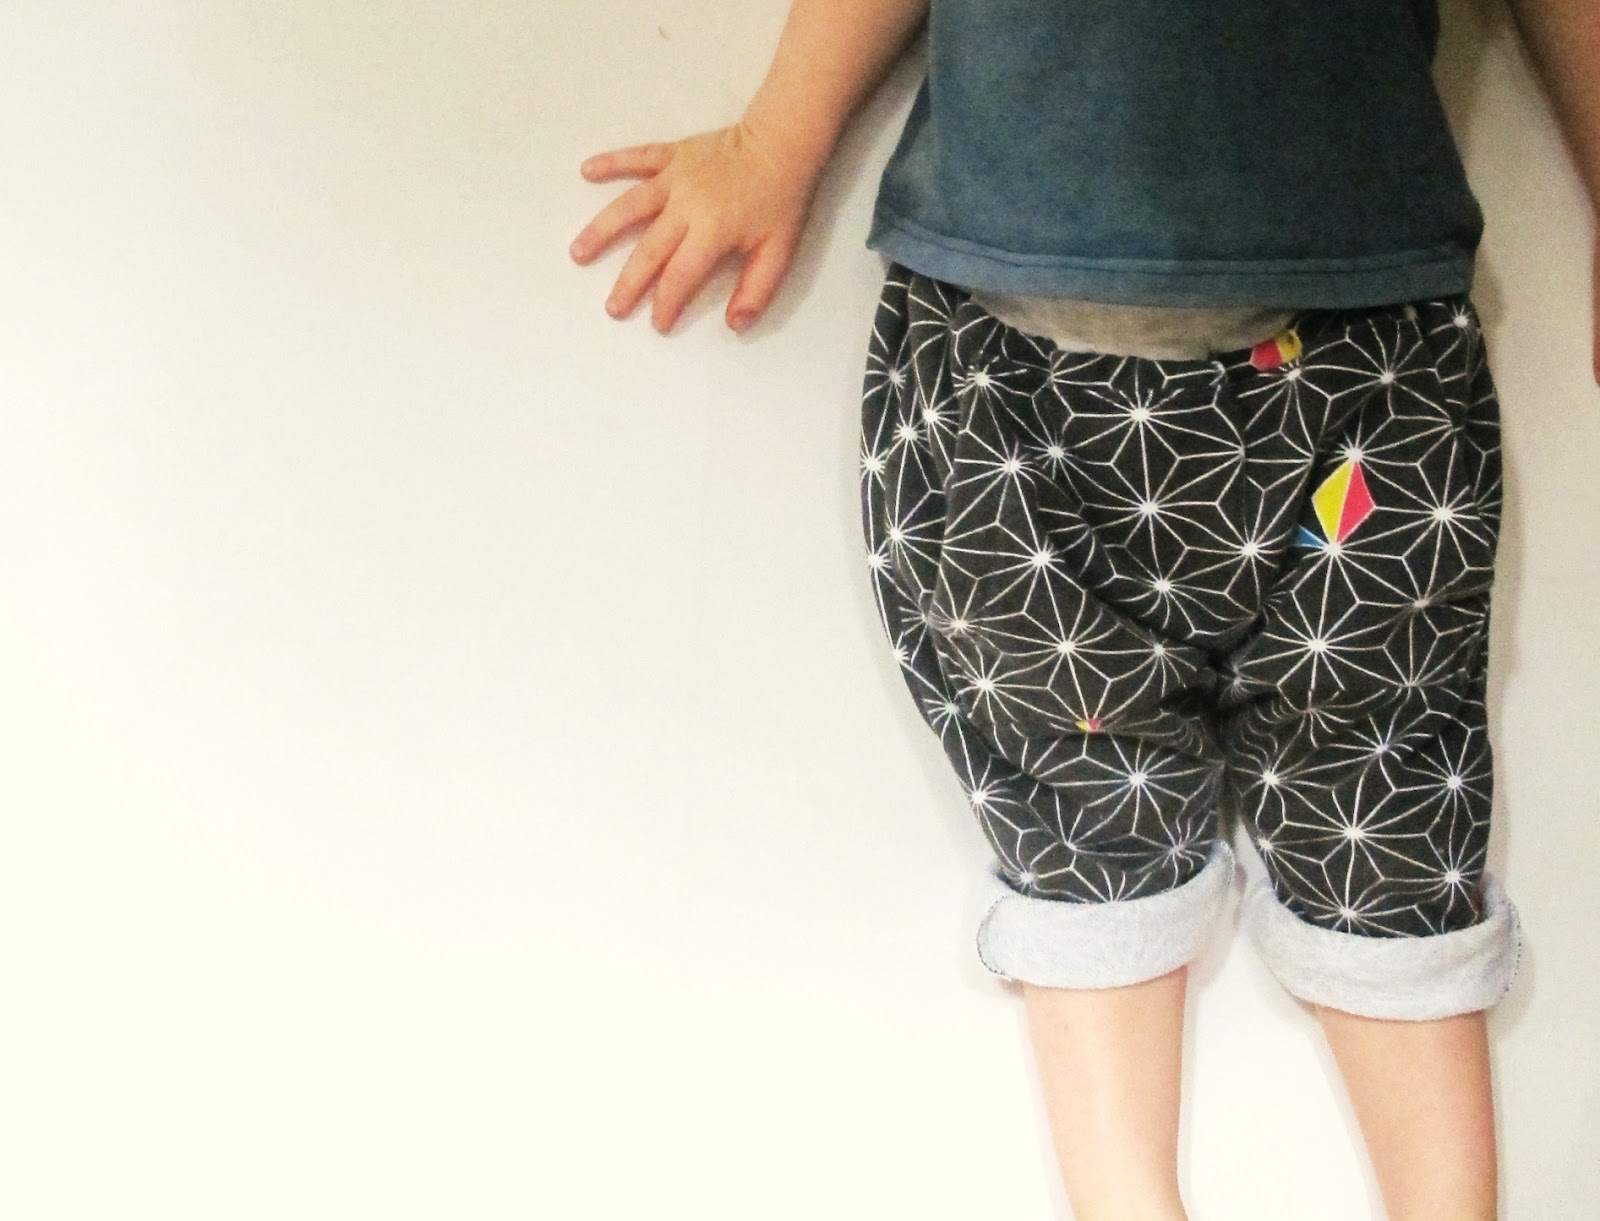
I couldn’t stop at just one pair of CB pants, (despite my husband’s looks of great concern for my sanity) so I decided to try it with contrasting bottoms this time. They look pretty cool cuffed with some chucks.  The result is just like this pair, but pieced instead of painted. That’s what I’m going to show you how to make today.

But first you can very easily make them fit slimmer if you prefer. I did this by marking a line on the bottom of each pattern piece, 1.25″ in on the inseam side. Continue to draw the line up so that it’s perpendicular to the other straight side of the pants. Then as you get closer to the crotch, ease the line into that curve. Make sure you measure the same amount in on both pieces, and your pants will line up without a hitch.

Now I’ve cut the new shape out of my pattern and I’m going to figure out where to cut again for color blocking. First, cut a piece of string to the length you want the main fabric of your pants to be before the contrast color starts. I wanted my contrast well below the knee and I cut my string to 11.5″. However, my son is tall and I have to add a few inches onto the bottom of this pattern for him. So if your child fits the pattern as is, you might want to take 2-3″ off of that length.

Use your string to start at the point of the crotch and measure down the inseam to mark the pattern at the end of the string. Of course, you want to keep it flush against that curve, which I wasn’t able to photograph very well.


Use a ruler to draw a line at that mark all the way across the pattern, keeping it perpendicular to both sides. Cut the pattern on that line and repeat the same process with the string on the other piece. It’s also helpful to write “front” and “back” on those bottom pieces now so you don’t get them confused.

Now cut all your pieces from the two fabrics, cutting two pieces on the reverse from each like normal. HOWEVER: be sure to add 3/8″ for seam allowance to the bottom of the main pieces and top of the contrast pieces. In other words, on the edges where you cut the pattern apart.

Now you are ready to sew the pants together as usual. But when you sew the inseam, pin very carefully so that the contrast seams match up perfectly. Do the same when you sew the outside seams, hem as usual, and you are done!

If you like this look, you should also check out Blue-Eyed Freckle’s tutorial for how to add a contrasting bottom to existing pants.

Thanks so much for having me Meg, I can’t wait to see what pops up in the flickr group. Maybe I’ll even get to see some color blocked pants? Happy KCWC sewing everyone!

* * * * * * * * * * * * * * * * * * * * * * * * * * * * * * * * * * * * * * * * * * * * * * * * * * * * * * * * * * * * * * * * *

Thank you Jessica!