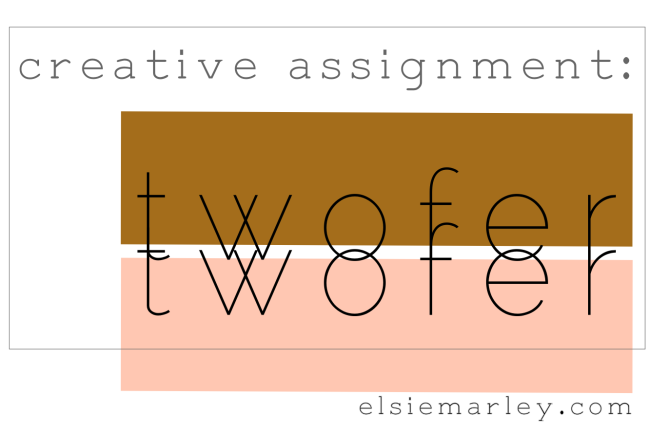
It’s been a little while since our last Creative Assignment and I’m ready for another! How about you? Just the promise of Fall has me feeling refreshed.

1. lincoln 2. banana 3. dj felix 4. cyclops 5. doorbell 6. diy sticker mandala
New ideas are the new thing these days. It sometimes seems our economy is riding on the hope of “new ideas.” As humans we are always looking for the exciting new thing. As modern humans we are looking to wow our boss or get famous or make bank, all with the one new idea.
Read the rest of this entry »
Posted in creativity. 70 Comments »
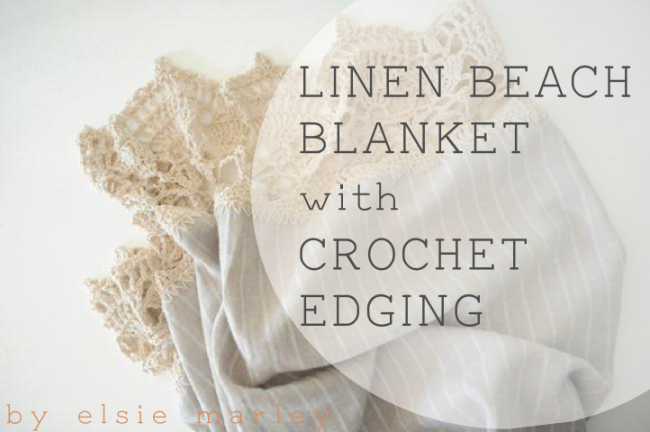
Four years ago, I crocheted some edging on a few yards of linen and made myself a beach blanket. I have loved that thing ever since. It’s just the right mix of utilitarian and fancy for me (and for the beach). It has held up suprisingly well. The crochet bit has gotten skrunchy and soft from all the washings. The photos below are from when I made it and today.
Read the rest of this entry »
Posted in crochet. 12 Comments »
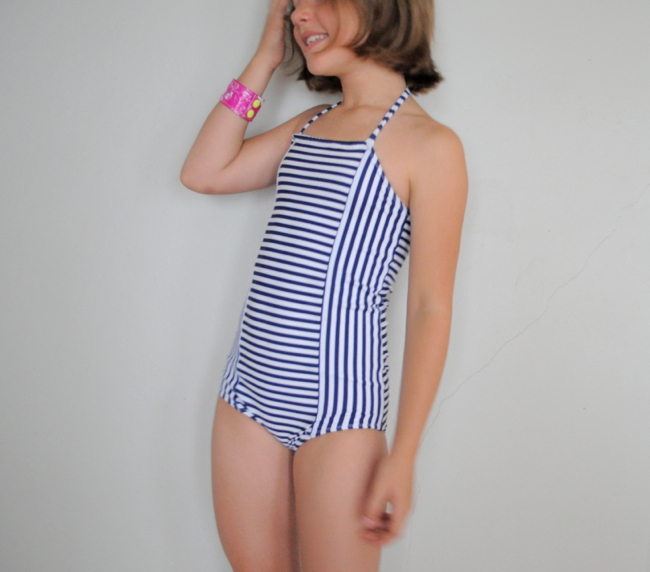
I started sewing clothes for my kids 6 years ago. These pants are actually the first thing I ever made! Part of me is very proud at how far I’ve come. That up there is a by god homemade swimsuit! But then another part of me is disappointed with my sloth-like pace.
Read the rest of this entry »
Posted in sewing clothes. 40 Comments »
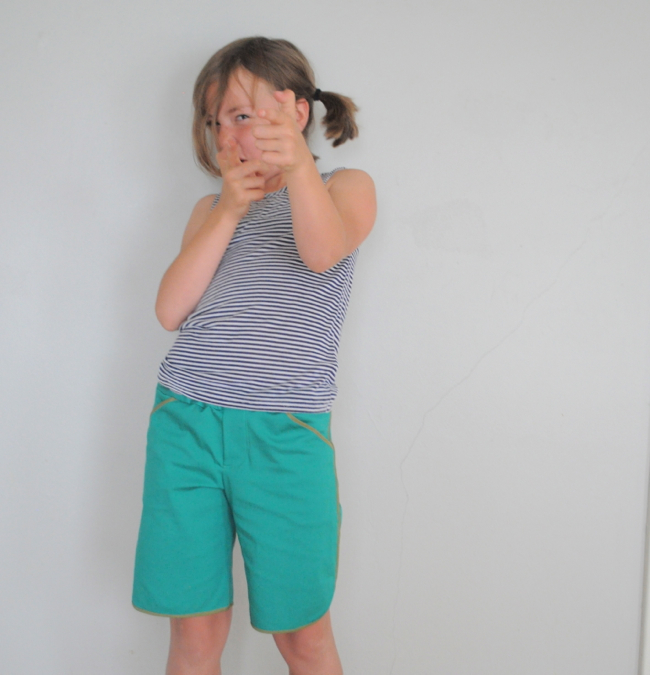
It wouldn’t be KCW if there wasn’t some sort of screw up. I really thought I would have a new outfit each day to post this week, but no. These shorts were supposed to be for my 7-year-old boy, but they were way too big. I had a black t-shirt I made for him too. I was about to iron on a design he made, but then his younger brother’s shirt came out of the dryer.
Read the rest of this entry »
Posted in kcw summer 2014, kids clothes week challenge. 4 Comments »

This outfit is inspired by this season theme KID ART, but only a little. The tank I made last summer, well made most of. I never bound the armhole (armcyes? both words are ridiculous) or put on a pocket. I wanted to do something theme related with the pocket, but I don’t have a lot of kid art-like fabrics in my stash. When I found this old rainbow shirt from the 70s I immediately thought of my daughter’s rainbow obsession. She drew them on everything, everywhere! We had a rather epic rainbow birthday party, complete with a rainbow dress and cake and playdough and a pinata!
Read the rest of this entry »
Posted in kcw summer 2014. 12 Comments »