Here it is day 4 of KCW and finally I have something for you. This outfit was actually finished on day 2, but I had to wait for the sun to come out to get some decent shots. And sheesh the sun sets early these days.

Enough small talk, let’s get to it!
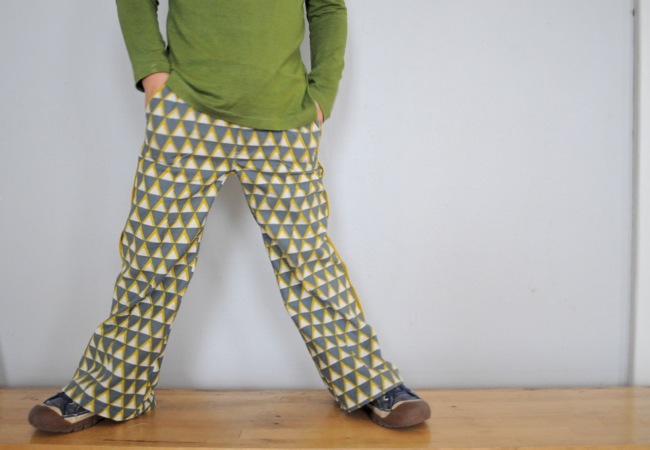
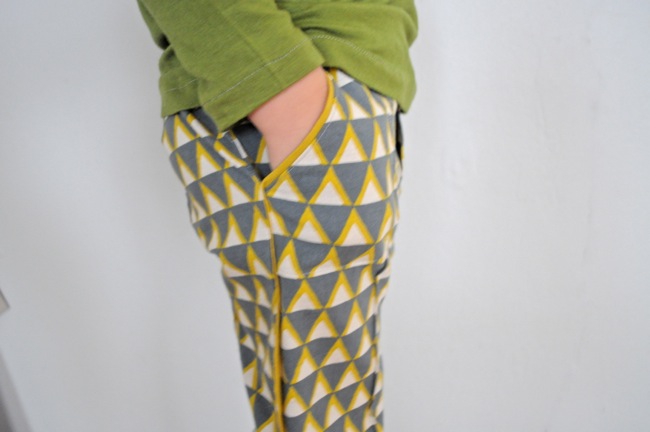
THE PATTERN: Jacob Pants by Zonen 09. I’ve gushed about this pattern maker before, but I hadn’t sewn up one of Sharon’s patterns until now. I have to say these pants live up to [my] hype. The pattern has lots and lots of pictures, which is wonderful if you are a visual learner like me. There are also some lovely little details: the pin tucks, of course, and tiny butt darts :)
THE FABRIC: Stamped by Ellen Luckett Baker. I scored the last bit of this triangle print when sew mama sew was clearing out their fabric store. When I saw these bad boys, I knew I had to make some triangle pants of my own.
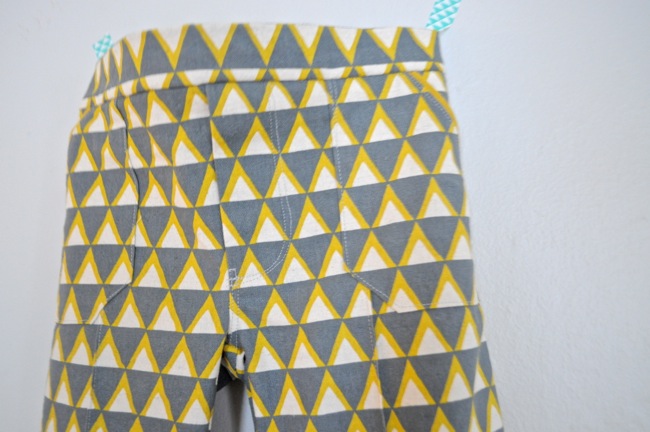
THE SEWING: The sewing went very smoothly. The directions, as I said, are very clear and very customizable. I went with a faux fly and because I couldn’t find buttonhole elastic, just regular sewn in elastic. I added piping starting at the pocket edge and continuing down the side. I totally stole this idea from someone, but can’t remember who.[edited to add: I stole it from sew bidoo] I didn’t have any cording, so I folded a bit of yellow fabric (from this old kcw project) in half and inserted it between the layers. It’s not the same width all the way down, but it’ll do. I’m actually kind of bummed the yellow matches so well–it sort of disappears into the print.
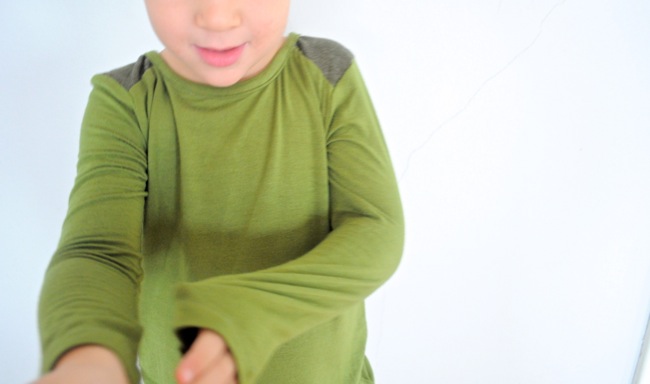
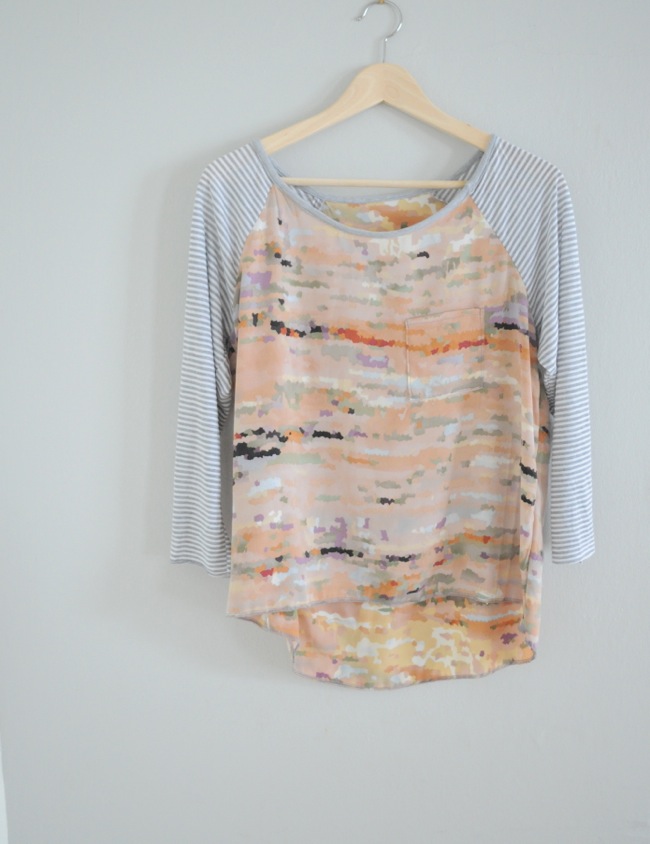
THE PATTERN: tried and true Flashback Tee by Rae.
THE FABRIC: My youngest only goes half days to school, so he gets stuck running all the errands with me. We end up at the fabric store quite a bit. He spotted this green jersey there one day and proceeded to carry the bolt around the whole store.
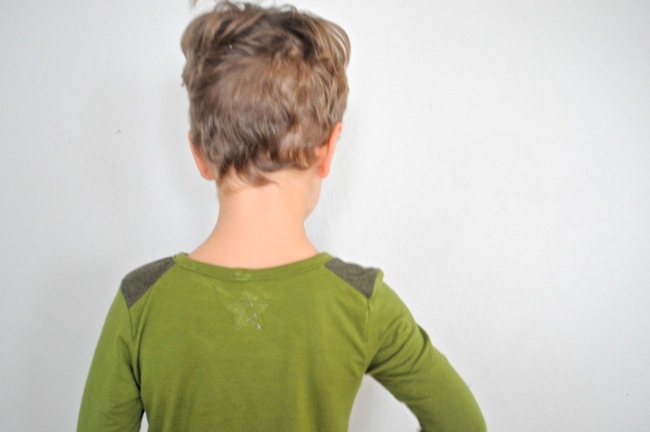
THE SEWING: The sewing went well. I made a few changes. First I drafted some shoulder patches (has the fashion world come up with a clever name for these yet?). They were a bit more fidley than I imagined, but worked out well in the end. I love, love how they look. I also finished the neckline a bit differently: sewing the binding to the wrong side of the neckline and then folding it over and stitching it down.
It’s hard to see, but I also sewed a little star as the tag in the back. I’ll try to take some better pictures, because I’m quite in love with this bit too. Super successful project–he won’t even take it off!