Posts Tagged ‘clothes’

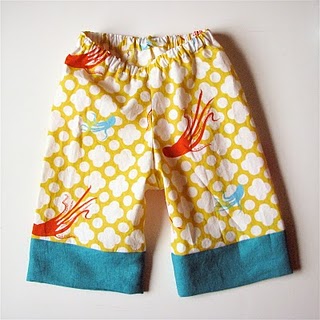
pillowcase pjs

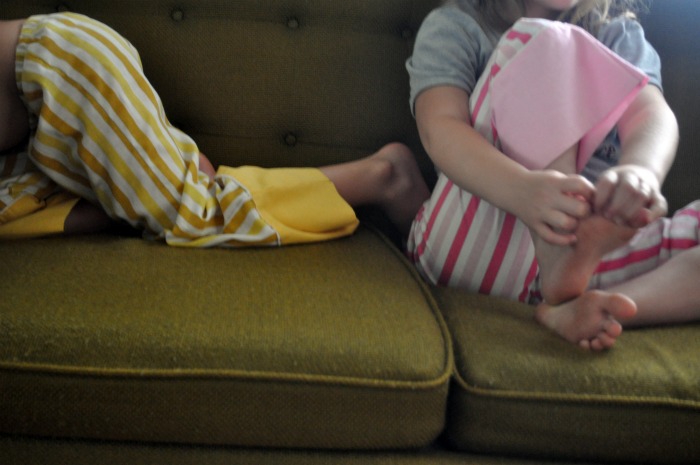
My kids wore their winter pajamas most of the chilly spring, but then it got hot all of a sudden (then disgustingly hot) so I had to whip up some summer pajamas super fast.

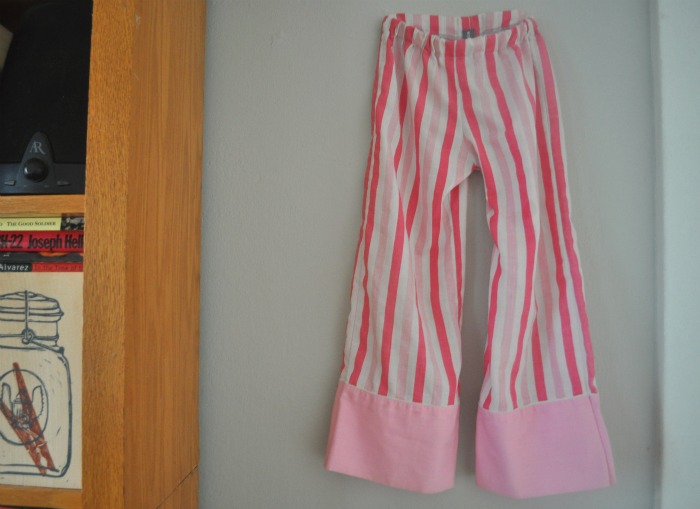
pink pillowcase pants

So I made one from a pink stripey pillowcase…

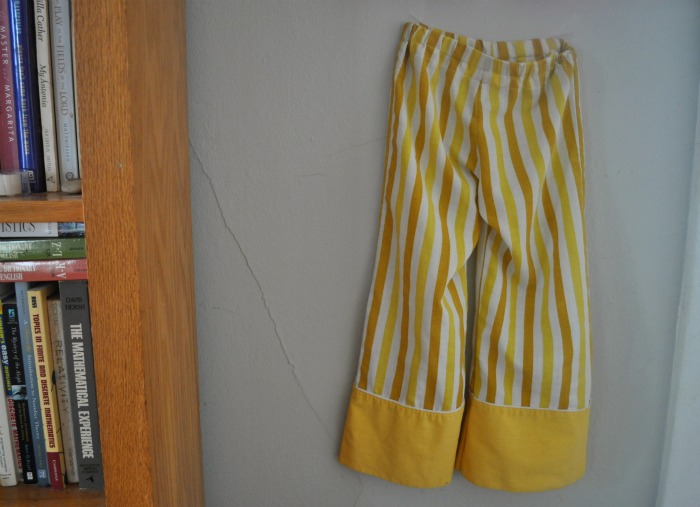
yellow pillowcase pants

and one from a yellow stripey pillowcase. There is a stripey green one in a thrift store somewhere waiting for me, I know it. So no trifecta of cuteness.  But the baby did get some little man pjs from an old sheet.

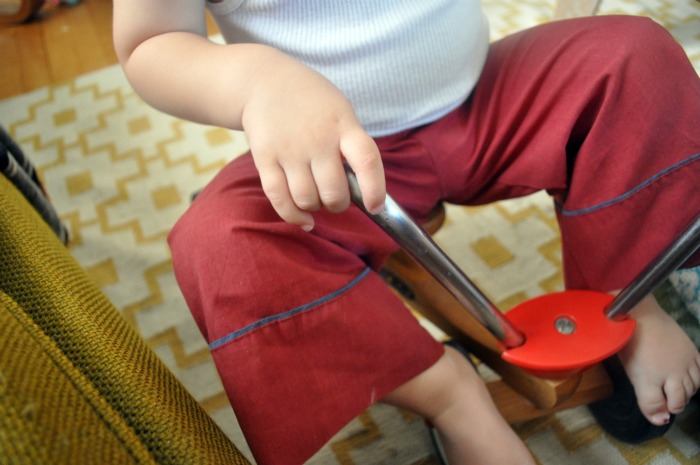
little man pajama pants

For a while there my children were barely clothed during the day, much less at night, so the pajamas were forgotten. But now that the heat has stopped being so punishing (at least for the moment) the pillowcase pjs are back in rotation.  Speaking of summer, Mary Frances has a lovely post about midsummer, go see…

knot shorts

posting a project I did for grosgrain’s free pattern month:

Meg from elsie marley here and I’m very happy to be a part of all of this fantastic freeness on Grosgrain this month. For my contribution I’m going to show you how to alter a plain old pants pattern into one that will make super cute shorts for your little girl: knot shorts!
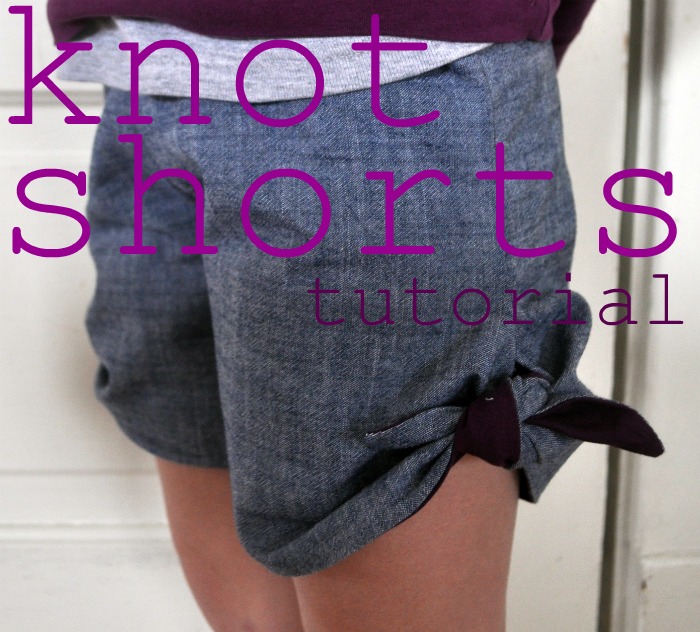
knot shorts tutorial by elsie marley

Materials

  • an existing kid’s shorts or pants pattern
  • one yard material
  • quarter yard (or so) contrasting material for facing
  • elastic (1 inch wide, or whatever you have lying around)
  • freezer paper, or some other paper to trace patterns

It might seem silly that for free pattern month, you first need to have a pattern. But making a kid’s pants pattern is easy as pie–you just trace some kid pants. Dana from Made has a very clear tutorial for making pants patterns that you can check out if you don’t have a pattern on hand. I have only made these for kids, but I don’t see why altering a grown up pattern in the same way wouldn’t work just as well.

Directions

1. First you need to trace your pattern onto pattern paper, or newsprint, or I like to use freezer paper.

2. Now you need to decided how long the inseam on your knot shorts will be. I made mine 4 inches long. This is a medium length pair of shorts on a 5 year old girl. A one or two inch inseam sounds scandalous, but I’ve made knot shorts that short and they look great. And besides, kids have very short legs, so it’s really not that short at all.

making the pattern for knot shorts

2. Whatever length inseam you choose divide it in half and make a mark. From that mark draw a line through the pattern and extend it 6 inches past the outer seam of the pants.

making the knot for knot shorts

3. From the end of the line draw a nice curve down to the bottom of the shorts. And draw another line that gracefully curves up to meet the outer seam.

4. Repeat the process for the back pattern piece.

making the facing pattern for the knot shorts

5. To make the facing for the shorts, first trace the front pattern piece. Then on your new piece, draw a straight line from the crotch (ugh, I can’t stand that word) to where the tie begins to curve out. Cut on that line. This will be your facing pattern.

6. Now that the pattern is made you can cut your fabric. Cut two front pieces and two back pieces out of your main fabric. From the contrasting fabric cut 4 facing pieces.

sewing inseam for the knot shorts

7.  Sew two facing pieces together, on the short straight side, right sides facing. Then serge or hem the long straight edge on top. Do this  for the other set of facing pieces as well.

8. Sew the inseam together on both legs of the shorts.

9. Open up one leg of the shorts and put the facing on top– as above–right sides facing.

10. Sew all around except where you hemmed (or serged). Clip the corners, turn out, and press.

11. Sew down the outer seams on both legs of the shorts. Stop right after you catch a bit of the facing, then backstitch a few times to secure.

12. Turn one leg inside out and the other right side out

last seam of the knot shorts

13. Put the right side out leg inside the inside out leg–now the right sides are together. Sew all around the crotch (that word again, ugh).

almost done with the knot shorts

14. Turn it out and press. You should have a very funny looking pair of shorts.

15. Make sure you have thread that matches exactly to your main fabric, then sew around the top of the facing to attach it to the shorts. Or if you want the seam to be even more invisible, you can sew it by hand.

tie the knots

16. Tie the knots, silly!

17. Fold the top edge under and press. Sew around to make a casing for the elastic. Insert elastic, insert child to see if they fit, sew up elastic and seam and ta da! Knot shorts!

I hope you enjoyed the knot shorts tutorial! Thanks so much for having me, Kathleen!


kcwc spring 2011: day six

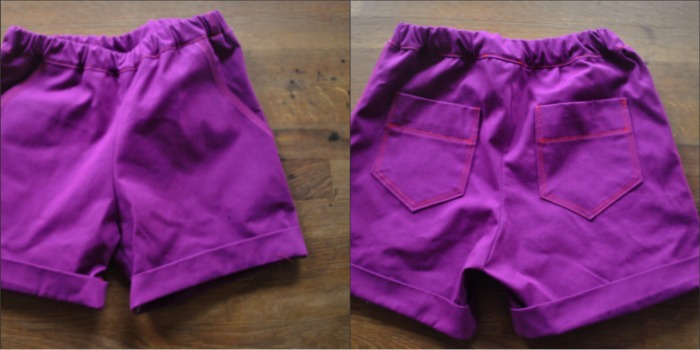
purple shorts

This is going to be a short and sweet post. Hey, like these shorts. They actually started long, but then looked weird long. So they have cuffs thanks to this fantastic little tutorial, but now I’m thinking maybe they would look better without them. I don’t know anymore. I do know I rocked some serious topstiching action on these suckers (With orange thread, somehow it looks red in the photos). Oh and these are for my daughter. I think my son could rock the purple shorts, but he asked for orange.

day six of kcwc from the flickr pool

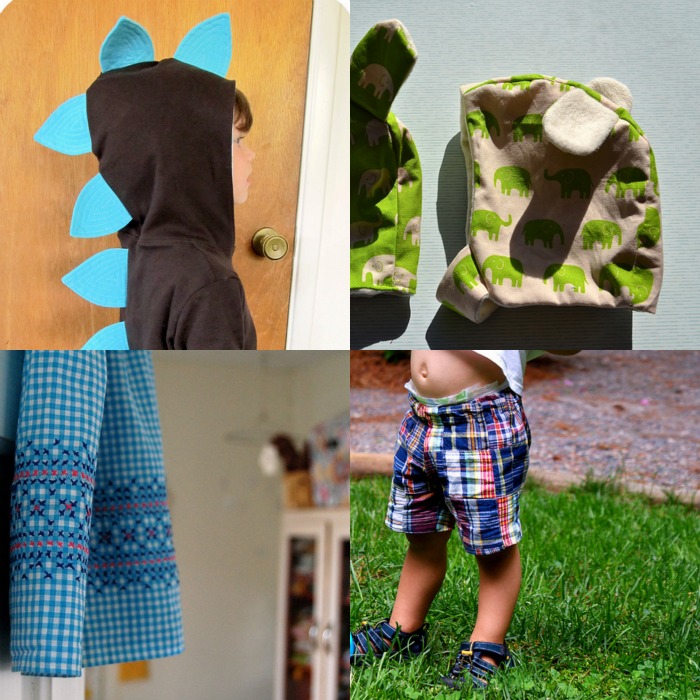
1. 015 2. elephant hats 3. damage control 4. bellies are cuter

A little nuttiness from the pool today: elephant hats and dino hoodies! So many amazing handmade clothes on flickr! You guys rock.

kcwc spring 2011: day two

rockin the fancy pants

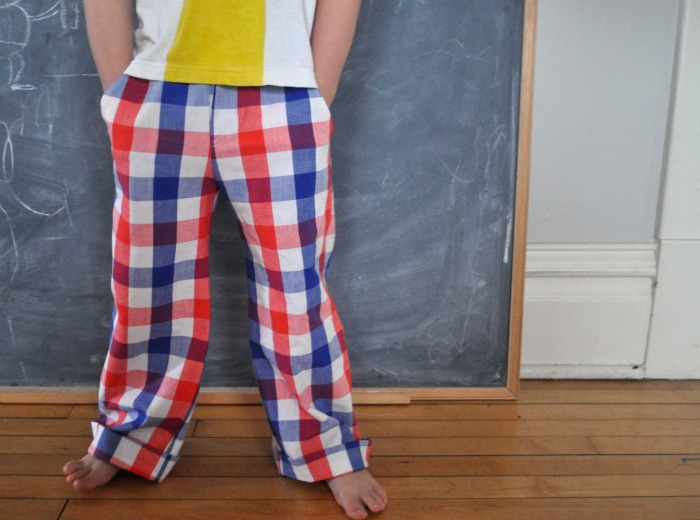
The lovely ladies from my craft night came over last night for some beers and a little sewing (the two go together right?). If it hadn’t been for them I would have given up after the first hour of trying to rethread my serger. Seriously. Who designed that damn thing? But they saved the day! And I was able to turn a stained tablecloth into some rockin pants.

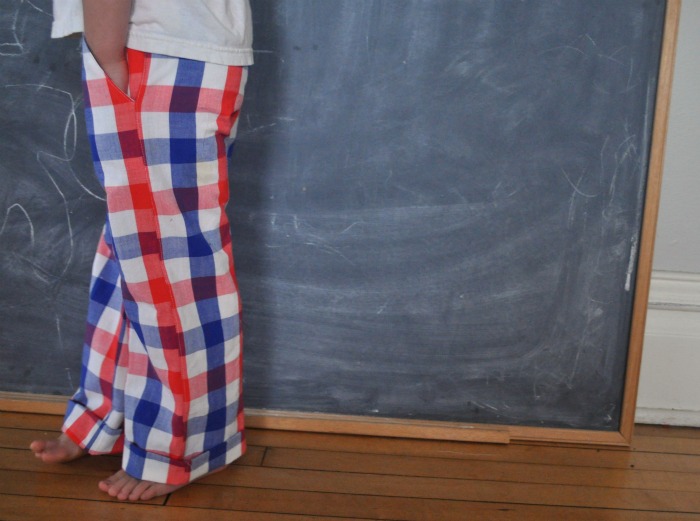
plaid pants side view

I used the same pattern that I did for these pants and these shorts. Except I skipped the back pockets and added cuffs. You are going to see a lot of this pattern this week, because my son likes it and my daughter too. It’s from Happy Homemade Vol. 2, which I can’t recommend enough (if you are down with making patterns written in Japanese). I’ve made a ton of clothes out of it and they’ve all turned out well and been worn a lot.

day two of kcwc from the flickr group

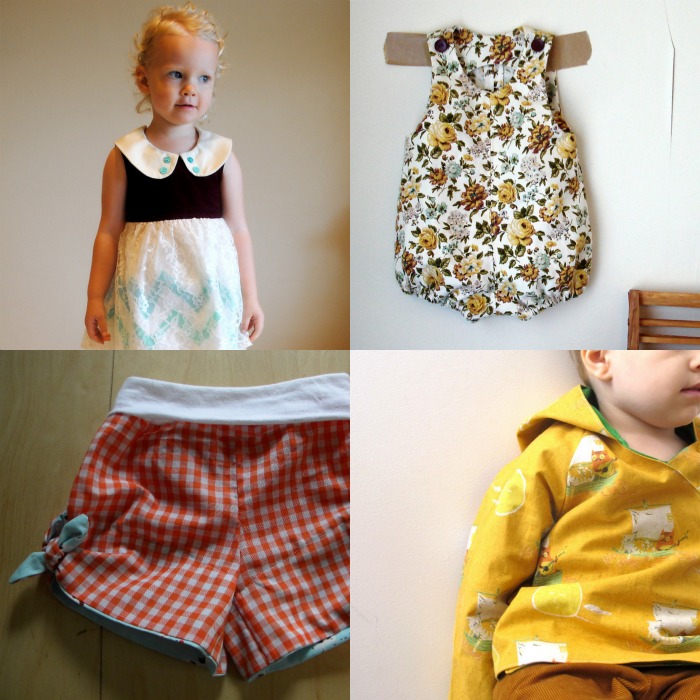
1. lace dress refashion 2. 008 3. 006 4. …went sailing by ‘wrap’ top

And look at what you guys have made! Adorbs. Obviously I’m partial to my knot shorts pattern, but you have to admit they are pretty darn cute in gingham. There is so much good stuff in the flickr group already and day two isn’t even over yet! You guys rock.

kcwc: day two

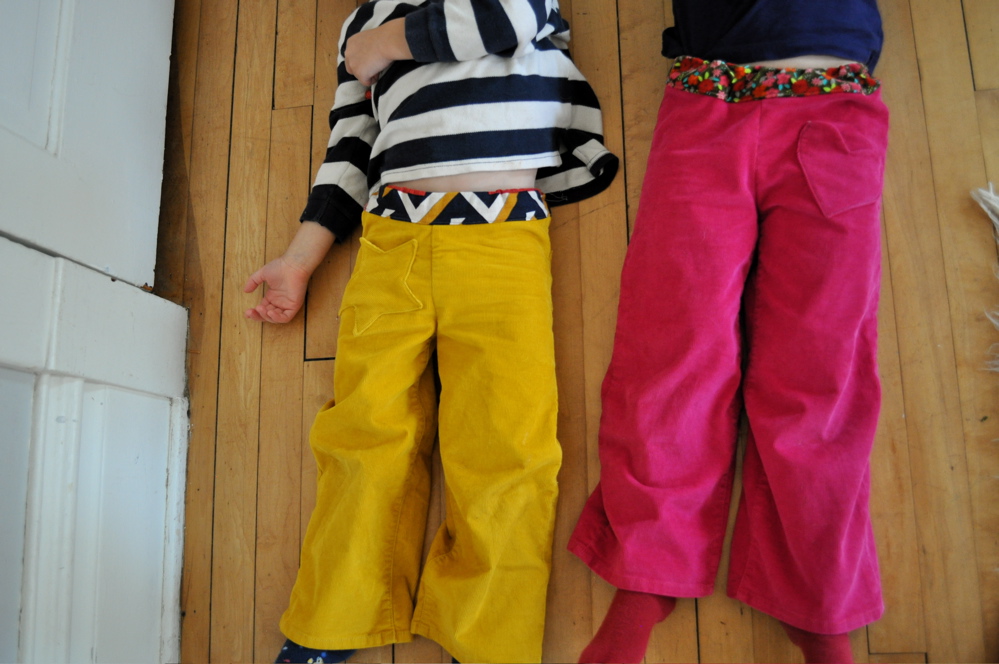
I got these two pairs of PINK! and YELLOW! cords at the gap this summer for 3 bucks each and knew right away I wanted to turn them into pants for my kids. Last year I made pants for them out of my husband’s old jeans (sort of like this) but the rise was too low and they never wore them–my son called them, without any malice, his “falling down pants.”

I wanted to get the fit right this time, but the stinkers were sleeping when I made these so I got all fancy with the pockets while I waited. There are two patch pockets on the back of each pair and a little pocket in front–a star for my son and a heart for my daughter.  When they tried them on they both complained that the pocket was too small. Wouldn’t you be excited to have a star pocket on your pants? Whatever. They fit.

I used a pretty bit of printed corduroy for the elastic casing on the pink ones and this crazy awesome vintage scrap I had for the yellow pair. This is a super easy way to make use of those jeans you never wear, but can’t get rid of for some weird reason. Cute recycling. My friend Mary Jo over at Five Green Acres put a little upcycling twist to kids clothes week; check it out if you are making big clothes into small clothes this week.

Made by Rae Giveaway!

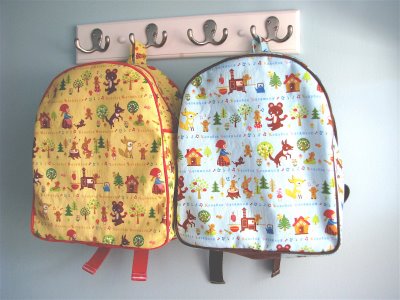
Today’s giveaway is from the fabulous Rae from Made by Rae. She is hilarious and down to earth and a damn fine seamstress. She kindly offered up two patterns for kids clothes week: the big butt baby pants and the toddler backpack. Both patterns are PDFs, so you could even add them to your list for this week (ha!). Just tell me which one you would rather have in the comments and I’ll choose two winners! The toddler backpack is full of nice details: pockets and piping and padded straps and little loops for hanging. And the big butt baby pants, while also being extremely fun to say, are versatile and useful and super cute. Decisions, decisions.

****************************************************

The winners are

big butt baby pants: #10 Shannon

toddler backpack: #55 Stephanie from neuroses galore

Congratulations!

*****************************************************