
1. spring 2010 2. fall 2010 3. spring 2011 4. fall 2011 5. spring 2012 6. fall 2012
I feel a little sheepish about writing this post, but I think I should. For the first time almost 5 years, I’m not sewing along this kid’s clothes week. As I pulled together all the buttons from all the KCWs, I counted how many I’ve done. 14! 14 including the very first one where it was just me ;)
Read the rest of this entry »
Posted in kids clothes week challenge. 19 Comments »
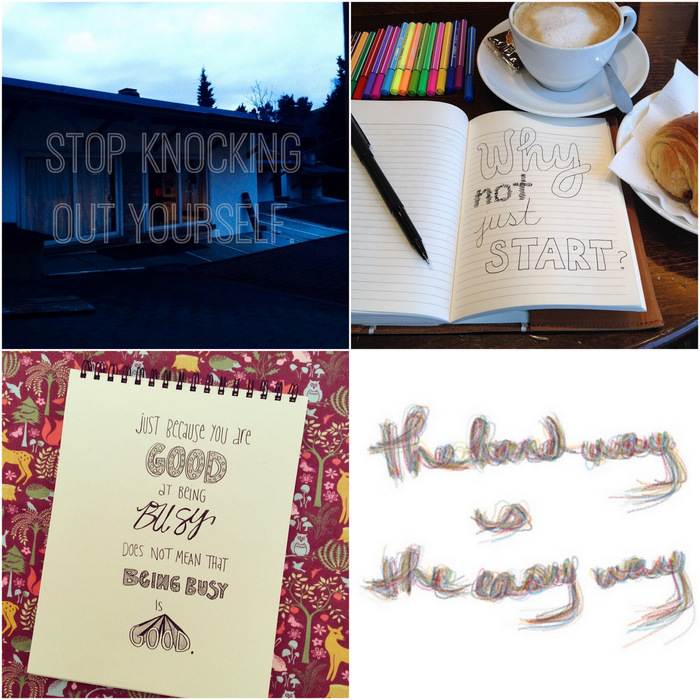
1. stop knocking yourself out 2. why not just start 3. just because you are good at being busy does not mean that being busy is good 4. the hard way is the easy way
Amazing submissions this month for the creativity club challenge: inspire yourself. I picked a few of my favorites, but I urge you to go see them all. They can be found under the hashtag #thecreativityclub. If you’re not on instagram, you can see all the tagged photos on the elsie marley facebook page (in the instagram app on the right).
Read the rest of this entry »
Posted in creativity. 11 Comments »

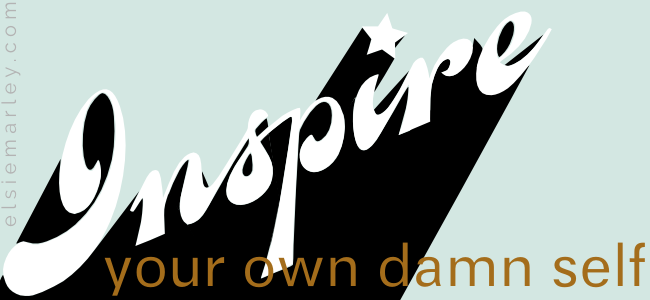
A few people wrote to me saying that the first creative challenge this year was too difficult. I didn’t mean it to be hard, but I did want it to be a bit of a stretch. The challenge is:
…quote yourself and illustrate that quote. Pick something you thought or said and write it beautifully.
The title of this challenge is “inspire yourself” and maybe that’s where the problem lies. When we think of being inspired we think of lofty, erudite, carefully crafted, words of wisdom that are supposed to move us. Don’t do that. Not because you won’t succeed (you might) but because it probably won’t be true–true to who you are. That is what this challenge is about, listening to yourself and writing down what you hear.
Read the rest of this entry »
Posted in creativity. 8 Comments »
In interviews with artists, actors, and makers, the question that bothers me most is, “What inspires you?” For one thing, the question is a lazy question. It doesn’t involve any thought or research or insight. And even worse, the answers are always bullshit. They might not try to be bullshit, but they usually are. It’s like asking someone, “How do you love someone?” or “Why are you happy?” There might be answers to these questions, but they are never satisfying.
For the inaugural challenge of The Creativity Club we are not going to be inspired by long walks, or art exhibits, or perfectly staged pictures on pinterest. We’re going to be inspired by our own damn selves.
Read the rest of this entry »
Posted in creativity. 15 Comments »
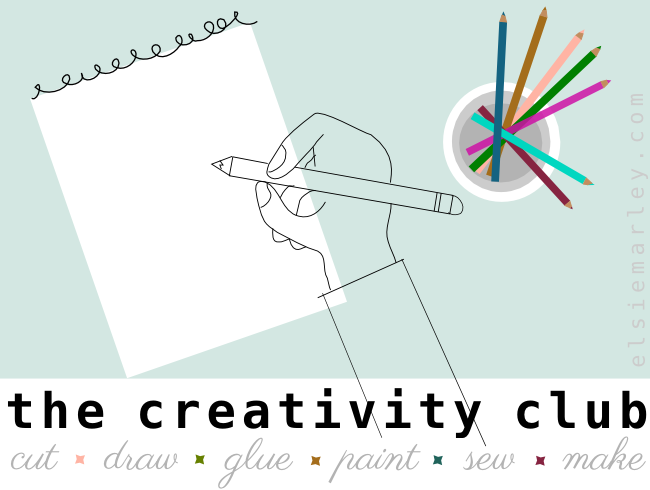
I started the creative assignments last year to push myself creatively, just a little bit. Many of you joined in, sewing eggs, snapping pictures, drawing patterns, and making other random & awesome things. More of you have been watching from the sidelines–which is totally fine!–but I want you to jump in too. I thought if I updated the assignments a bit: a new name, a proper schedule, pretty buttons to put on your blog. Then maybe I could get you to push yourself creatively too (just a bit).
Read the rest of this entry »
Posted in creativity. 37 Comments »


