I only recently discovered Kristin’s blog, skirt as top, but was hooked right away. I think I found it first because of this beautiful top she made for herself. Turns out she makes cute kids clothes like crazy! I’m happy to have her here today to share her awesome tutorial for elbow patches.
* * * * * * * * * * * * * * * * * * * * * *
Hi, I’m Kristin from skirt as top and I’m here today to talk about elbow patches! I’ve been spotting lots of elbow patches on adult shirts and sweaters this fall, and I love the trend. I thought it’d be fun to add them to homemade kids’ clothes for a little “mini-professor” style, too. Problem is, kids’ sleeves are very narrow and that means it’s pretty much impossible to sew the patches on after the garment is already completed. That makes finding the correct placement for your elbow patches a bit tricky. In this tutorial, I’ll show you how to add properly placed elbow patches when you’re making a shirt from scratch.

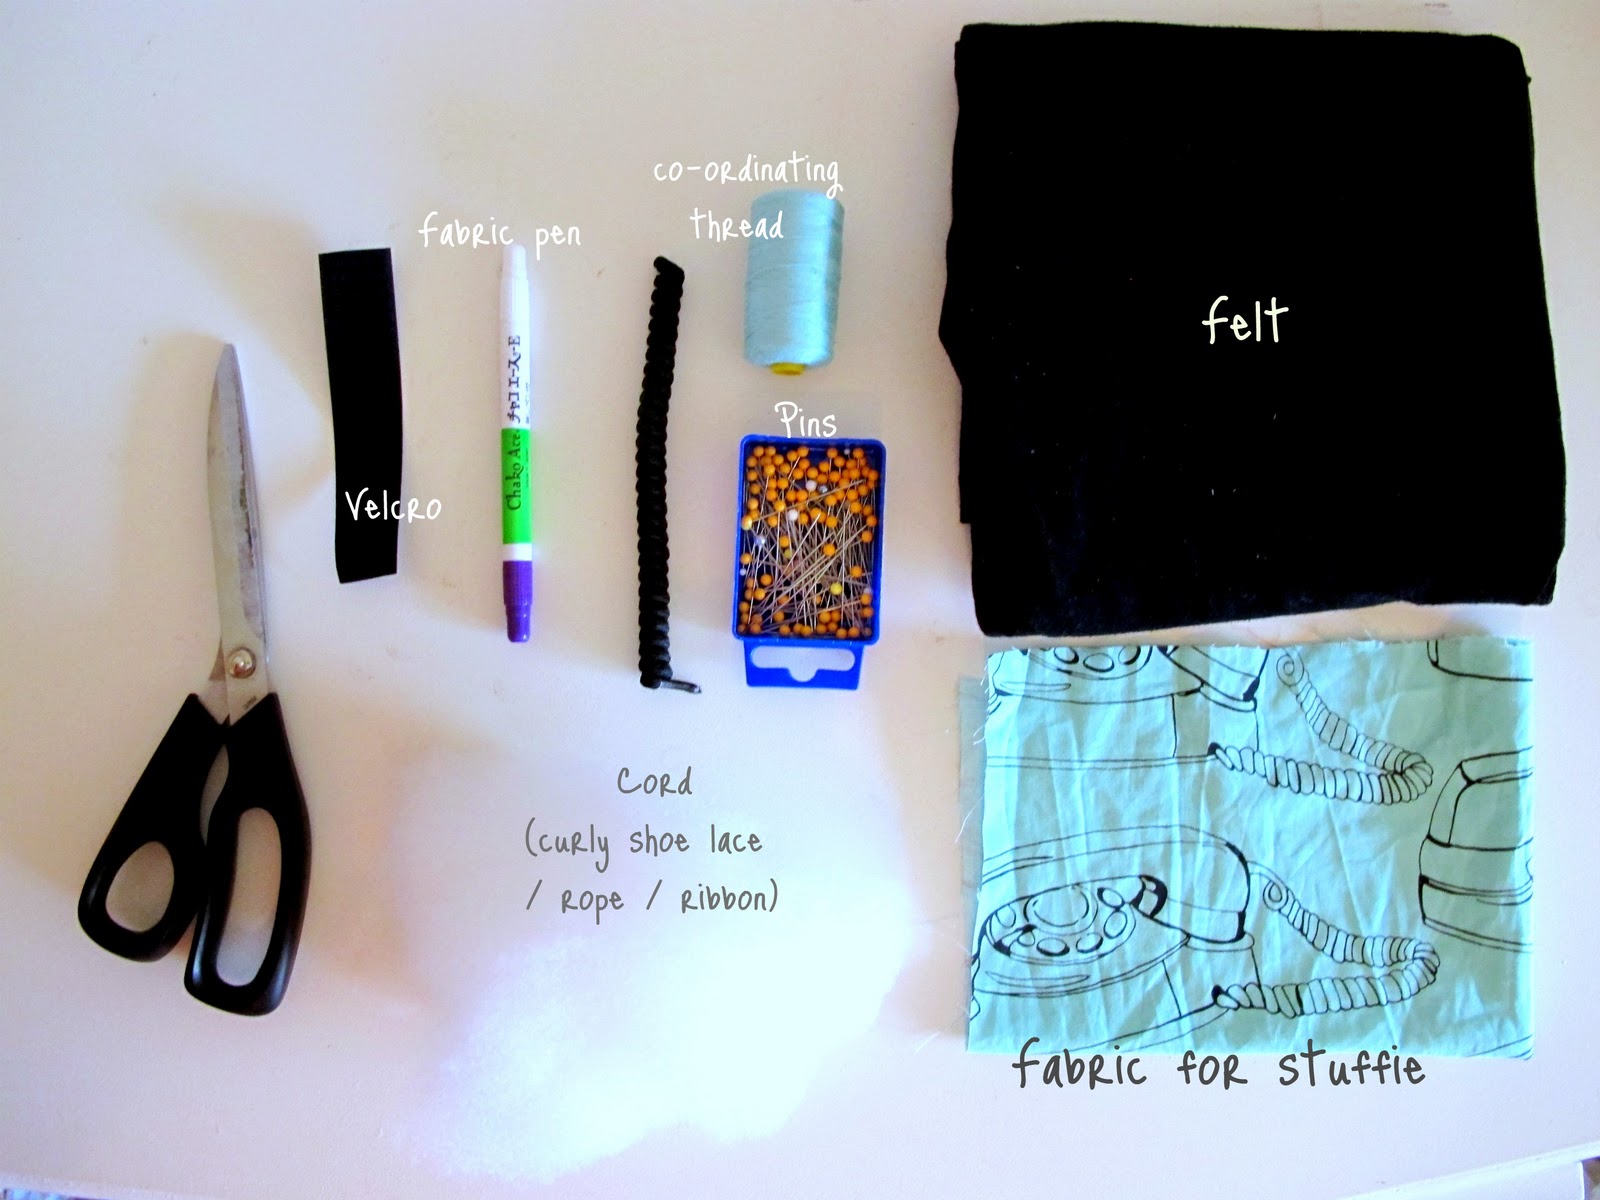
MATERIALS:
- Tailor’s chalk or water-soluble marker
- Clear ruler
- Elbow patch pattern (draw an oval shape onto a piece of paper – mine is about 2.75″ tall x 2.25″ wide and works for about 6-12 month – 3T sizes, though you can make it whatever size you like)
- Cut (but not sewn) sleeve pieces from your shirt or sweater pattern (Shown is the Oliver + S Sailboat Top. To draft your own pattern, try Dana’s free 90 minute shirt tutorial)
- Scraps of coordinating fabric for the patches (try small floral for girls, plaid flannel for boys, or even suede if you’re feeling adventurous!)
DIRECTIONS:
1. Wrangle your kid while they’re wearing a long-sleeved shirt from their wardrobe. Mark an X on their elbow with tailor’s chalk or water-soluble marker.
2. Take the shirt off of your kid, measure from about .5″ above the shoulder (to account for the seam allowance) down to the center of the X that you marked earlier. Write down this measurement (for my 10 month old, it was 5.5″). We’ll call this the “Elbow Measurement” because I’m super original.
3. Go to one of your new garment’s sleeve pieces. Fold it in half to determine the center line, and press. Determine the back of the sleeve per your pattern, since that’s the side we’re adding the patch to. Mark your seam allowance from the cut side of the sleeve with water-soluble pen or tailor’s chalk, then find the center point between the folded center and the seam allowance mark and draw a vertical line (just guess approximately where the patch will hit on the vertical axis).
4. Measure down from the shoulder edge along the vertical line that you marked in Step 3. Mark your sleeve with a horizontal line at your Elbow Measurement (remember mine was 5.5″) so your markings form a +. I shifted my ruler over to the edge for clarity, but you should line it up through the middle of the ruler to make the + shape.
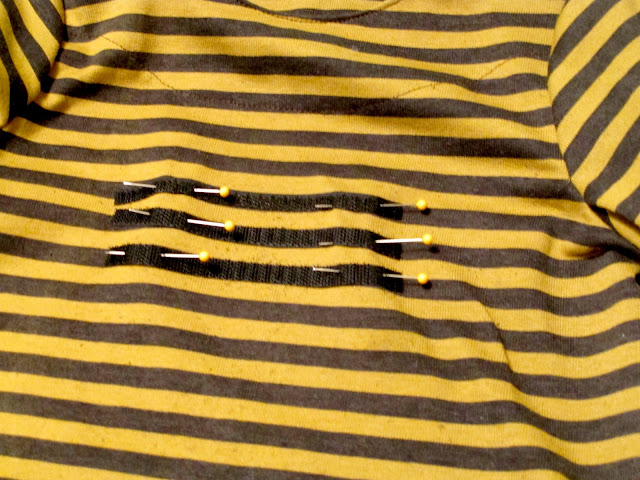
5. Trace the patch pattern onto your patch fabric, cut them out, and find the center of each patch by folding it into quarters and pressing slightly. Apply fusible web if desired (the patch is essentially an appliqué). Match the center of the folds on one patch with the + marking on your sleeve and pin into place.
6. Lay your second sleeve piece down so the sleeves are side by side with the edges aligned. Using your clear ruler as a guide, place the second patch on its sleeve to mirror the one you already pinned on. Measure in from the side edges to center it, as well. Make sure your sleeves are mirror images so you don’t apply the patch to the front of a sleeve! Pin the second patch into place. Be generous with pinning if you didn’t use fusible web.
7. Sew around the edge of each patch using a straight, zig zag, or blanket stitch. I used a blanket stitch here (number 11 on my machine).
8. Repeat for the other sleeve. Your elbow patches are on! Press each patch to set the stitches (unless you’re using leather), then finish your garment per the pattern instructions.
I hope this helps you add a little extra punch to your little one’s long sleeved shirts and cozy fall sweaters. Thanks so much for having me, Meg, and happy KCWC sewing, everybody!