Posts Tagged ‘tutorial’

summer journal: chalk paint

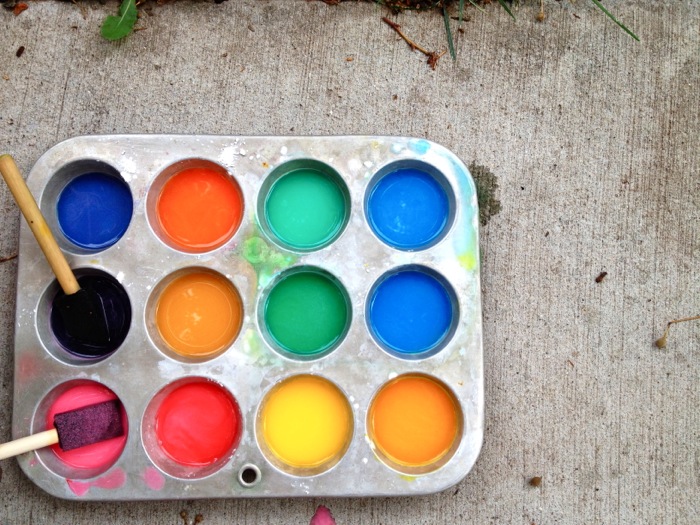
homemade chalk paints

I never seem to remember to buy sidewalk chalk, but we always have the ingredients on hand for chalk paint. Making chalk paint is super easy; drawing with chalk paint takes a bit of practice.

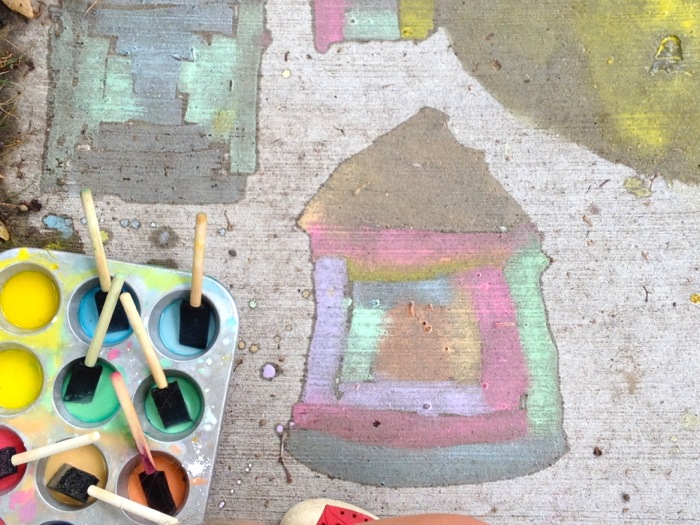
chalk paint log cabin

Our first attempt turned out mostly colorful blobs, but the second time was a success. I was doodling quilt squares [sewing nerd!] and my kids wanted to learn how to make them too. They told me their log cabins had roofs, obviously.

corn starch + food coloring + water = chalk paint

chalk paint

materials

  • muffin tin
  • corn starch
  • food coloring (the cheapy kind, not the gel kind)
  • water

directions

  1. Put one tablespoon of corn starch in each muffin tin cup.
  2. Mix in a tablespoon of water (or a smidge more) into each cup.
  3. Put one drop of food coloring in each cup.
  4. Mix well.
  5. Grab a paint brush and go outside!

chalk toes

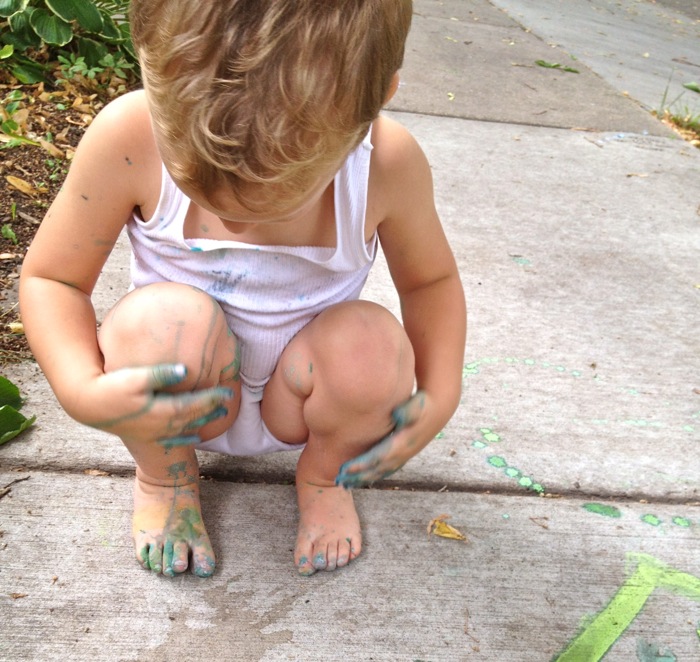
Be warned, fingers and toes will get painted.

chalk paints

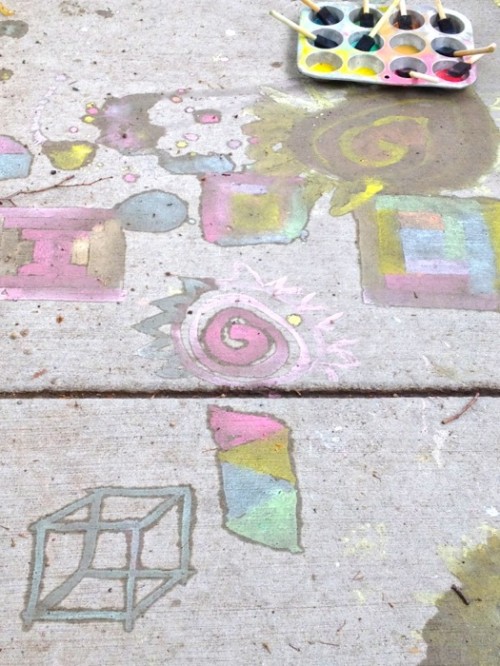
But other cool stuff will be painted too!


painterly skirt tutorial

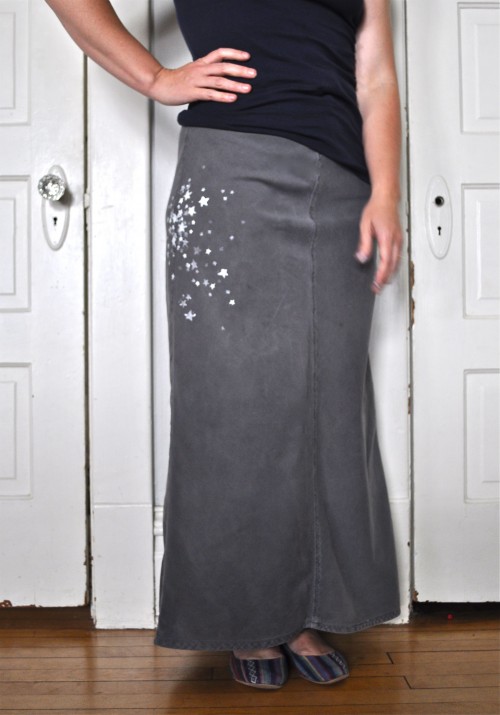
For my contribution to Skirt Week 2012, I made this little tutorial for turning an old, rather boring skirt into something a bit more interesting. Sometimes you don’t need to make a new skirt, but you need to liberate one from the back of your closet. I had planned on doing a tutorial for a button placket, but then I saw this picture and could not stop thinking about it:
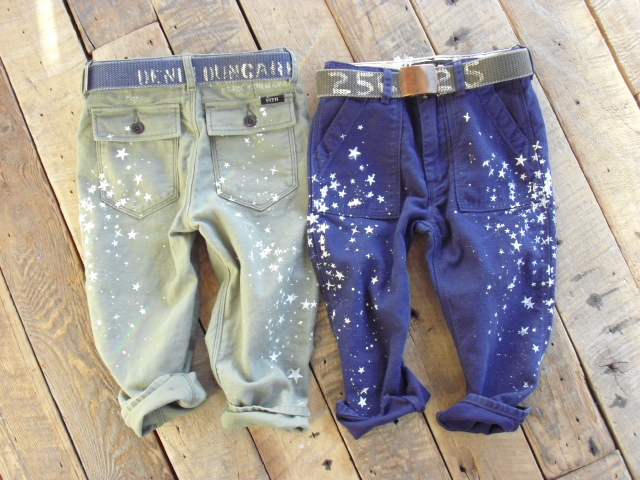
These pants are from a shop in New York that specializes in super awesome Japanese children’s clothes. The idea is so simple and so effortlessly cool that I had to steal it.

painterly skirt tutorial
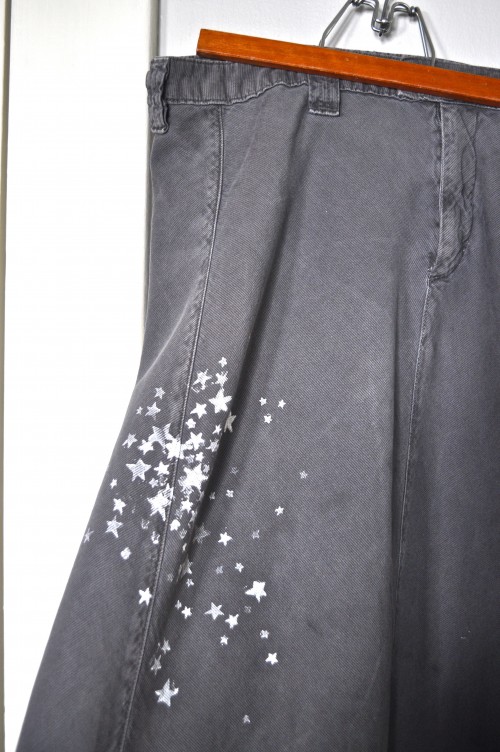
painterly skirt

materials:

  • 1 unloved skirt
  • a bit of cardboard or freezer paper
  • paint of your choice, fabric or acrylic or even house paint*
  • stamps
  • very small paint brush

painterly skirt materials


directions:

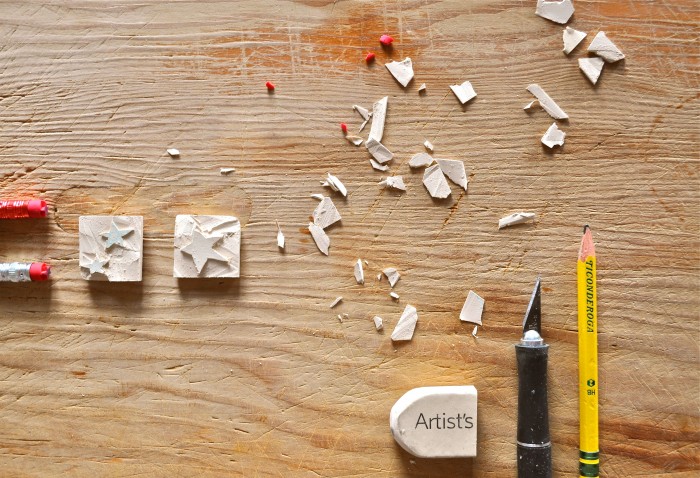
1. The first thing I did was carve some starts out of an old eraser. If you’ve never done this before it may sound hard, but I assure you it is not. I carved two stamps from a big eraser and two from the tiny erasers on a pair of new pencils. It took me all of 10 minutes. There are many good tutorials for carving stamps from erasers out there (this one and this one for example). The stamp you make should be quite small, so stick to a simple shape–stars work well!
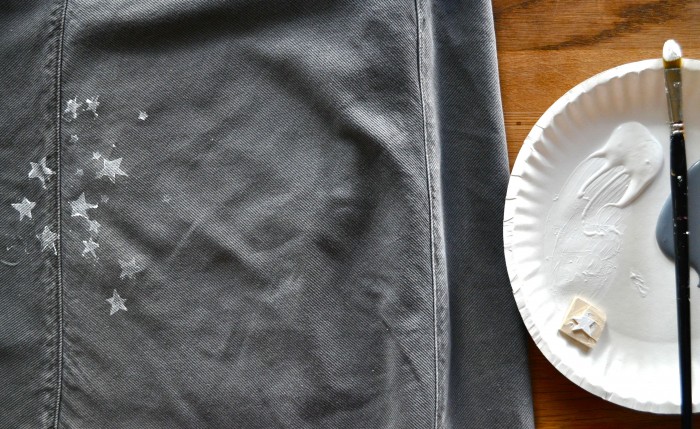
starting the stars

2. Put a piece of cardboard under where you will be stamping, or you can iron a bit of freezer paper to the back. You need something under your design, so the paint doesn’t bleed through to the other side.

3. Start stamping! You can be as fussy or as messy as you want. The look we are going for is paint wiped on the side of your skirt, so there aren’t too many rules you have to follow. It looks nice if the stamps are concentrated a bit in one area and then fade out towards the edges.
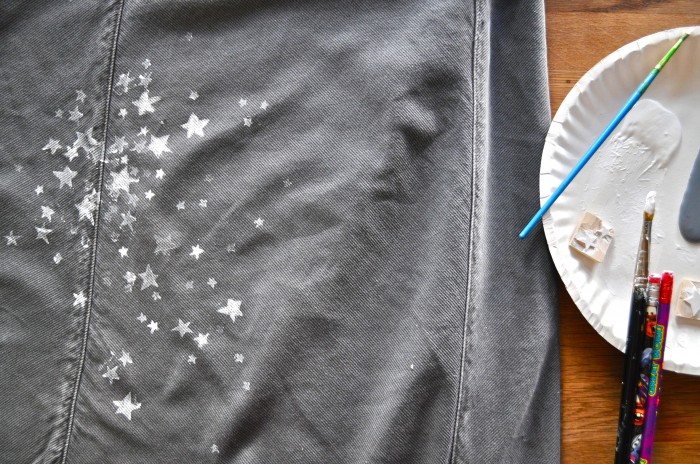
stars painted

3. After you have stamped to your heart’s content, take a very small paintbrush and go over some of the stamps with more paint. This will make some of the stars stand out better and give the design a little more dimension.

4. Let the paint dry and go over it with an iron to set it.  Waalaa! a new skirt! One that will be loved and worn again!

before after painterly skirt

*a note on paint: I don’t paint on my clothes very often, but when I do (like here and here) I like to use a product called fabric meduim. You mix the meduim with any acrylic paint and it makes it into a fabric paint. A good friend of mine turned me on to it. Another good friend told me to get out of the not-so-great craft acrylic paint aisle and go to the actually-an-artist acrylic paint aisle: the colors and the quality are better.
painterly skirt after


me hearty eye patch tutorial

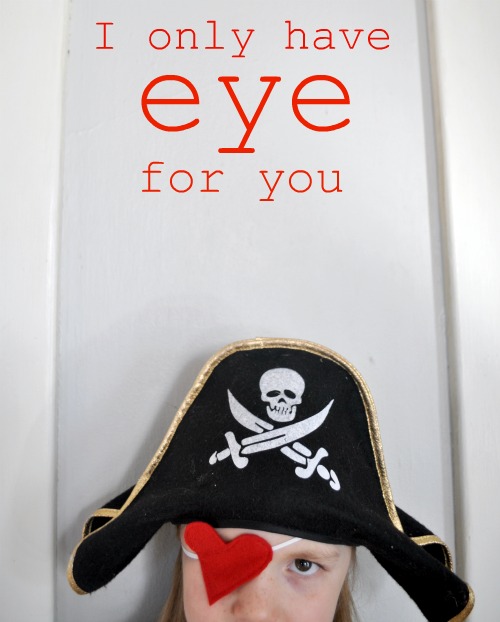
"I only have eye for you" pirate valentine

me hearty eye patch tutorial

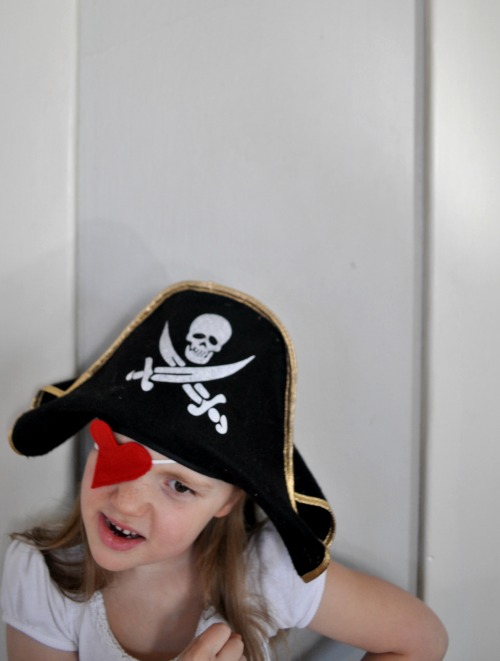
I was going to make super hero heart masks for all the kids in my daughter’s class (like this fantastic one), but they were fussy and each one was taking way too long. My daughter and I came up with the eye patch idea together. An hour later I had whipped up 17 of them. Super fast, super easy, good for girls and boys (and grown ups too), and not full of sugar. Eye patches arrrrgh the best!

materials:

  • felt, 2 3in squares per patch
  • 1/8in wide elastic, 16-18in piece per patch
  • straight edge

heart eye patch tutorial

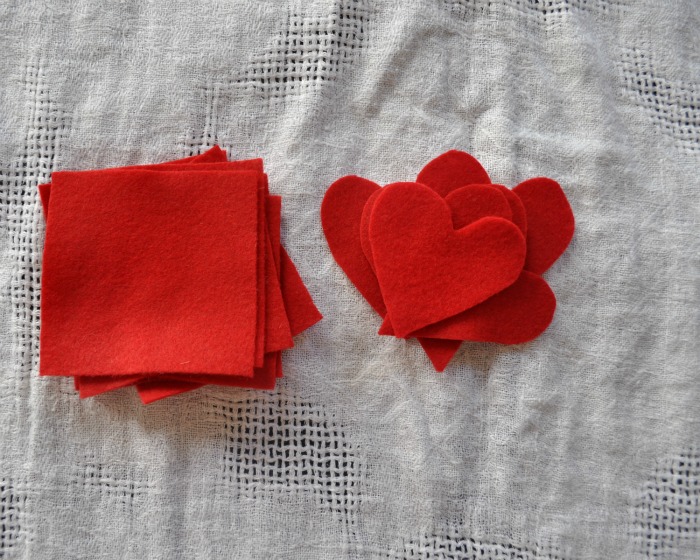
1. Cut two 3in squares of felt for each eye patch you are making. Then cut a heart from one out of each two squares: if you are making 5 eye patches, you started with 10 squares and now will have 5 hearts and 5 squares.

heart eye patch tutorial

2. Take a heart and place a straight edge (I used an envelope) across the middle. Then tilt the edge 1/4 inch up on one side and 1/4 inch down on the other. Make a tiny mark on each edge. This is where the elastic will be attached to the patch. Really you only need to mark 2 or 3hearts. After that you can just eyeball it (ha!). No really.

heart eye patch tutorial

3. Place the marked heart on top of a felt square. Cut a piece of elastic so it’s 16-18 inches, smaller for smaller people bigger for bigger people.  Sew 1/8 inch from the edge all around the heart, inserting the elastic where indicated.

heart eye patch tutorial

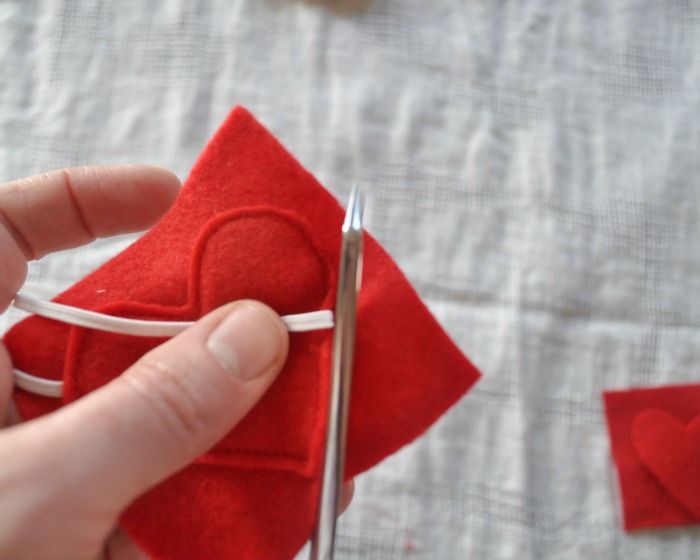
4. Trim away excess felt, holding the elastic as you cut (so it doesn’t get cut, silly).

heart eye patch tutorial

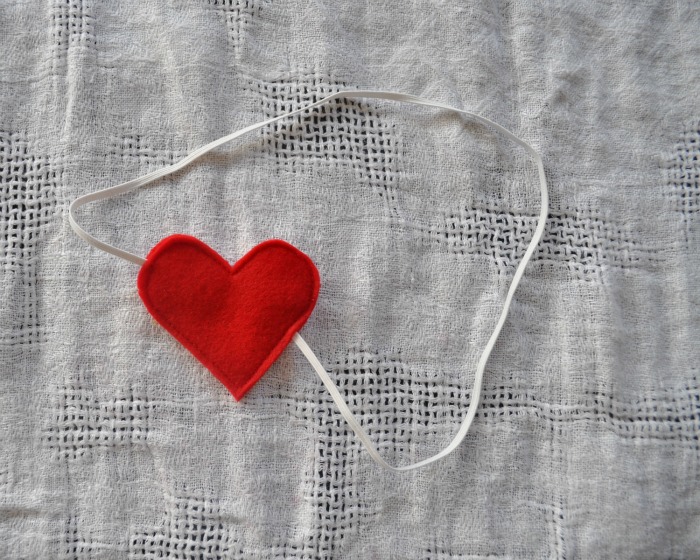
5. That’s it! No go make 20 more because Valentine’s day is tomorrow! Here are a few awful pirate puns you can use:

Will you be my matey?

You arrrrgh my Valentine!

I want to capture you, Valentine!

Yarrrr the best!

I treasure you!

I’d walk the plank for you!

Ahoy, me hearrrrty

pirate valentine

wheel stitch cowl

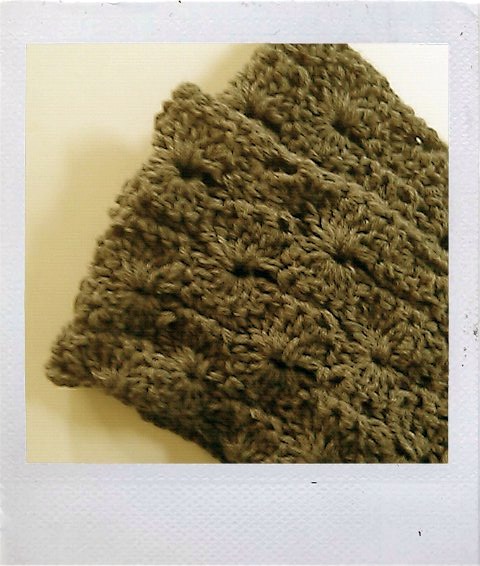
Sorry I disappeared from the internet last week: school holiday, crazy children, broken camera, blah, blah, blah. The camera will be in the shop for a good two weeks, so you are stuck with my dressed-up-to-look-like-a-polaroid camera phone shots for a while. That’s me up there, trying to look all stylish in my cozy new cowl.

wheel stitch cowl detail

It has been a loooong while since I picked up a crochet hook–10 months to be exact. Needless to say I was rusty. There was a lot of ripping out at first, but then the crochet neurons began firing again and it was smooth sailing the rest of the way. The cowl pattern is the chunky circle scarf  from people webs.  Not only is the pattern free, but Lindsi talks you through every bit–lots of people had questions about different steps and she answered them all in the comments section. How awesome is that?

happy halloween cowl

Now I’m dreaming of my next crochet project.  I think Cal’s new shawl pattern is definitely on the list. Or I might try my hand at some amigurumi, but I can’t decide elephant or bear/mouse?  Or something totally different. What do you think?

p.s. taking pictures of yourself is hard. Happy Halloween!


golden birthday part one: wrapping paper

Right before kcwc took off this year, we celebrated my daughter’s golden birthday. The theme was gold, because we are original like that. It was a fitting theme, but a little odd–not a lot of golden party games (oh I found one though)–so we went a little crazy with the decorations.

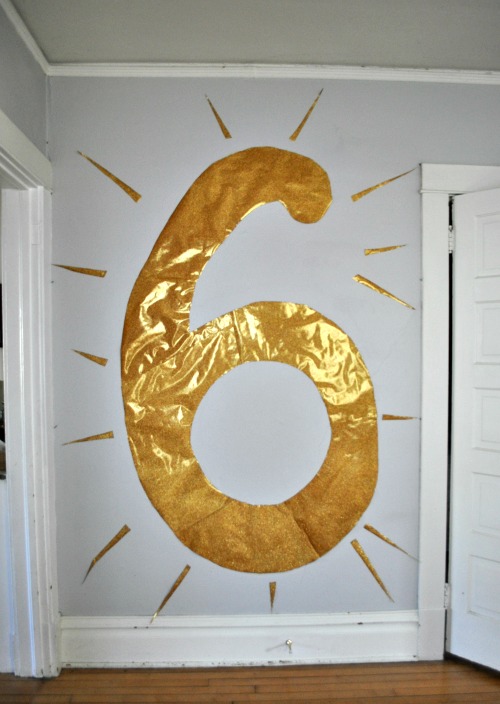
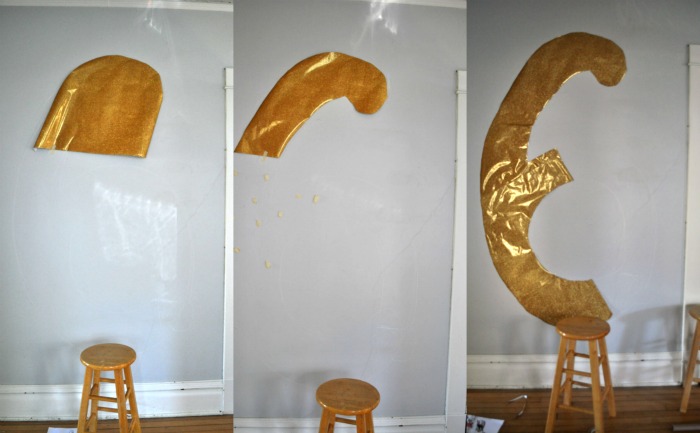
how to make a giant number with wrapping paper

The giant golden 6 idea came from this post for a fringey monogram. The fringey detail is super cool, but it also takes quite a bit of time, so I took a short cut and used wrapping paper–glittery, golden wrapping paper! I drew a huge six on the wall with chalk, taped the wrapping paper over it, and then cut right inside the line I drew.  The whole thing took about 1/2 hour + 1 1/2 rolls of wrapping paper.  It looks wrinkley in the photo, but the paper (and my baseboards and my floor and my hands and my face) was so glittery that I didn’t notice until I took the picture.

wrapping paper chain

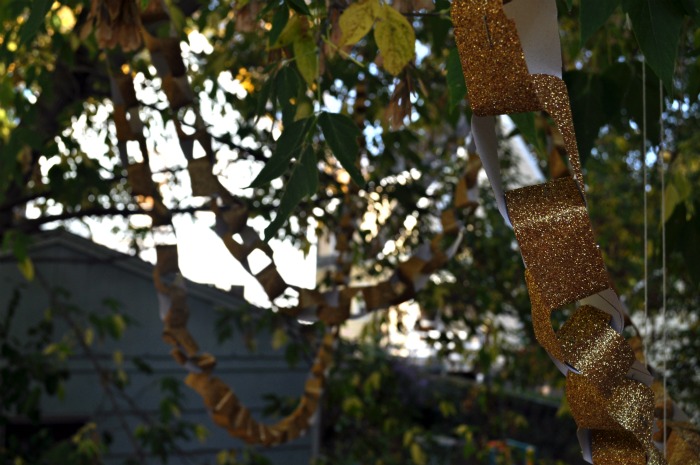
The humongous glittery six looked a little plain, if you can believe it, so I added those shooty out lines all around it.  Blazzam! Then with the extra bit of wrapping paper I made a golden paper chain for above the picnic table.  You can see the crazy, glittery texture of the wrapping paper a bit better here.

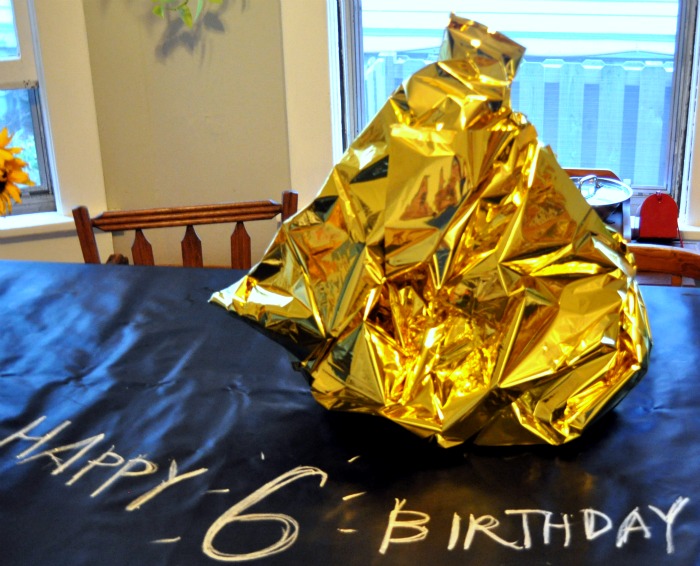
gold wrapping paper

The actual present was wrapped in golden wrapping paper too of course.  I think it’s a sweater…