Posts Tagged ‘top’

kcwc fall 2012: day one

kcwc fall 2012 day one!

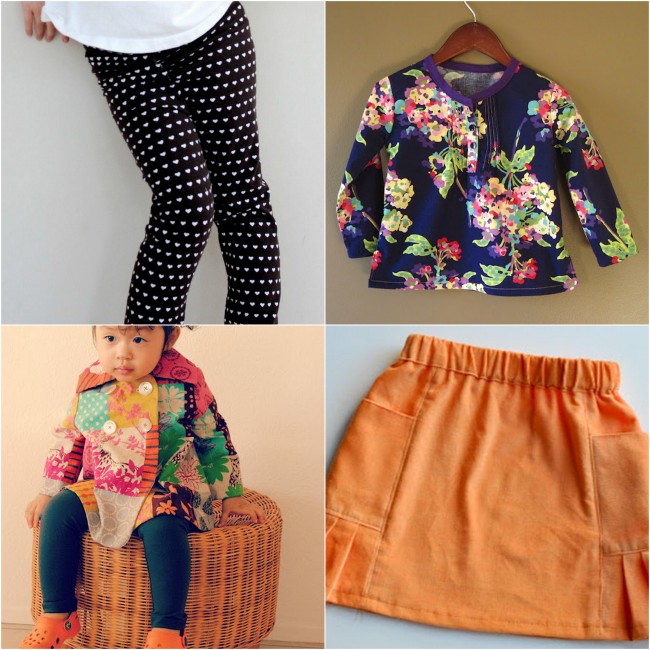
1. heart leggings  2. new shirt for D  3. Lala’s fall coat 4. corduroy music class skirt

I think it is only right to start with your creations, not mine. You are the ones sewing into the wee hours of the night or in the morning–all 535 of you!  Different time zones have given some of you a head start. Others (like me) started early for one reason or another. So don’t be discouraged by the finished garments in the flickr pool already. As kcwc begins, I do want to say one thing:

Have patience with yourself!

This challenge is about putting in a little time everyday doing what we love (but may have forgotten that we love it). If you sew two right legs together, or have to unpick a giant seam, or can’t understand the directions at all, don’t freak out and go for the ice cream. Put that project aside and pick up one you are more comfortable with or one you are super excited about. Then maybe revisit the other project the next day, or ask a question on flickr (the kcwc discussion is here). We are all here to help each other and motivate each other! Okay, let’s go!

 * * * * * * * * * * * * * * * * * * * * * * * * * * * * * * * * * * * * * * * * *

In the spring I filled out a simple form for each of my projects and it went so well I’m going to do it again. Feel free to do the same as it makes quick work of blogging–leaving more time for sewing!

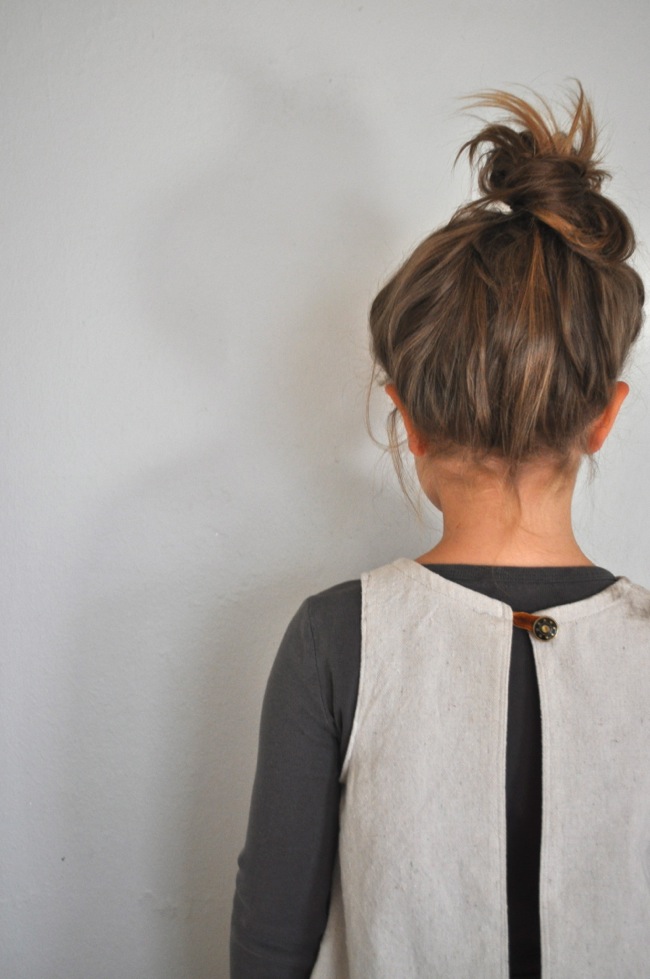
apron top back

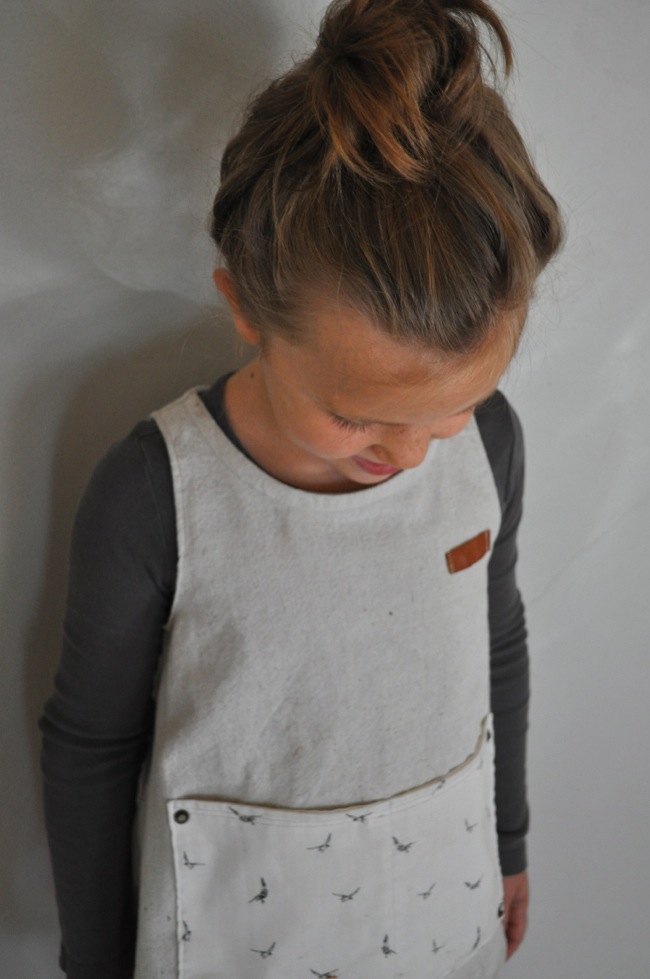
the pattern: The pattern is the apron top from Carefree Clothes for Girls. It is simple, but with many details that make it just right for my little bit sweet, little bit tough, (still) little girl. Looking back in the blog, I’ve sewn up many pattern from the book for her: a princess dress, a play dress, and a winter coat.

apron top from carefree clothes for girls

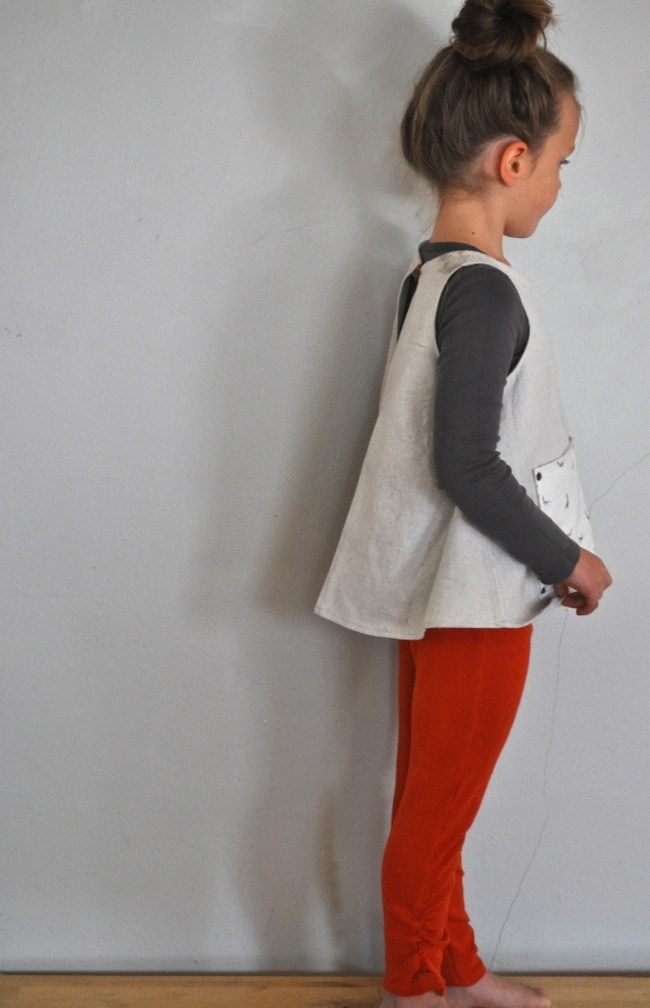
the fabric: The main fabric I used was drop cloth from the hardware store. The suggested fabric was sail cloth and I though drop cloth was a good stand in. The bird fabric on the pocket was leftover from another simple top I made.

apron top and sunki leggings

the sewing: The sewing was actually more involved than it might seem. The apron has so many bits to hem–not my favorite thing in the world–so that took forever, but there were other bits that were fun. The pattern called for rivets in the pocket corners and a little scrap of leather sewn onto the front. My fabric store had rather crummy looking rivets, so I used one half of a snap instead. While I was there I found some good looking jean buttons and I used one for the back closure. Have you ever used jean buttons before? They are hammered into the fabric–super cool.

sunki leggings in the woods

Oops, I almost forgot I made the leggings too! The pattern is the Sunki leggings by Figgy’s. The fabric was some orange interlock from my stash. And the sewing was so easy and fast that I may never buy leggings again!
kcwc fall 2011: day one

stripey top

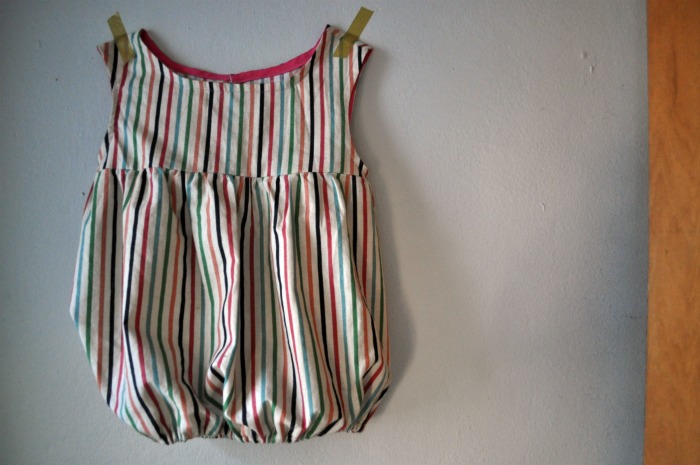
The first day of the kids clothes week challenge is finally here! Full disclosure: I had my sewing week a few weeks ago so I could have a garment to show you each day, but that was a little challenge to myself. Don’t feel the need to finish something everyday. One hour sewing, pattern making, or fabric cutting–it all counts. What’s important is that you do it every day. Blogging and laundry can wait a week.

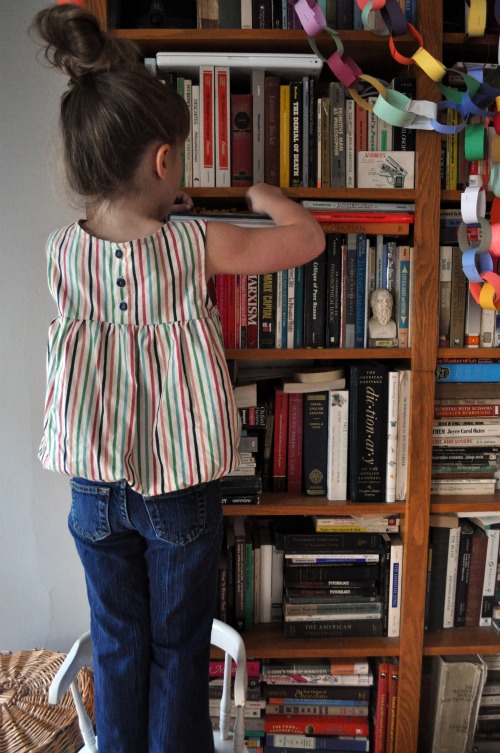
stripey top back

It seems silly to be making a sleeveless top for a fall challenge, but I only had the littlest bit of this awesome stripey fabric (thanks, lil!) and I wanted so badly to make something for my daughter from it. The pattern is from Happy Homemade vol. 5, a japanese sewing book. I’ve raved about Happy Homemade vol. 2 in KCWCs past, so I thought I’d see what vol. 5 is all about. It is everything you would expect from a sequel: sort of like the original, but not as good. Still, this is an adorable top, that came together quickly and uses just a bit of fabric. So really the book isn’t without it’s merits.

edited: I get all my japanese sewing books off etsy, search for either of these titles there and you should find them.

a coat in the works

Just because I’ve done a bunch of sewing already doesn’t mean I’m not up for more. The good sewing vibes the come out of KCWC are too good to pass up. We are 300 strong and counting this time around! If you haven’t already, go over to flickr and join the elsiemarley group so you can show off your fabric piles and patterns and finished garments. While you are there check out the eager beavers who have already posted some gorgeous pictures, like these guys:

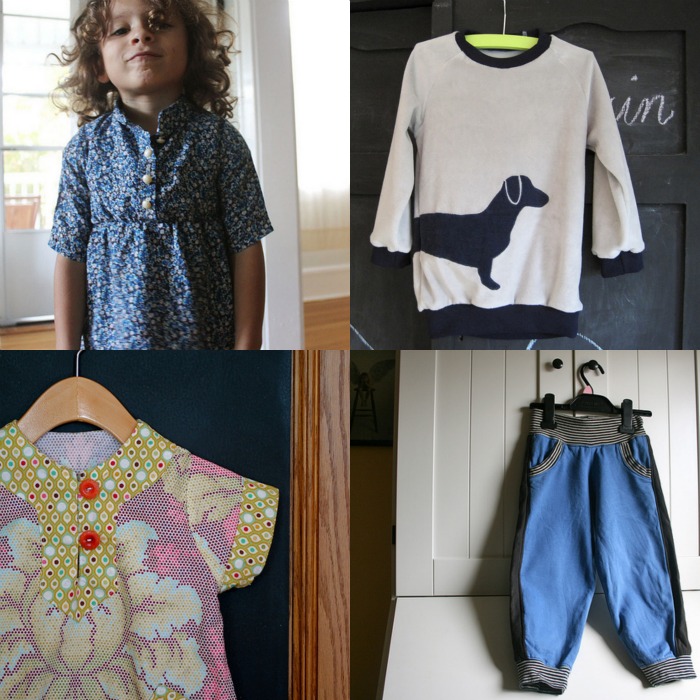
kcwc collage day on

  1.  de-stash dress
  2.  dog shirt
  3.  tula pink tunic
  4.  stripey pants


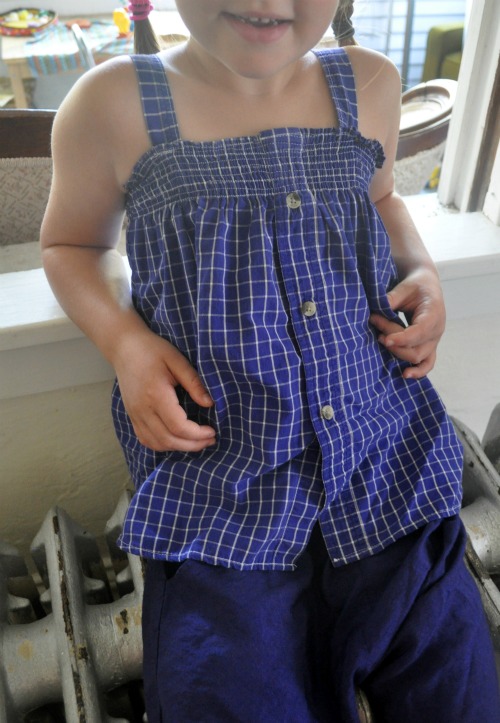
shirred check top

girl's check shirt made from men's shirt

Here is a little shirred top I made for my daughter from an old men’s shirt. When I started I was trying to make something more like this, but the yoke was a leeetle too tight. Luckily there was just enough length to cut it off and try something new.

That damn elastic thread everyone raves about seemed like the best bet for actually coming out with a wearable top in the end. I’ve tried it before, but there are so many conflicting explainations on how to use it–wind it loose, wind it tight, wind it not too loose and not too tight (that one is particularly helpful, thank you), pull it to gather, don’t pull it, iron it, steam it. Whatever. I already screwed up the shirt once, so I didn’t have much to lose by screwing it up again.

But hey! it’s not so bad.  I have no idea how I wound the bobbin (not too loose and not too tight–sorry) but it worked well enough. Definintly of the homemade varitey.  She likes it, but elastic thread is not all that pleasant against the skin–anyone have any ideas for lining shirring? Or have any horror stories about elastic thread?

kids clothes week challenge: day 5

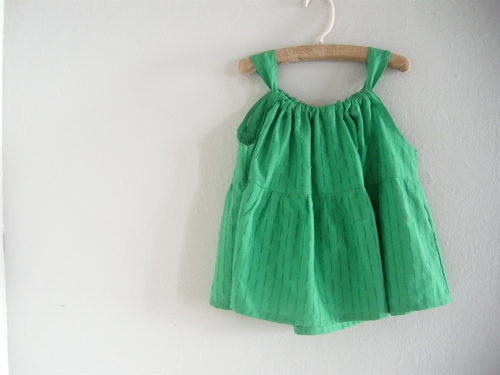
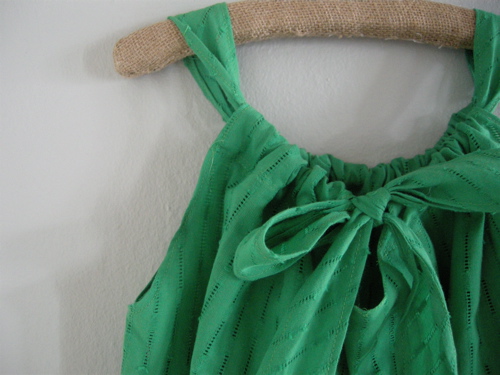
After some pretty obvious frustration yesterday, I finished some projects. Some I just put away for another time and some I started because I knew I could finish them without loosing my mind.  This shirt pattern is from the super fantastic japanese book Happy Homemade Vol. 2.

There is a little keyhole detail in the back, but except for that it’s just a few pieces of fabric cinched together with a tie.  The tie works as the straps too and ties in a pretty bow in the back.  If I didn’t have to hem the entire tie  (and next time I’ll just cut two, sew them together and turn them out) it would have taken an hour start to finish. I don’t know if it fits yet, because little miss is at school, but it turned out so well I won’t even mind if it doesn’t.

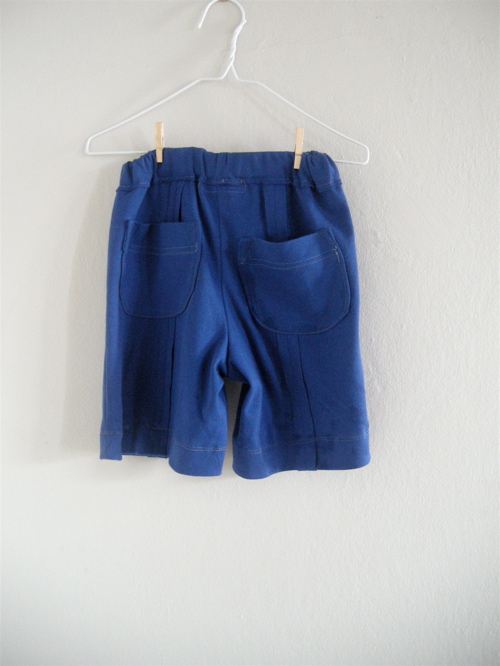
I know for sure these shorts don’t fit, but they might in a few years. My son doesn’t care though. He wore them yesterday and today and the front is covered in breakfast, which is why I am only showing you the back. To make these you take a pattern for shorts cut the front and back pieces down the middle (slash and spread) so when you cut out your fabric you should have eight pieces total. Then sew the middle seams with the seam exposed and sew the side seams normally.  It’s kind of a cool detail, but I’m not sure how they’ll look out of the wash. I made them from a knit, so they shouldn’t unravel. If they come out ok I’ll make some more in the right size. someday. The pattern is “i” from Everyday Bottoms.

kid clothes week

I kept my word and worked (almost) every evening this past week on my kid’s wardrobe.  Actually I had such a good time I’m going keep at it this week.  Mostly I used tutorials, but I’m working on some patterns too. The two skirts are from the twirly skirt tutorial by Erin from house on hill road.  It is a seriously twirly skirt–my daughter calls it her swirly skirt.  The tulip fabric I picked up at the thrift store and there was just enough.  A good friend gave me the fish fabric and even though there was only a quarter of a yard (about half of what is called for) it still twirls a little. I looked forever to find a tutorial for the shirts. I knew what I wanted, but didn’t want to spend 10 bucks on a pattern for something so simple.  I finally found it on Just Tutes, which is a fantastic resource for kid’s clothes (click here to go right to the shirt tutorial).  I made the yellow one first and it’s ridiculously small (I’m worried it won’t even fit the 4 month old babe it’s going to) and the second one I made is too big, so I’m guessing next time I’ll get it right.  That’s the problem with sewing at night–no one is around to try anything on.  The striped pants are for my son and I blatantly ripped off the design (and fabric choice too) from Leah of go monkey designs, but she did a much better job (serves me right). I traced a pair of my son’s pants for the little shorts and made up the cuffs and tabs as I went a long.  I used a contrasting bright green thread for all the details and damn if it isn’t stylish.  They turned out better than I had hoped and have been worn and washed many times already.

whew! if you’d like to see bigger and better photos head over to my flickr site.

Do you have any good garment making tutorials to share? I’m kind of addicted, so if you know of any good ones–for kids or adults–please leave a comment so we can all see. thanks.