banana birthday party!

My youngest turned 4 last week and we had a little birthday party to celebrate. He is very heavily into two things at the moment: cheetahs and bananas. Deciding between a cheetah party and a banana party was difficult, but bananas won out in the end. There aren’t a whole lot of banana themed party goods out there, so we had to make up our own.
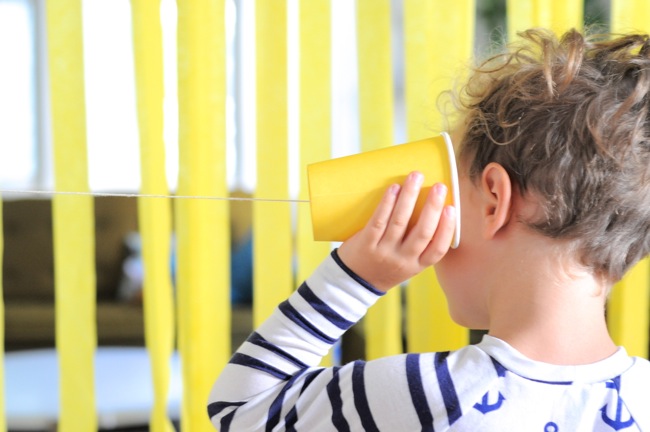
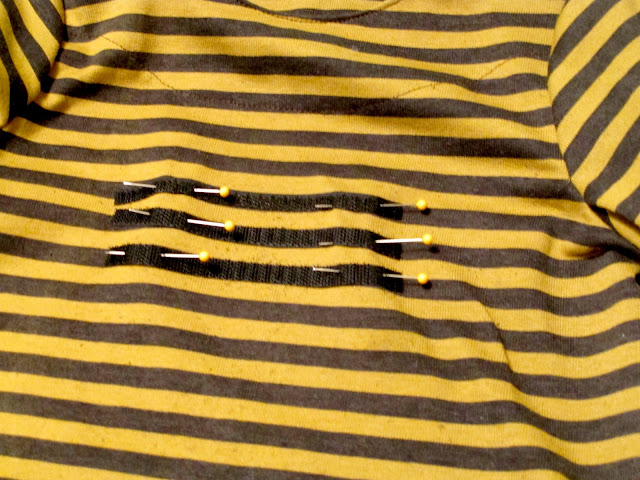
For a craft, we made a bunch of banana phones–you know the banana phone song don’t you? They are just tin can phones that we made with yellow cups and string. I thought they would be a little tricky for 4 year olds to make, so I made one for everyone ahead of time. We put them out with markers and stickers, and the kids decorated their own phones. I have to admit I was surprised they worked–and so well!
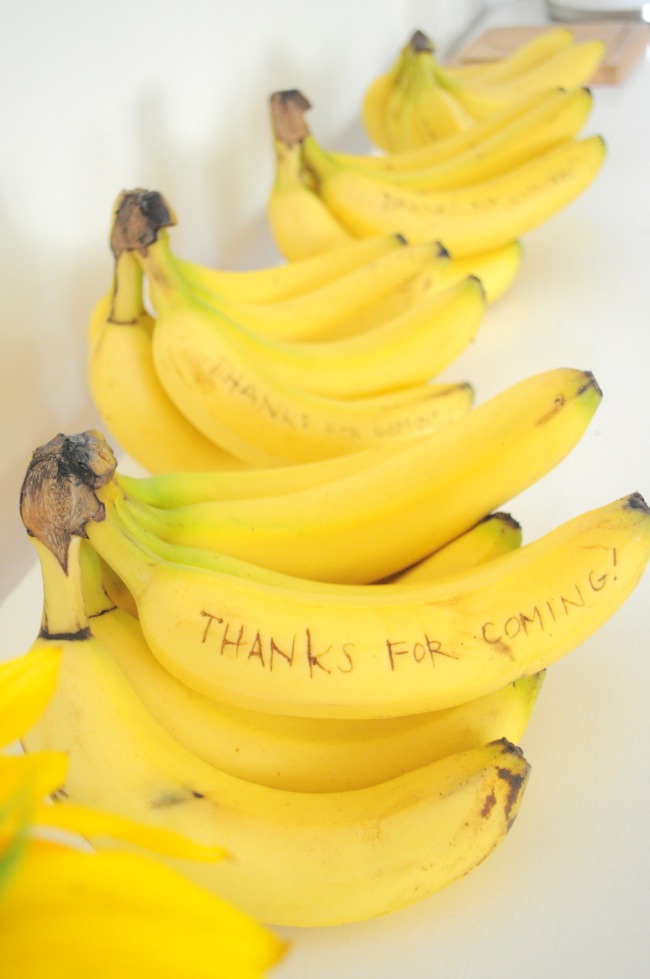
For favors we gave out bunches of bananas! What else?! I scratched the message on with a toothpick. I’m kicking myself for not writing “thanks a bunch!” How did I miss such a perfect pun? Oh well.
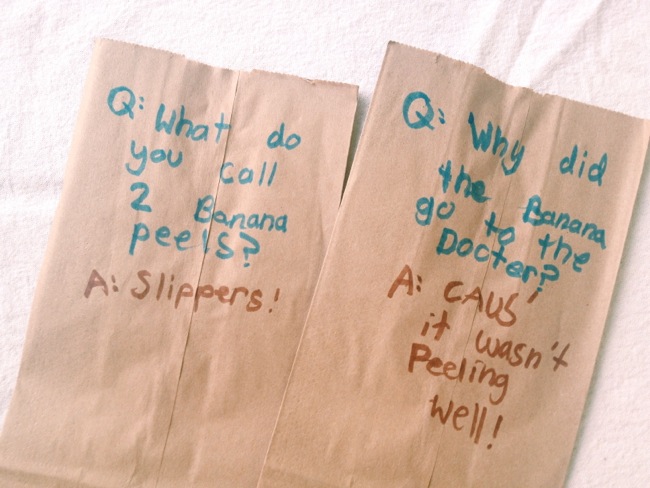
I was going to write banana jokes on the bananas too, but ended up putting them on the bags for the pinata candy. Here are a few more, because I know you need some bad banana jokes today:
- Q: What kind of key opens a banana? A: a monkey!
- Q: Why are bananas never lonely? A: Because they hang around in bunches.
- Q: How do monkeys get down the stairs? A: They slide down the banana-ster!
- Q: What did the banana say to the monkey? A: Nothing, bananas can’t talk!

The candy bags were for a banana pinata, of course! And really, the pinata stole the show. The kids helped me make it. It might look super involved, but pinatas are actually super easy and super fun to make. Oh Happy Day has a ton of tutorials on pinatas if you are curious how to make them.

Mine is just cardboard and masking tape. Next time I will double the amount of masking tape because the pinata broke before everyone got a whack at it. The kids are getting bigger and stronger. They were too busy frantically gathering candy to be upset, though.
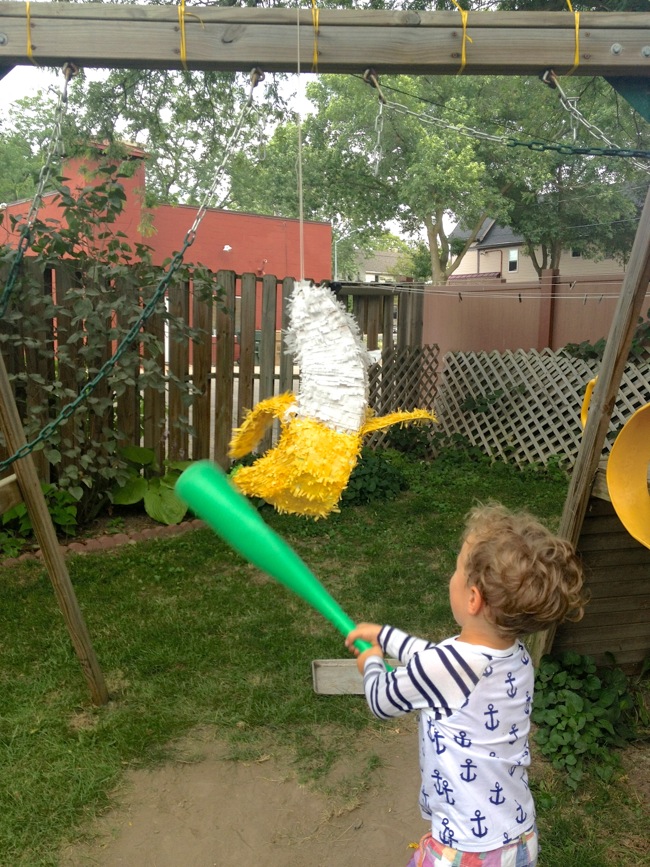
The birthday boy got a few good hits in and that’s all that matters.
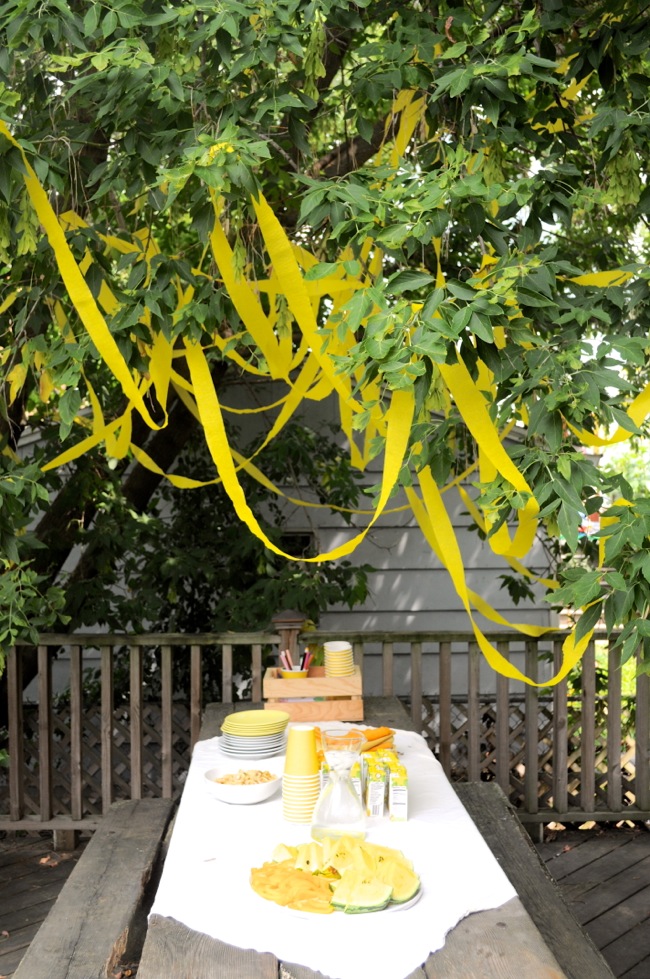
The party was in the afternoon, so we just put out a few snacks. They were all yellow: yellow peppers, yellow watermelon (which the kids were afraid of, but was actually totally delicious), yellow tomatoes, banana chips, and lemonade.
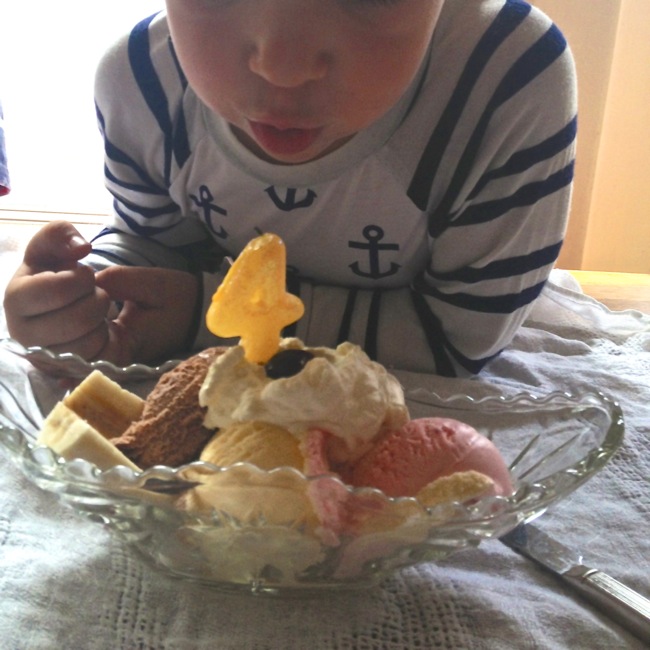
Instead of a birthday cake for dessert we had banana splits! There were bananas (of course), three kinds of ice cream, whipped cream, and real cherries for the top. The birthday boy was in heaven!
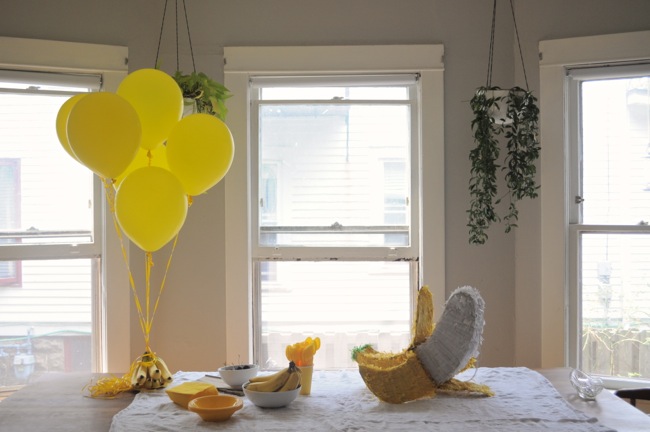
And here is the banana birthday party aftermath:

It was a banana blast!