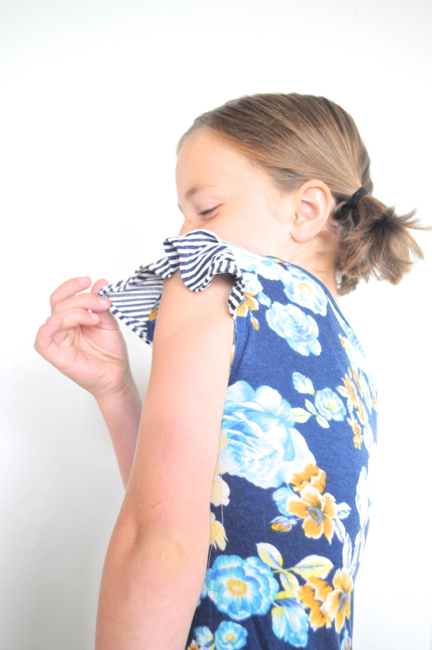
 I think if you have one artist in the family, the other kids shy away from it. My daughter draws all day long. My sons, barely ever. It’s hard for me to get my youngest to even pick up a pencil. It doesn’t help that he the lone lefty in a family of right handers. But he does know how to write all the letters and if you catch him in the right mood, he’s game.
Read the rest of this entry »
Posted in kcw summer 2014, kids clothes week challenge. 9 Comments »

It’s day one of Kid’s Clothes Week! I started super early this KCW. Mostly because all my kids needed summer clothes. The problem with starting early is that one project turns into 4 more that I want to make. See I work like a crazy person. I don’t start one thing and then work on it until it’s done. No, I start something then get an idea for something else, abandon my first project and start on the new one right away. Then I get discouraged, or bored, or get an idea for yet another project and start that.
Read the rest of this entry »
Posted in kcw summer 2014, kids clothes week challenge. 11 Comments »
Annika from näh-connection asked if she could interview me for her Sew Fantastic blog series. What I am supposed to say no? :) Annika blogs from Germany and she is interviewing sewing bloggers from all over the world this summer.
Read the rest of this entry »
Posted in sewing clothes. 6 Comments »

I am guest posting over at Oliver + S today. Super exciting! I’m talking a little about me, a little about KCW, and a little about sewing. I’ve even got a printable t-shirt design for you!
Read the rest of this entry »
Posted in craft. 9 Comments »
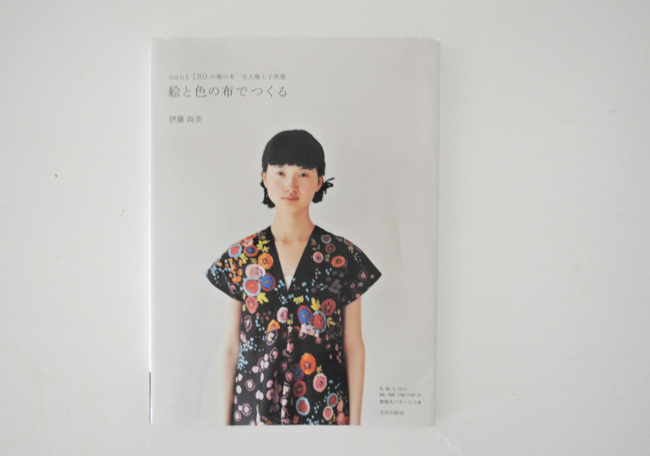
Nani Iro month just ended, but I’m going to post about my projects anyway. It’s not like Nani Iro stops being awesome on June 30! The spring line of Nani IRO is so gorgeous it was extremely hard to choose what fabrics I wanted.
Read the rest of this entry »
Posted in sewing. 12 Comments »


