Archive for the ‘kcw spring 2013’ Category

polka dot fairy tale dress

polka dot fairy tale dress

I totally left you hanging! Sorry! Well, the dress is done and it turned out even better than I had hoped.

polka dot fairy tale dress

I don’t think I could say any more about this dress–I mean I’ve written 6 posts about it already!

polka dot fairy tale dress

The seventh hour (in case you are wondering) was spend hand sewing the lining to the zipper and sewing a little hook and eye in the back. Oh and sewing a veil, which was very poofy and weird, but veils are poofy and weird by nature, so I think that means I got it right?

polka dot fairy tale dress


Her first communion went well. She didn’t slip and fall in her high heel (!) shoes. And multiple people said the dress fit her personality to a tee. A fantastic compliment if I ever heard one. And she loved the dress! She may not ever wear it again, but maybe her daughter will someday.


polka dot fairy tale dress

polka dot fairy tale dress

kcw spring 2013 [day six]

arm binding

Hour #6

1. arm binding: There has to be a least one sucky part of every sewing project, right? The dress was all smooth sailing up to this point. It was about time I hit a sucky patch. Enter the arm bindings. They seemed too large to begin with and then the directions tell you to shape them–with your iron–into a gentle curve. My words were not very gentle as I ironed and steamed and stretched those suckers all out of whack.

pin to win!

Now they were enormous! I wanted to throw them out and start over, but I thought I’d give my sad, stretched out arm bindings one more chance. I pinned, and pinned, and pinned some more before I sewed the bindings on. Pin to Win! Pin to Win! I say that to myself when I really want something to work and I’m worried that won’t. Sometimes it’s just wishful pinning, but other times you really pin and win. Okay, enough of my private sewing dorkiness.

arm binding

And look! I won! Kind of. The arm binding went on without any tucks or weirdness, but the inside was super wavy. Probably because it was stretched all to hell (see above). I had been planning to machine stitch the whole arm binding on, but there are not enough pins in the world to make that work.

hand sewing

2. hand stitching: So hand stitching it was. And after I hand stitched the arm binding, I couldn’t do a machine hem. So hand stitching it was again. And wow that took me more than an hour! I am a super slow stitcher, it seems–say that 5 times fast!

kcw spring 2013 [day five]

sewing with tulle

Hour #5

1. tulle: For all of my sewing career (ha!) I’ve worked with pretty straight forward fabrics: cottons, wools, and knits now and then. I’ve never been drawn to the slinky, fancy stuff. Those fabrics are not really my style, but mostly they look really tricky to sew. Turns out tulle is not that awful. It is difficult to sew something practically invisible and it was a bit slippy. But  did you know that tulle doesn’t fray? No hems at all! Zip, zip (that’s the sound effect for a few seams) and the poofy bit of the lining was done.

lining and tulle

2. lining: The lining is a few rectangles sewn together and then hemmed. Easy peasy. Then you baste both together and gather them like the main skirt. I don’t think this step actually took me a whole hour, but plenty of previous steps took more than an hour so let’s call it even. There are still two more days (two hours!) left in Kid’s Clothes Week. Don’t you go taking the weekend off!

fairy tale dress lining

Are you coming to hang out with me tomorrow? I don’t know how many people are coming. If we don’t all fit, there is a nice little bar across the street. It’ll either be cookies and coffee and sewing, or bloody marys and fried cheese curds and sewing!

kcw spring 2013 [day four]

invisible zipper

Hour #4

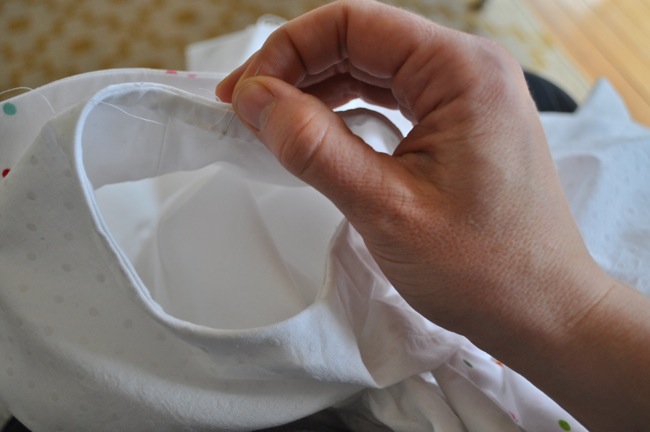
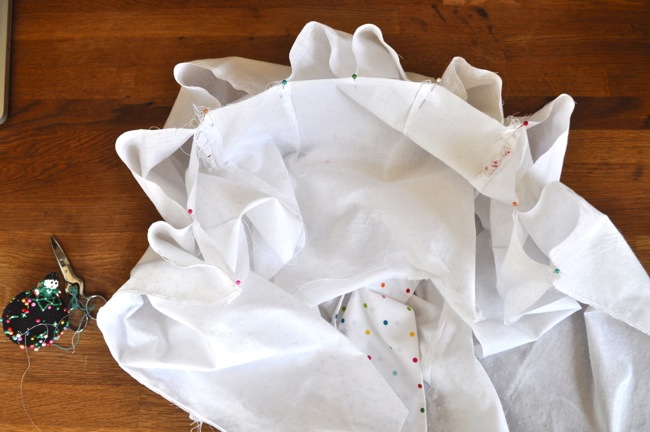
1. the zipper: The little strip of plastic we all dread. I knew it was coming up and the damn thing was making me nervous. I have done zippers successfully before, but this was an invisible zipper. An invisible zipper is like a regular zipper folded up weird. First you have to undo the weirdness with an iron, then you can put it in–this involves more muscle than you would expect. :)

invisible zipper

I have to say the directions for sewing in the zipper were completely non-intuitive. But the thing that makes Olive + S directions so good is they know when you think it’s weird or you think are doing something wrong and they assure you all is well. The directions for the zipper say, “The zipper tape will seem to be twisted at the bottom if you have everything pinned and stitched properly.”  You can see how reassuring words like that are when it’s late and you don’t know what you are doing and it looks like everything is going to hell.

almost invisible zipper

And everything did not go there with this zipper. Seams match! It is [almost] invisible! Good things all around!

collars

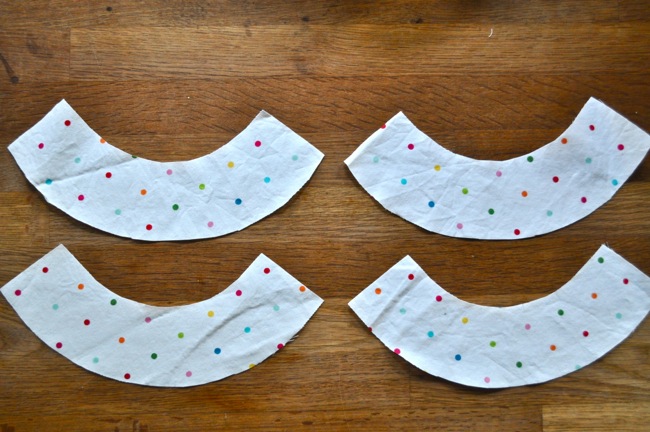
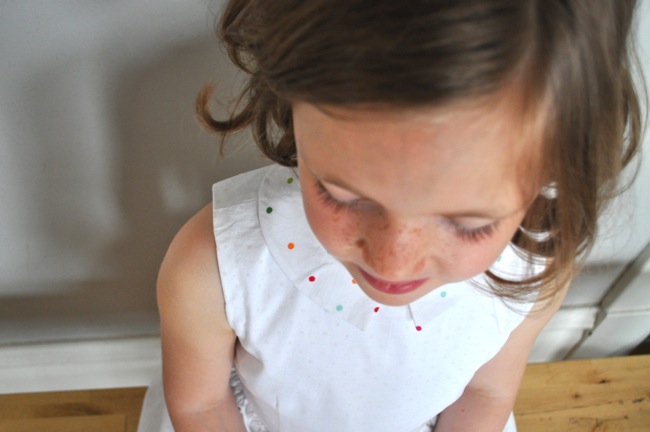
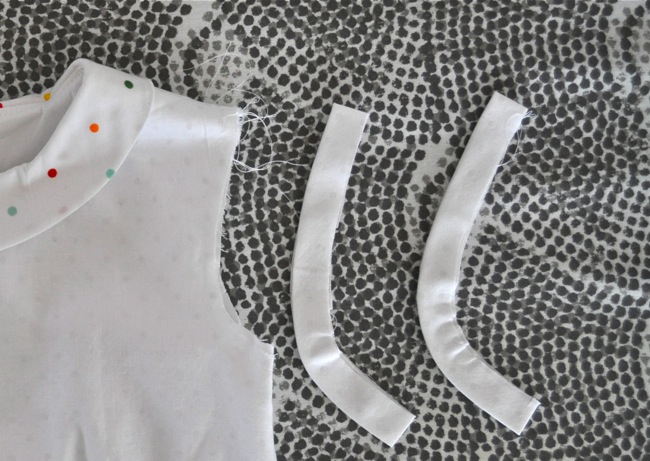
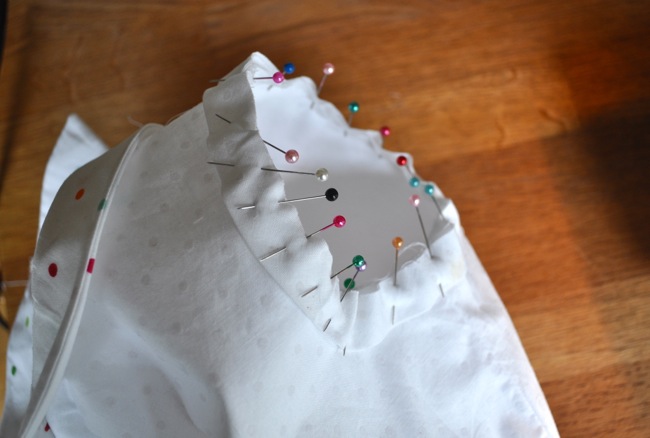
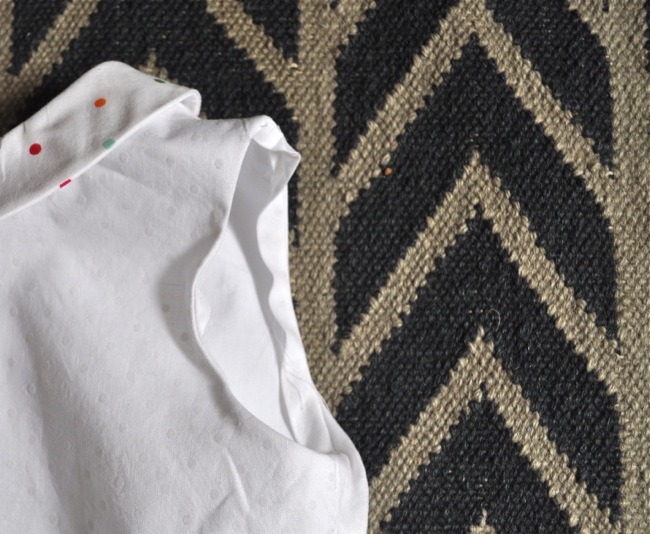
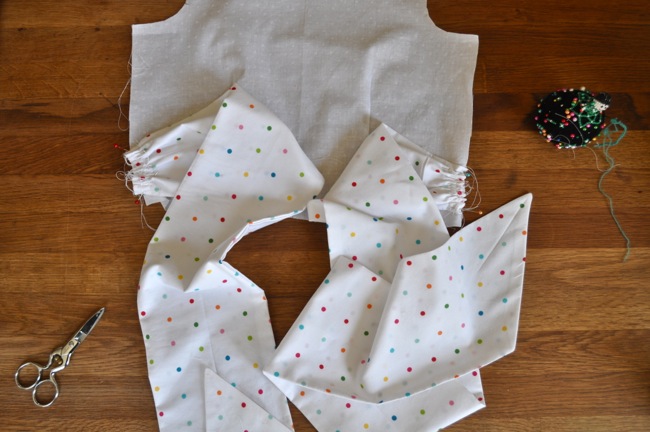
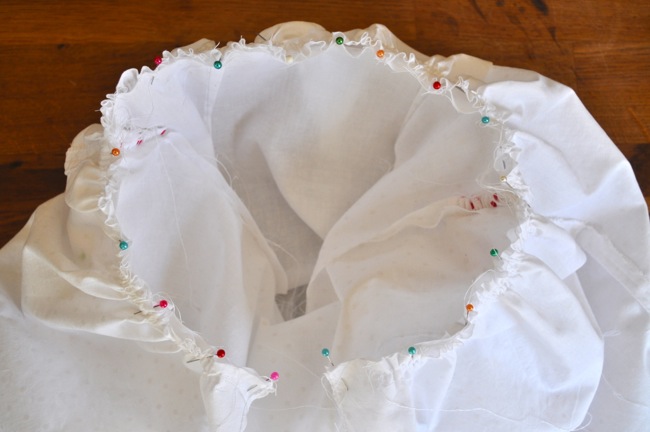
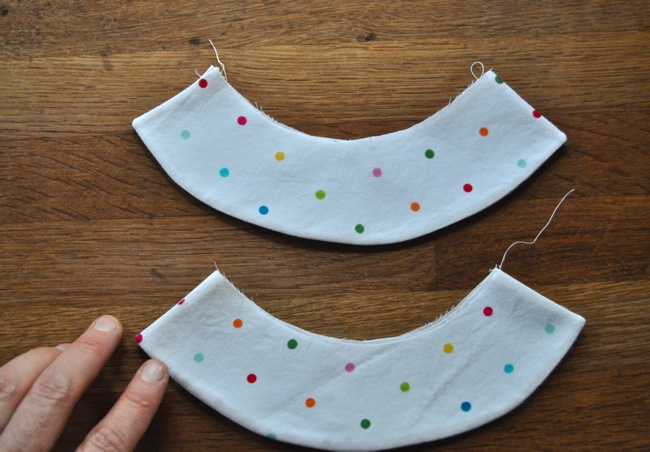
2. the collar: How could four polka dot smiles not make you happy?

seam lines

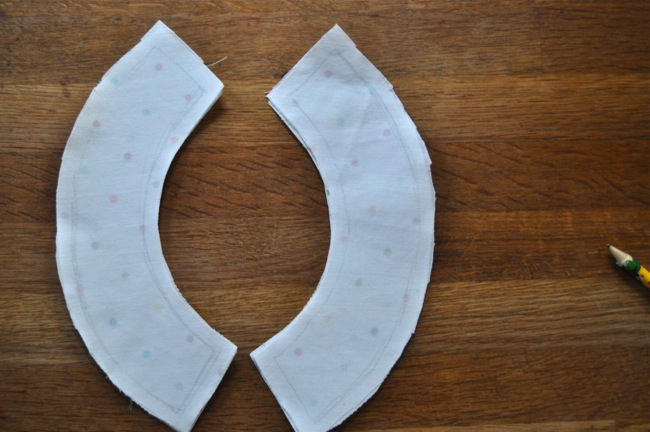
The collar went surprisingly well. Again, it’s because the directions are crazy good. They suggests drawing your stitch lines on the collar, because curves can be hard to get just right. And my polka dot smiles are almost just right. They’re not frowning at least. I even got them on the dress correctly on my first try. I did unpick the basting and fiddle with them a bit to get them in the right spot, but still, I was expecting to sew and rip many times. Collars have not been my friend in the past.

collars

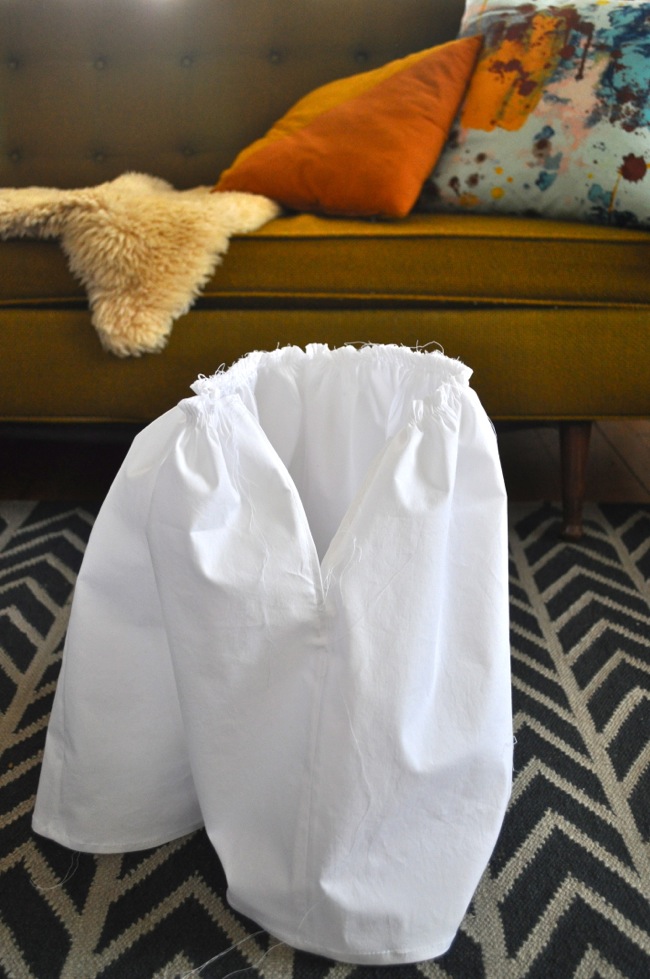
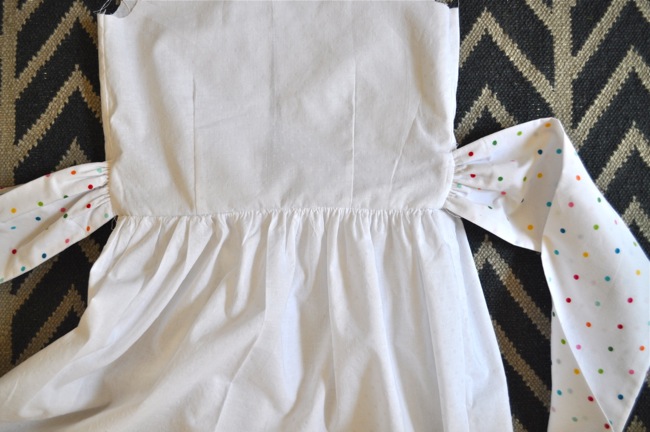
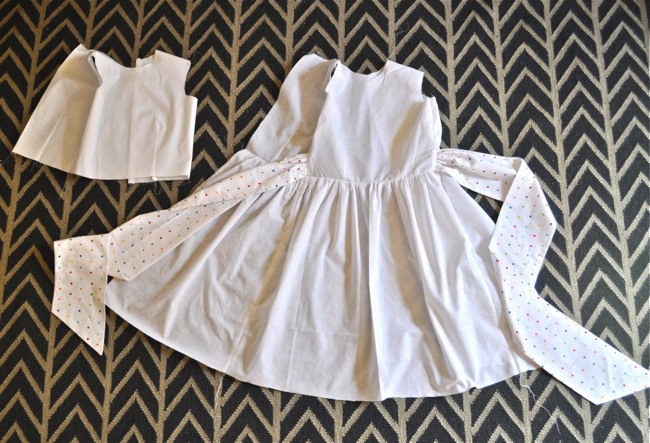
I’m going to be totally mean and not show you the dress yet. We still have 3 hours to go! Hang in there.

Have you been keeping up with the kcw blog this week? and the flickr pool? All the clothes you are making are amazing!


kcw day three [spring 2013]

fairy tale dress: bodice and bow

Hour #3

1. bodice: Here we are at hour number 3 already and there’s hardly been any sewing! Well that’s about to change. The first bit of sewing I tackled was the bodice. That went so fast that I didn’t even photograph it–and I even made two bodices (one for the main dress and one for the lining).

2. bow: The pattern for the bow on this dress seems hilariously huge. Once you’ve folded it over and sewed up it, the bow takes on slightly more normal proportions. Then you have to gather the ends and place it in just the right place on the bodice.

fairy tale dress: skirt

3. skirt: The skirt on the fairy tale dress is a giant rectangle. This make it easy to sew up (and to hem later), but to attach such a large rectangle to the bodice requires lots and lots of ruffles.

fairy tale dress: skirt

4. attaching the skirt to the bodice:  I have to admit gathering ruffles is one of my favorite bits of sewing: pinning two very different lengths of fabric together and gathering the longer one to magically match up just right.  And look, they match!

fairy tale dress: bow

Success! The bow didn’t even get caught all crazy in the seam. I had to pat myself on the back for that one!

fairy tale dress: dress and lining

Day three and I’ve made the main dress and the lining of the bodice. Looks like the dress is practically done, but we’re not even halfway to the finished product!

Tomorrow: more polka dots!