Posts Tagged ‘zipper’

kcw spring 2013 [day four]

invisible zipper

Hour #4

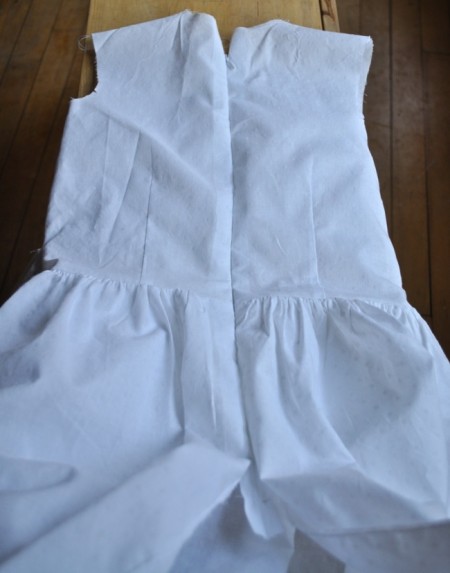
1. the zipper: The little strip of plastic we all dread. I knew it was coming up and the damn thing was making me nervous. I have done zippers successfully before, but this was an invisible zipper. An invisible zipper is like a regular zipper folded up weird. First you have to undo the weirdness with an iron, then you can put it in–this involves more muscle than you would expect. :)

invisible zipper

I have to say the directions for sewing in the zipper were completely non-intuitive. But the thing that makes Olive + S directions so good is they know when you think it’s weird or you think are doing something wrong and they assure you all is well. The directions for the zipper say, “The zipper tape will seem to be twisted at the bottom if you have everything pinned and stitched properly.”  You can see how reassuring words like that are when it’s late and you don’t know what you are doing and it looks like everything is going to hell.

almost invisible zipper

And everything did not go there with this zipper. Seams match! It is [almost] invisible! Good things all around!

collars

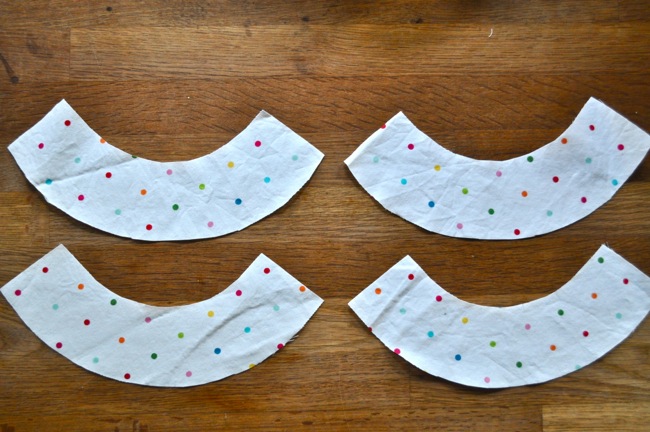
2. the collar: How could four polka dot smiles not make you happy?

seam lines

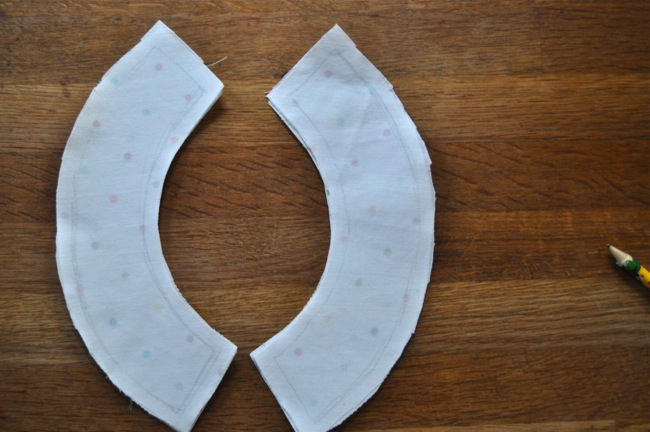
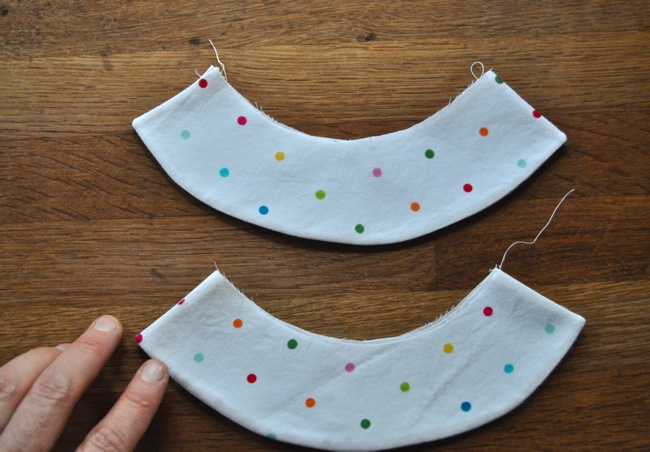
The collar went surprisingly well. Again, it’s because the directions are crazy good. They suggests drawing your stitch lines on the collar, because curves can be hard to get just right. And my polka dot smiles are almost just right. They’re not frowning at least. I even got them on the dress correctly on my first try. I did unpick the basting and fiddle with them a bit to get them in the right spot, but still, I was expecting to sew and rip many times. Collars have not been my friend in the past.

collars

I’m going to be totally mean and not show you the dress yet. We still have 3 hours to go! Hang in there.

Have you been keeping up with the kcw blog this week? and the flickr pool? All the clothes you are making are amazing!


color block pillow tutorial

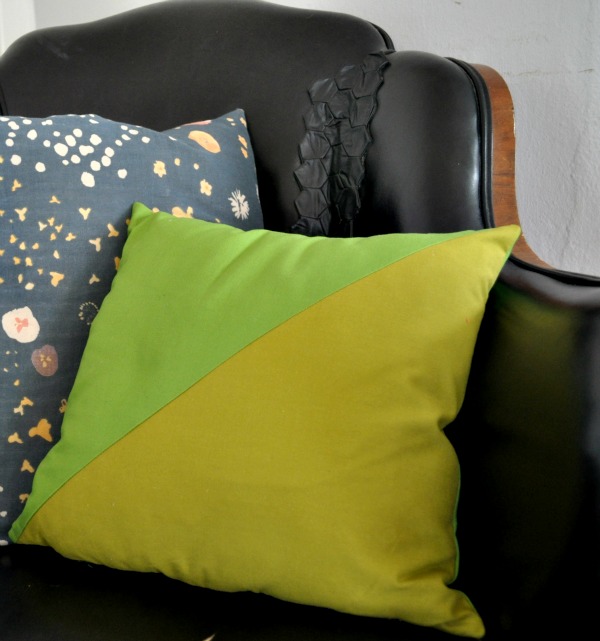
color block pillow

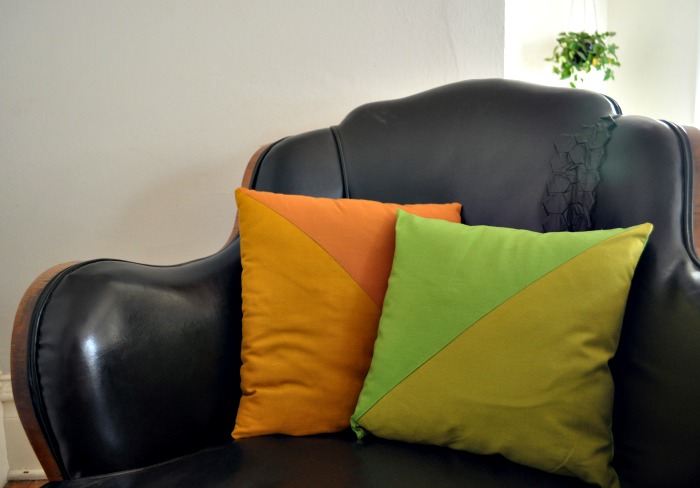
Here is a little project to spring up your home.  I made this pillow in springy greens, but any colors would of course work. Ticking would look very nice, with the stripes going opposite ways. The pillow is based on a simple quilt square (does it have a name?) and comes together super fast.  Happy Spring!

color block pillow

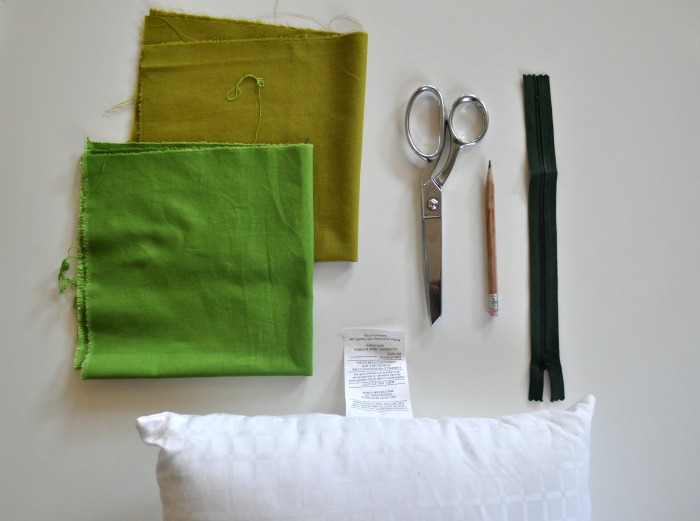
color block pillow materials

materials:

  • two squares of fabric slightly larger than your pillow
  • square pillow form
  • zipper slightly smaller than your pillow


directions:

1.  Cut your fabric 2 inches larger than your pillow. For example: my pillow was 13in square, so I cut my fabric into 15in squares.

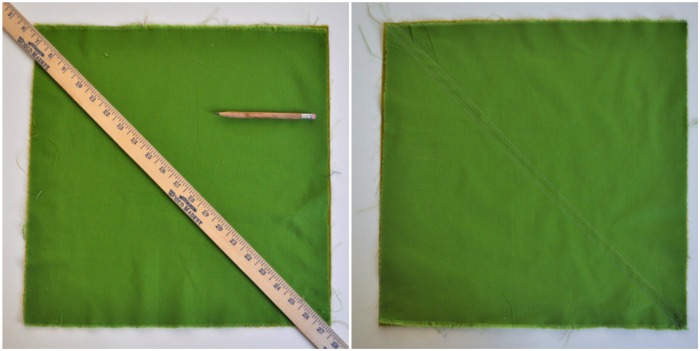
color block pillow step one and two

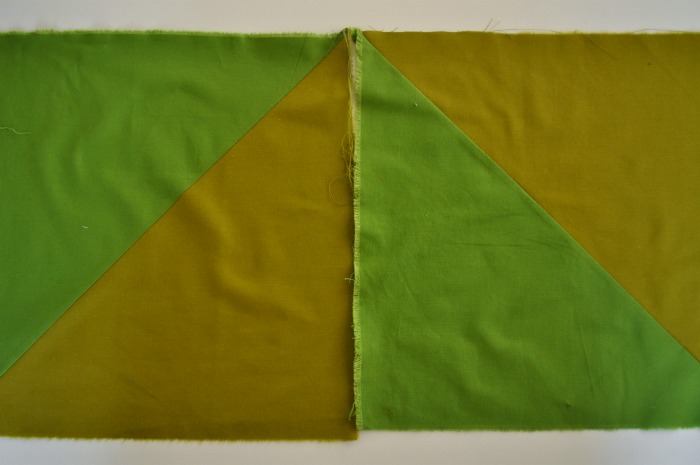
2. Put the squares together, right sides facing. Using a straight edge, draw a line diagonally across the fabric. No one will see the line, so you can use a regular pencil or pen.

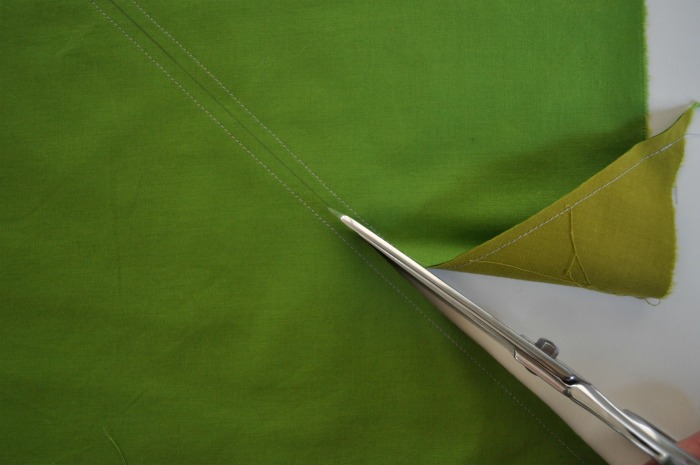
3. Sew 1/4in from the line. First sew on one side of the line, and then on the other. You will have two seams, one on each side of the line. This is shown more clearly in the photo below.

color block pillow step three

4. Cut directly on the line you drew.

color block pillow step four

5. Ta Da! You now have two squares. Open them up and press the seam to one side–the side with the darker colored fabric.

color block pillow step five

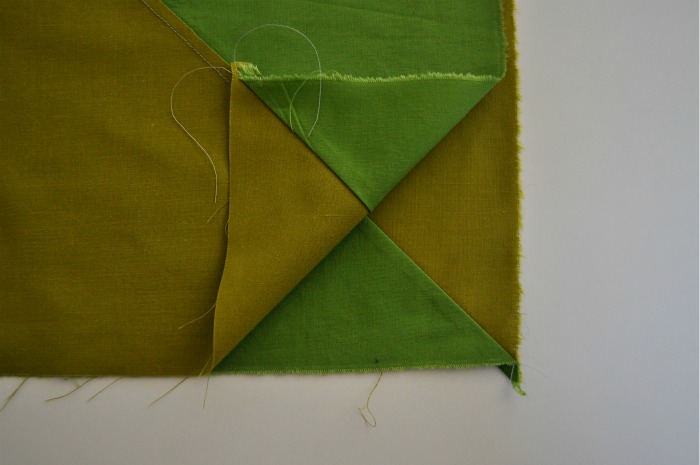
6. Now you have a choice. You can line the squares up, right sides facing, with the seams also alined like I did in the photo above. Or you can arrange it so the triangles are oriented differently on each side–the seams will not line up, but will make an X. Play around with it and see what you like. But unless you have a clear fiberglass couch no one is going to see both sides at once.

7. I am not going to explain how to do the zipper, because there is a good tutorial that does it already–Sewing 101: Zippered Throw Pillows. This is the method I use for putting zippers in pillows and it is dead easy. There are other ways that look a bit nicer, but this one is super fast and hard to screw up. I encourage you to try it if you haven’t used zippers before–you will succeed, I know it!

color block pillow done!

8. Try the pillow on your pillow form. It might need some taking in. I had to take mine off and sew it a bit smaller to make it fit. Hey look, you’re done! And you made a super chic, color block, geometric, trendy as all get out pillow. Your couch will thank you.

pillow week: one

The first day is always easy; it’s the second day I usually crash and burn. It’s pillow week don’t you know. Seems I need a themed week on the internet to get me to actually make something. Why is that?

Look I even put in a zipper: a nice little metal number that I got god know where. It would look really good if it wasn’t so obviously off center, but that’s what I get for not pinning or even planning.

The fabric is from a friend who very kindly shared a little of her ikea stash.  Maybe I’ll get the ornaments to match.