cardboard dollhouse
Here it is the second installment of Making Mondays: a cardboard dollhouse. Sounds simple enough, butI think the project was a little over my daughter’s head–she is only 2 after all. I was inspired by the Constantine dollhouse (pictured below). It’s a lovely and simple idea, but unfortunately there isn’t a spare $145 lying around these days. So we made our own.

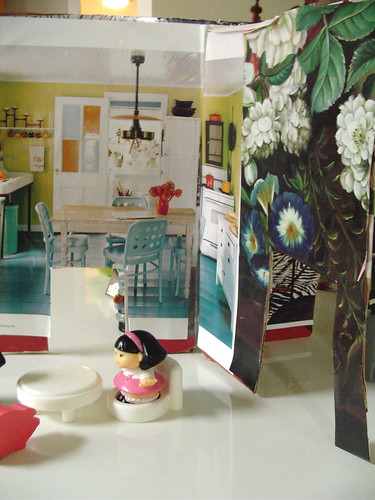
We started with a box, cut it apart, and used one long side and the two shorter sides. I cut a slit in each of the short sides almost up to the top and slid them on top of the longer piece of cardboard, so they were perpendicular to it. Then I tried to make the walls a little sturdier by taping the corners and my daughter pulled the rest of the tape off the roll. To decorate, we looked through magazines and cut out pictures of kitchens and bathrooms and couches and chairs, and she picked some pretty paper for the walls as well. I thought this would be the best part, but really she had no patience for it, thankfully the glue stick made up for that. And with that glue stick we slapped it all on, cut some doors and the dollhouse was done.
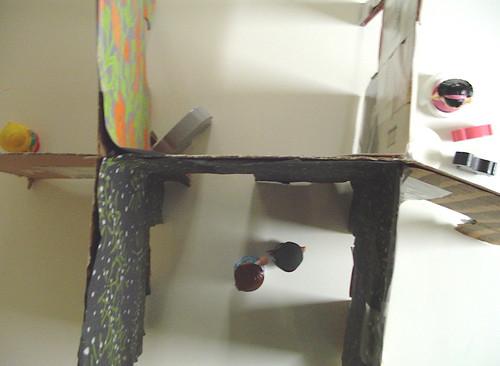
I think this is a good project for kids that are a little older–hell, I might just make another one myself. There are a couple things I would do differently the second time around. I think it would be nice if the house came apart and could be stored flat. This would make decorating both a little easier (you can lay everything flat on a table and work on it) and more difficult (you have to remember what walls go to what room). Also, in order for the house to be stable the shorter walls must be taller than the long wall they fit over (I didn’t do this and our house is very wobbly). And though I think it’s fun to find pictures of things in magazines to decorate the house, it would be nice if the walls were felt. You could cut couches and chairs out of felt as well and stick it to the walls–then you always would have the option of redecorating!
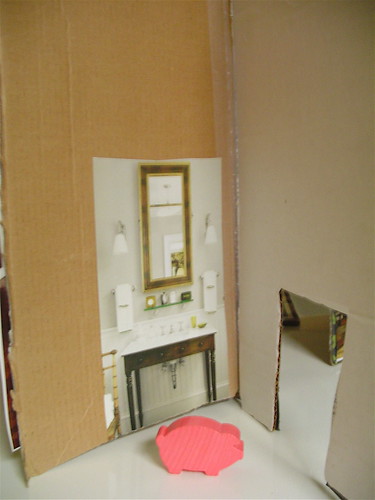
To see all the rooms, you can go to my flickr page. Even though my daughter was frustrated with the amount of time it took to make, in the end, of course, she loved it. And now she calls it her castle (where did she learn that word?). If there is interest I would be happy to make up a pattern (obviously with the improvements I mentioned) and have it be available to download and print.

One more thing: if it wasn’t obvious,this is my little post for Blog Action Day. Reuse your old boxes and magazines by turning them into dollhouses and Recycle them when that dollhouse falls apart.


