Posts Tagged ‘spring 2013’

kcw spring 2013 [day six]

arm binding

Hour #6

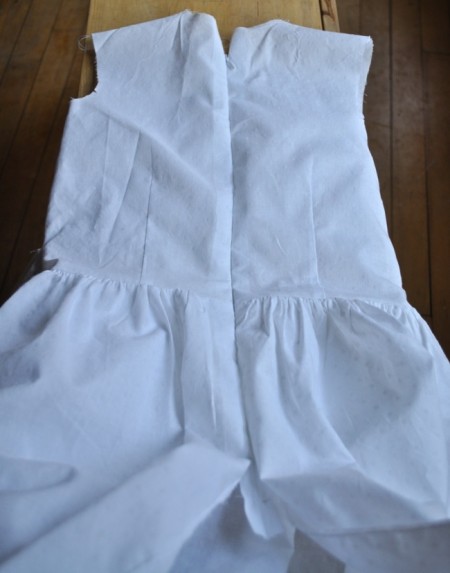
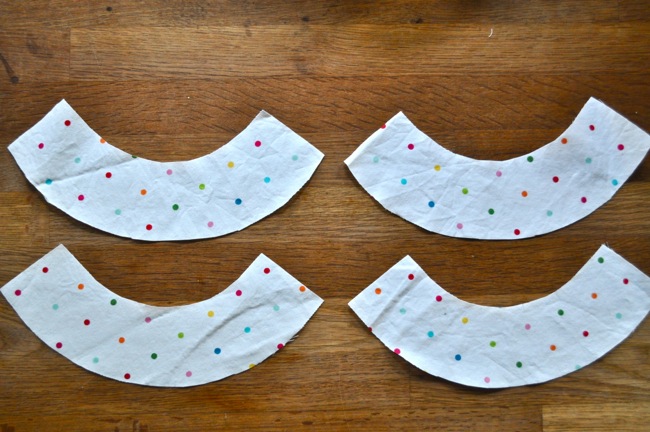
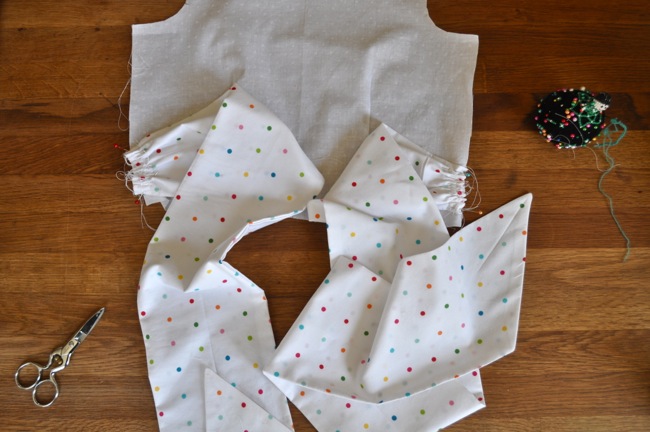
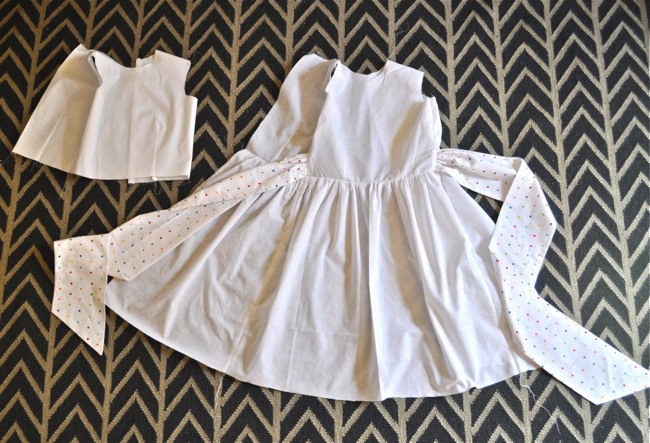
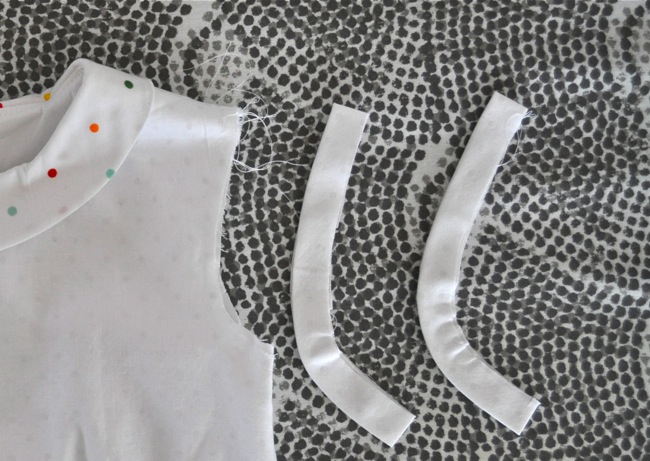
1. arm binding: There has to be a least one sucky part of every sewing project, right? The dress was all smooth sailing up to this point. It was about time I hit a sucky patch. Enter the arm bindings. They seemed too large to begin with and then the directions tell you to shape them–with your iron–into a gentle curve. My words were not very gentle as I ironed and steamed and stretched those suckers all out of whack.

pin to win!

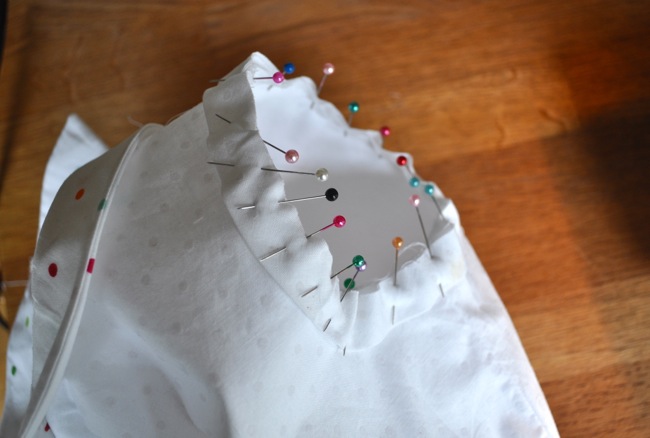
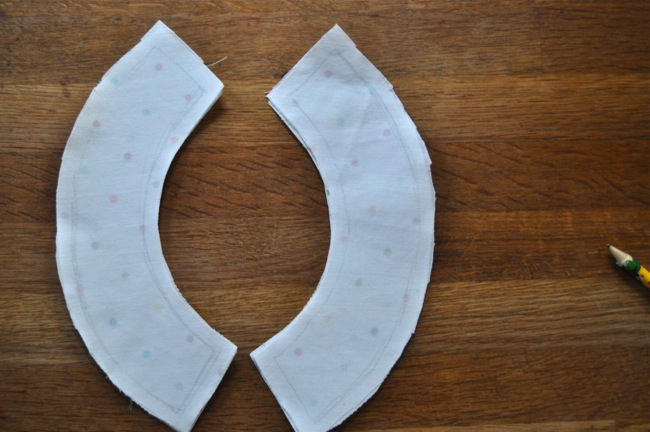
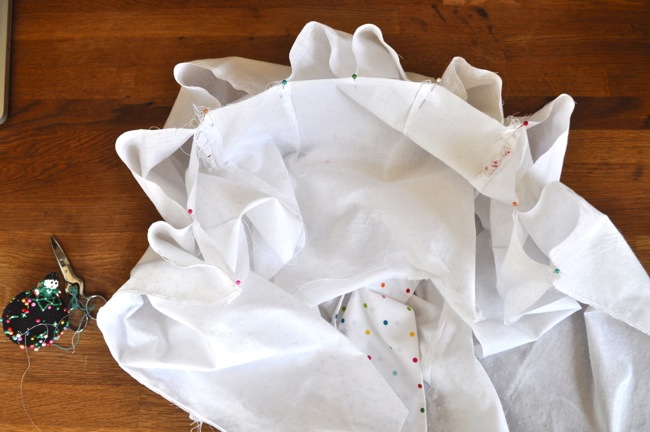
Now they were enormous! I wanted to throw them out and start over, but I thought I’d give my sad, stretched out arm bindings one more chance. I pinned, and pinned, and pinned some more before I sewed the bindings on. Pin to Win! Pin to Win! I say that to myself when I really want something to work and I’m worried that won’t. Sometimes it’s just wishful pinning, but other times you really pin and win. Okay, enough of my private sewing dorkiness.

arm binding

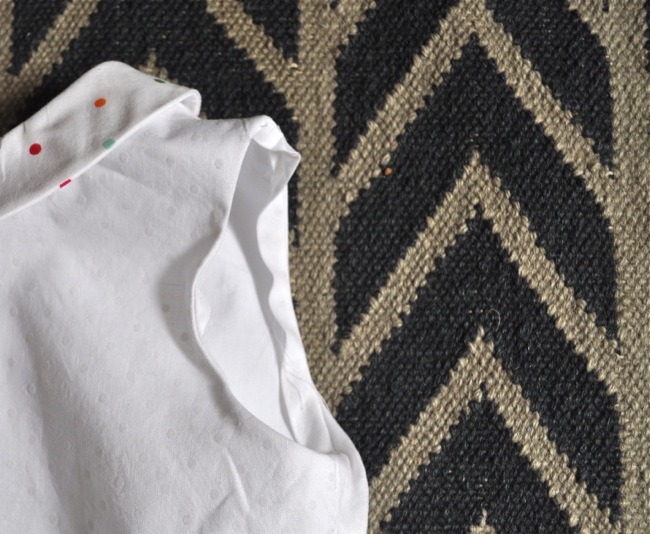
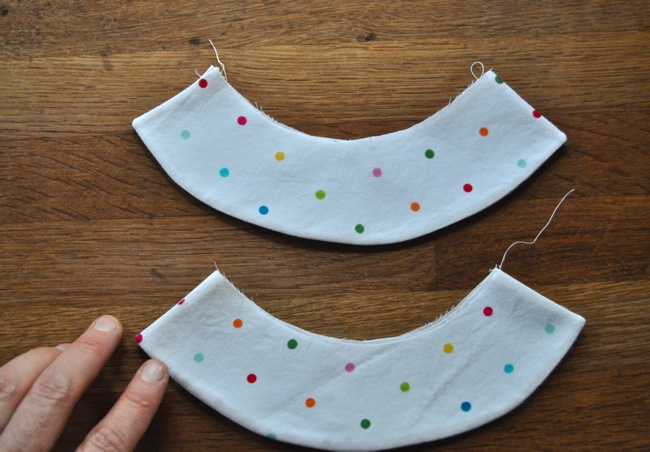
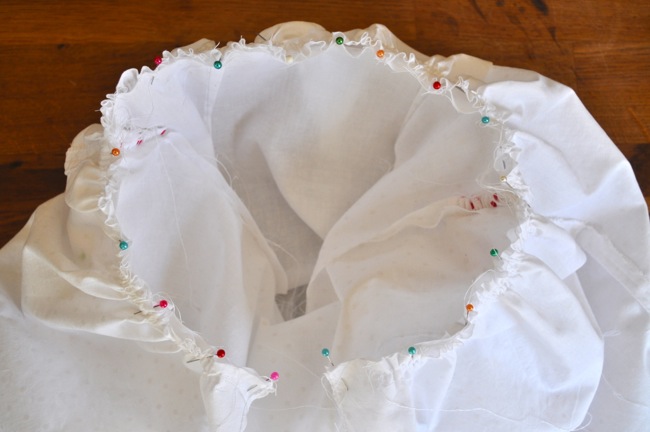
And look! I won! Kind of. The arm binding went on without any tucks or weirdness, but the inside was super wavy. Probably because it was stretched all to hell (see above). I had been planning to machine stitch the whole arm binding on, but there are not enough pins in the world to make that work.

hand sewing

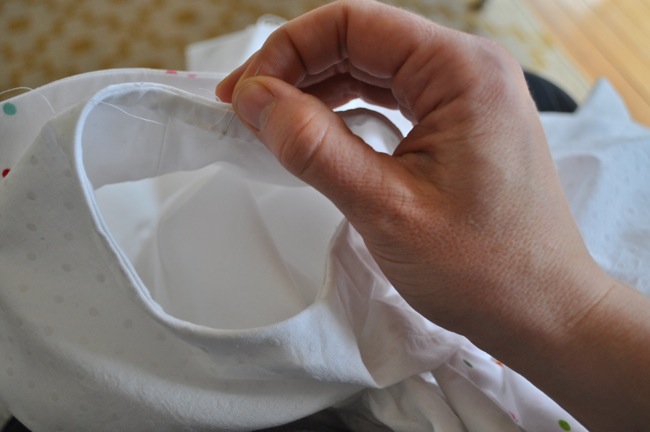
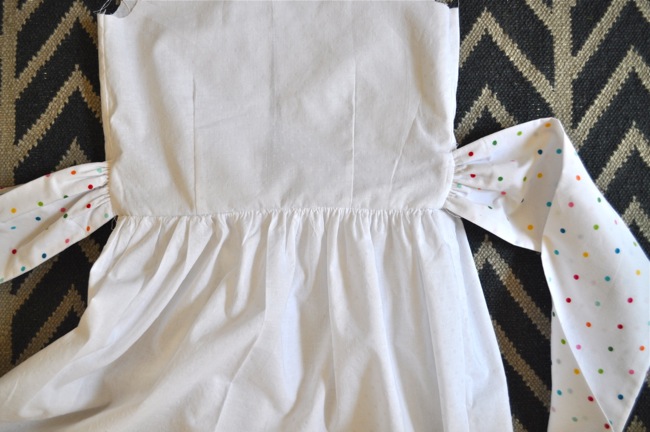
2. hand stitching: So hand stitching it was. And after I hand stitched the arm binding, I couldn’t do a machine hem. So hand stitching it was again. And wow that took me more than an hour! I am a super slow stitcher, it seems–say that 5 times fast!

kcw spring 2013 [day four]

invisible zipper

Hour #4

1. the zipper: The little strip of plastic we all dread. I knew it was coming up and the damn thing was making me nervous. I have done zippers successfully before, but this was an invisible zipper. An invisible zipper is like a regular zipper folded up weird. First you have to undo the weirdness with an iron, then you can put it in–this involves more muscle than you would expect. :)

invisible zipper

I have to say the directions for sewing in the zipper were completely non-intuitive. But the thing that makes Olive + S directions so good is they know when you think it’s weird or you think are doing something wrong and they assure you all is well. The directions for the zipper say, “The zipper tape will seem to be twisted at the bottom if you have everything pinned and stitched properly.”  You can see how reassuring words like that are when it’s late and you don’t know what you are doing and it looks like everything is going to hell.

almost invisible zipper

And everything did not go there with this zipper. Seams match! It is [almost] invisible! Good things all around!

collars

2. the collar: How could four polka dot smiles not make you happy?

seam lines

The collar went surprisingly well. Again, it’s because the directions are crazy good. They suggests drawing your stitch lines on the collar, because curves can be hard to get just right. And my polka dot smiles are almost just right. They’re not frowning at least. I even got them on the dress correctly on my first try. I did unpick the basting and fiddle with them a bit to get them in the right spot, but still, I was expecting to sew and rip many times. Collars have not been my friend in the past.

collars

I’m going to be totally mean and not show you the dress yet. We still have 3 hours to go! Hang in there.

Have you been keeping up with the kcw blog this week? and the flickr pool? All the clothes you are making are amazing!


kcw day three [spring 2013]

fairy tale dress: bodice and bow

Hour #3

1. bodice: Here we are at hour number 3 already and there’s hardly been any sewing! Well that’s about to change. The first bit of sewing I tackled was the bodice. That went so fast that I didn’t even photograph it–and I even made two bodices (one for the main dress and one for the lining).

2. bow: The pattern for the bow on this dress seems hilariously huge. Once you’ve folded it over and sewed up it, the bow takes on slightly more normal proportions. Then you have to gather the ends and place it in just the right place on the bodice.

fairy tale dress: skirt

3. skirt: The skirt on the fairy tale dress is a giant rectangle. This make it easy to sew up (and to hem later), but to attach such a large rectangle to the bodice requires lots and lots of ruffles.

fairy tale dress: skirt

4. attaching the skirt to the bodice:  I have to admit gathering ruffles is one of my favorite bits of sewing: pinning two very different lengths of fabric together and gathering the longer one to magically match up just right.  And look, they match!

fairy tale dress: bow

Success! The bow didn’t even get caught all crazy in the seam. I had to pat myself on the back for that one!

fairy tale dress: dress and lining

Day three and I’ve made the main dress and the lining of the bodice. Looks like the dress is practically done, but we’re not even halfway to the finished product!

Tomorrow: more polka dots!


kcw day one [spring 2013]

Kid’s Clothes Week has started! We will be featuring beautiful handmade clothes everyday on the kcw blog. There are already some lovely things to see on day one!  In the past, I’ve tried to have a new garment to show you each day, but this time I’m going to do something a bit different.

printed pattern

We like to talk about the process, but tend to only show the finished product. The finished part is pretty, the seam ripping and the swearing not so much. I wanted to take this week to break down a project into all its parts. Kid’s Clothes Week says to take an hour each day to focus on making kid’s clothes, so each post this week will be how I spent that hour. And by sheer luck I chose a project that took me a little over 7 hours.

pattern tracing

Hour #1 :

1. printing out the pattern: I’m using the Fairy Tale Dress pattern by Oliver + S. This is my first pattern by them (I know, I know) and I chose it because I wanted something complex but totally clear. Also, my daughter’s first communion is at the end of kcw and she need a dress for the occasion. It’s true  Oliver + S patterns are expensive, but when I saw this beautiful dress on flickr made with the same pattern I knew the pattern would be used for years to come.

I purchased the pdf version of the pattern because none of the shops in my area had it in stock (and I didn’t plan ahead). Instead of printing and taping all the millions of pages together, I sent the pdf to my local print shop. They printed it out on one giant ream of paper. It was slightly more expensive than I hoped ($12) but it also saved me a ton of time. I was in and out of the shop in 5 minutes.

2. tracing the pattern: I could have just cut it out, but that seemed too wasteful. I’m starting to warm up to tracing patterns. Armed with a hot cup of coffee, I might even say I enjoy it.

ironing fabric

3. ironing fabric: ironing on the other hand, not so enjoyable. For a size 7, the fairy tale dress pattern requires almost 6 yards of fabric. Crazy, right?! I was lucky to hit Joann’s on a 50% off sale day. The main fabric is a pretty swiss dot ($4/yard), the contrasting fabric (for the collar and bow) is a sheet I got at the thrift store long ago, and the lining is simple white shirting ($3/yard). I wanted to do it in eyelet, but I had no idea eyelet was $20/yard! I love the fabrics I ended up using, but they wrinkle easily. The ironing took me at least an hour if not more!

Stay tuned tomorrow for hour #2. It will be riveting, I’m sure!