Posts Tagged ‘quick’

the quick little bunny tutorial
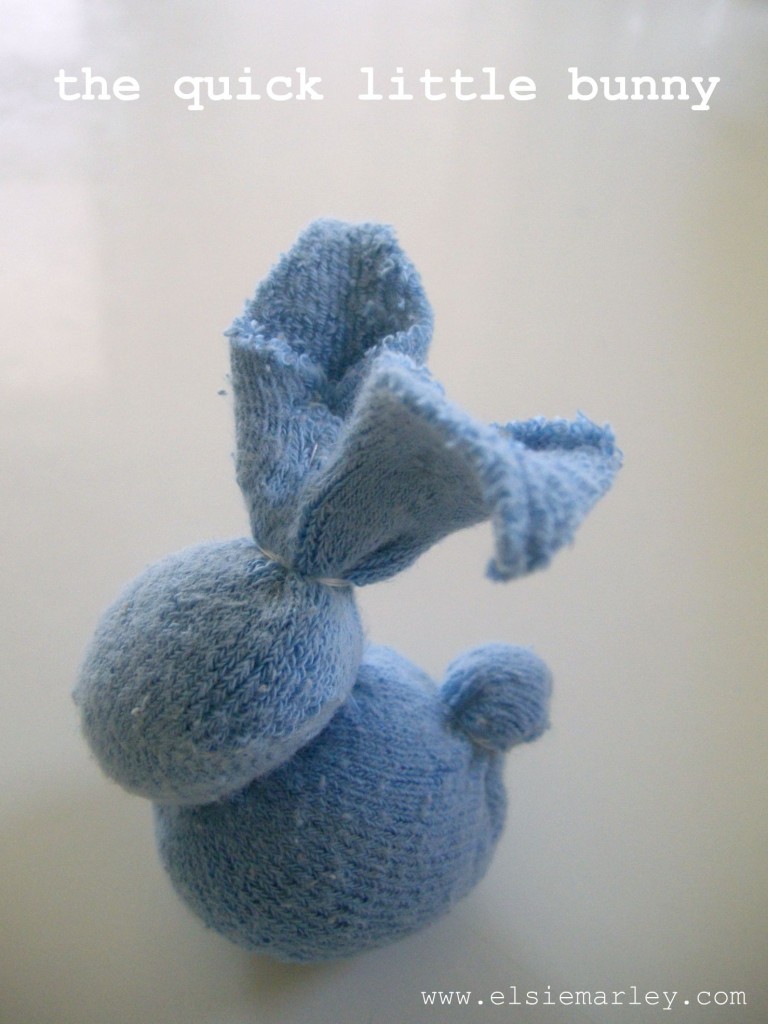
quickbunny

I really wanted to make the sock bunny that Heidi (from My Paper Crane) created, but I didn’t have any of those fantastic red and brown monkey socks. What I do have is baby socks: tons of cute, mismatched, totally useless, never stay on baby socks. Now that my littlest is very much not an infant and too soon will be a toddler it seems kind of silly to keep all those teeny tiny socks. So I made a bunny out of them. And a tutorial too.

DSCN1529 DSCN1537

This is indeed a quick little bunny. After I figured out the pattern, start to finish each bunny took me just 15 minutes.  So if you are anything like me and never get around to the easter baskets until the night before, you can whip up this little softie and still have time to run to the drugstore to score the last bag of jelly beans.

The quick little bunny tutorial

DSCN1486

Materials:

  • baby sock
  • a handful of stuffing
  • heavy duty thread
  • scissors

Make that bunny:

Before you start sewing take second to look at the sock you have. Most of the foot part will be the body and the heel area will be the head. Yours might be a little different, depending on your sock. If you look at the picture below you can almost see the bunny already.
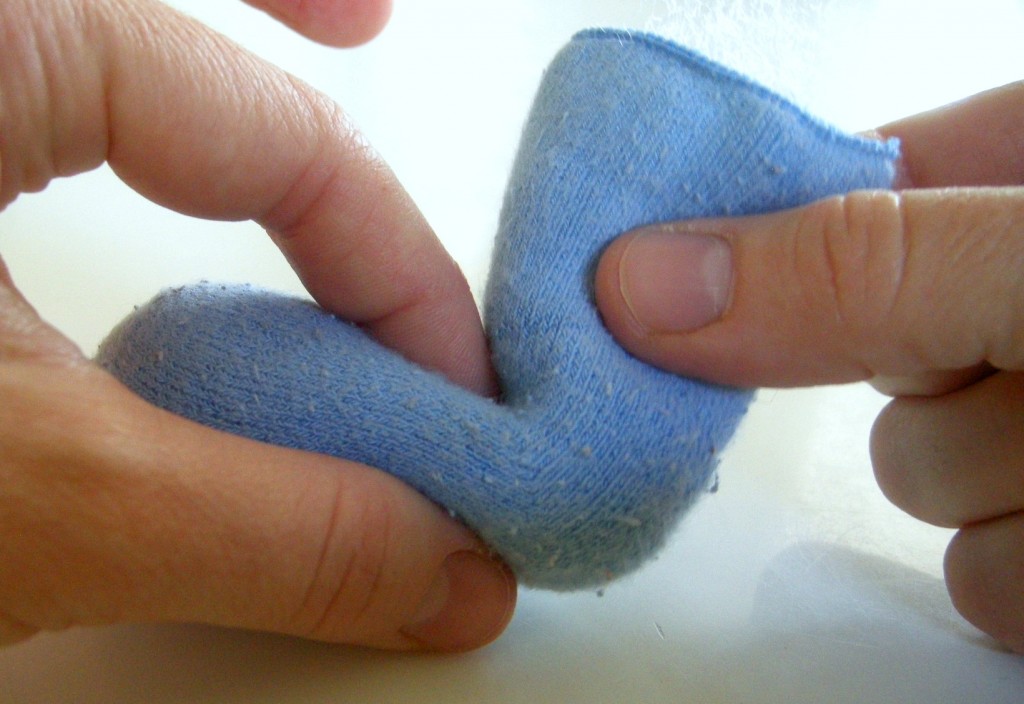
DSCN1495

the body:

Take some stuffing and stuff the foot part of the sock–not too tight! this is just a little, squishy baby bunny. Where the foot part ends and the heal begins sew a running stitch around the sock and pull to gather it. I like to wrap my thread around where I’ve stitched a few times just so it’s secure. Knot your thread and snip.

the tail:

DSCN1498

On the top of the bunny’s back,  sew a circle about an inch in diameter with a simple running stitch. Then pull to gather. You may have to mush the stuffing around so you can pull it tight  to make a tail shape. When you have a little bunny tail, wrap your thread around a few times and knot off (do people say “knot off?” does it sound too much like I’m yelling at you to go “knot off!”).

the head:

DSCN1504

To make the head, put a little stuffing inside the sock and sew a running stitch around the top of the heel. Before you pull it taut make sure all the stuffing is pushed down under your stitches. Then wrap the thread around and knot off!

the ears:

DSCN1508

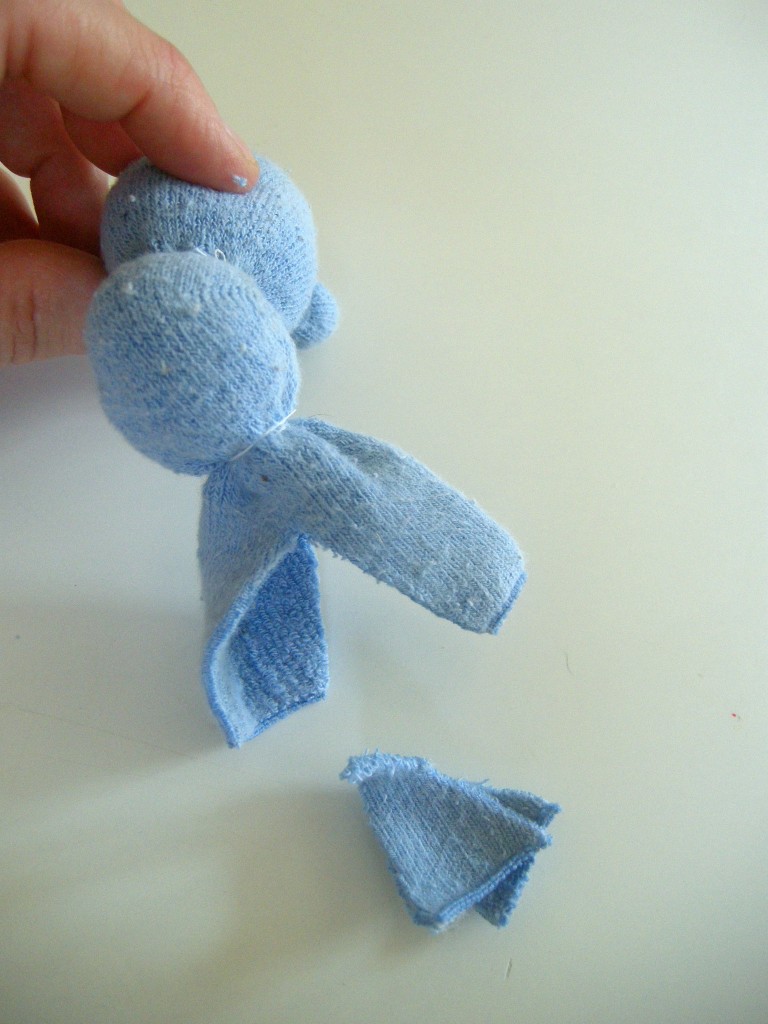
Cut a big V shape out of the top of the sock. Now trim the top part of each ear to a point.  Then fold the two sides of the bottom part of one ear in to meet and sew together. This is a little easier to understand when you look at a picture:

DSCN1509 DSCN1511

When you sew that seam down the middle of the ear, it’s good to catch some of the back of the ear with your stitches, so the ears are a little thinner.

The attitude:

Okay, that is a dorky title, but this is the fun part. Now you can play around with the ears and the head, moving them to where you want and putting a stitch here and a stitch there so they will stay.
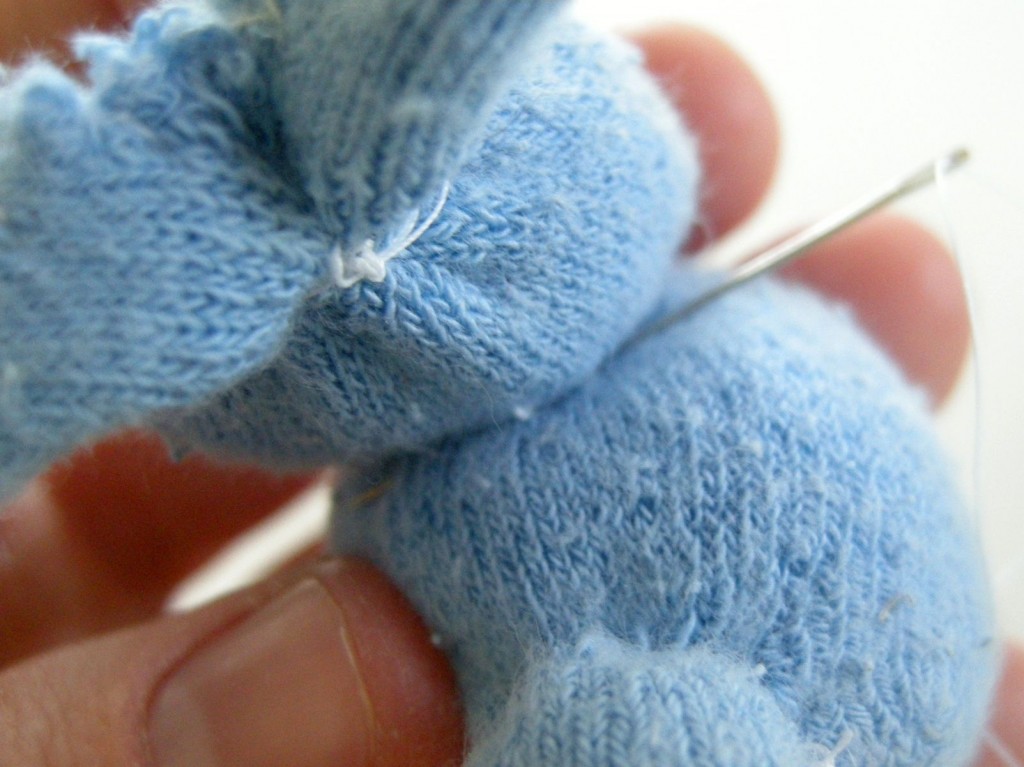
DSCN1515

You don’t have to give your bunny an attitude, but you should stitch the back of the head to the body a little, so it looks more bunny like and less like a cinched up sock. There! you did it! Now go dig around in the sock drawer and see what else you can make into a bunny.
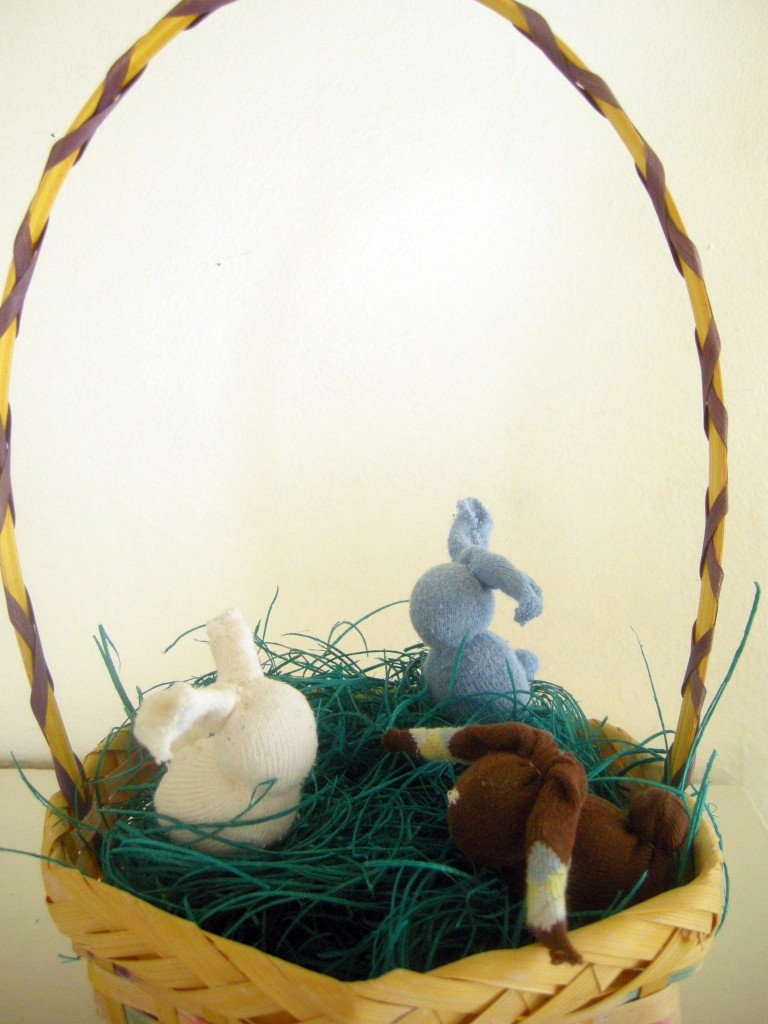
DSCN1538

crocheted hats

I wasn’t kidding when I said I wanted to make every project in the Kid’s Crochet book. And here are 2 more. This little pointy number is pretty fantastic. The super cuteness doesn’t really come across in the photos, not that I didn’t try–my children will. not. be. still! As with all the projects in the book, this hat went very fast and I didn’t have one bit of trouble with it (here are the specs). My daughter picked out the variegated yarn (she called it rainbow yarn) from Joann’s and I wanted to try to get another hat out of it, so I added some stripes.

To mark the back of the hat, I embroidered her name on some wool felt and stitched it in. She picked out the orange thread and damn if that child doesn’t just have some amazing, if sometimes crazy, color sense. What four year old picks out taupe yarn anyway? But she did and it’s beautiful. While we were at the store we got some yarn for a cardigan I want to crochet for her. Stupidly I didn’t bring the pattern and we ended up buying the wrong size yarn, but she chose three gorgeous colors: a purpley raspberry, a magenta and a taupe-y brown. I never would have thought that’s what she would pick.

The skull cap (a variation of the same pattern) went even faster than the first hat. I did run out of yarn, so I added larger stripes of the yarn leftover from his scarf, but the wool at the bottom is curling. I haven’t blocked it, but how do you block a hat? On your head?

advent calendar

I actually had this done early–one whole day early, but I’ve been too busy sewing to post.  I had a couple different ideas, but spent too much time thinking about them and not actually making them.  This is from some old martha stewart magazine and with two little babies in the house we are flush with baby socks (though not all in red and green, so I picked up some second hand ones).  I even had some mini clothespins on hand! I picked up a bunch of little vintage ornaments to go in each sock. This is my favorite.

If you don’t have a calendar yet (this is usually the position I am in) I think this is a nice little grown up one you can download and print.

pleated bracelet

I don’t really wear much jewelry, but I’ve always wanted to try my hand at whipup’s assignments. And this month the theme is fiber jewelry. The only things other than my wedding ring that I wear are bracelets, so I made myself a bracelet. It is basically just a pleated strip of fabric (there may be a special name for this kind of pleat, I don’t know, but if you do please let me know) with a ribbon as a tie. Infinitely customizable and easy to whip up–it would be quick to make to match an outfit before going out. Not that I ever go out. But you do, so here’s a tutorial.

First measure your wrist, then multiply that by 2.5

Cut a large rectangle of fabric that is 4inches by (wrist measurement x 2.5)

fold it in half the long way (hot dog style), right sides facing, and sew down the long edge leaving the ends open.

Turn the resulting tube right side out, fold it in half so the seam is in the middle and press.

Starting about and inch from the raw edge, make one accordion fold one way and press, then another the other way and press, continuing until you’ve used the entire strip. Don’t worry about making them perfectly even–variation in size makes the bracelet interesting.

Pin the pleats in place and (carefully) try the bracelet on. Snip the ends off if it is too long, fiddle with the pleats if it is too small. When the bracelet is the right length, tuck the ends under and sew the opening shut.

Then tack down all the pleats with a long stitch. Go slowly!

Sew a pretty ribbon on top of the stitching you just did, leaving a couple inches at each end to tie a bow.

Put it on and your ready to go.

You could use a button and elastic loop for a closure, or button and button hole, or snap, or whatever you think would work. Even faster and a little more girly, is a ruffle bracelet. Just a strip of fabric (I used linen and left the edges raw) with a ribbon or some lace down the middle.

so there you go: my first whiplash entry and my first tutorial all rolled in one.