Posts Tagged ‘pattern’

kcwc guest post: heather from well crafted

It’s hard to really get a sense of someone over the interwebs, but I think if Heather lived anywhere near me I would be on her doorstep quite often. She does so much, so well: mothering, cooking, sewing, knitting, dying, and a good deal more. All of it is done with a simple, “hey what if I did this” attitude.  Then whatever she ends up making is perfectly stunning. You can see all of her work on her blog, well-crafted.

heather from well-crafted

Hey there! I’m honored to be included as a guest here on elsiemarley and am really looking forward to KCWC next week. My plan is to stick with making things my girl will really need and wear this summer. Since she pretty much only lives in knit tops and leggings, it was perfect that I got to give the Flashback Skinny Tee pattern a whirl! Because the pattern only goes to size 5, I had originally thought I’d give away the finished tee but it ended up fitting L perfectly and so we are both happy about that!

FBSTforKCWC.03

This pattern is an excellent basic. I stuck with a fairly straightforward version of it, with the only changes being the band at the bottom (really into that right now) and short sleeves. Oh the things you could do with this: asymmetrical hems, boat-neck, flared out and turned into a dress with elastic at the waist, shorten it and add a dirndle skirt (maybe using a woven). The possibilities are endless.

My big box of knits got dragged out from under the cutting table and despite it’s being full of beautiful col0rs, we went with this white one for two reasons: 1. It was the softest. 2. I had white thread in my serger. Three cheers for laziness!! To spice things up we did a little freezer paper stencil design on the front. I cut out tiny triangles in a grid pattern and we took turns painting each row to create a rainbow effect. We used this fabric ink instead of paints which turned out really nice.

FBSTforKCWC.02

FBSKforKCWC

It was good to sew with a knit fabric again—it’s been a while for me.  Although I am still doing battle with the “ripple effect” around the sleeve holes, I refuse to let that get in my way of creating a summer wardrobe full of knits for my comfort-loving girl! Maybe I’ll even use this pattern as the basis for all the clothes I make next week. That might be cool…

Don’t forget to check back each day this week for more KCWC inspiration.

Thanks again for having me Meg!

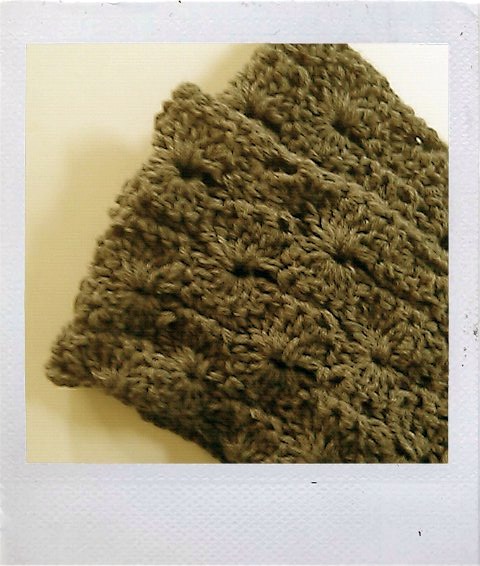
wheel stitch cowl

Sorry I disappeared from the internet last week: school holiday, crazy children, broken camera, blah, blah, blah. The camera will be in the shop for a good two weeks, so you are stuck with my dressed-up-to-look-like-a-polaroid camera phone shots for a while. That’s me up there, trying to look all stylish in my cozy new cowl.

wheel stitch cowl detail

It has been a loooong while since I picked up a crochet hook–10 months to be exact. Needless to say I was rusty. There was a lot of ripping out at first, but then the crochet neurons began firing again and it was smooth sailing the rest of the way. The cowl pattern is the chunky circle scarf  from people webs.  Not only is the pattern free, but Lindsi talks you through every bit–lots of people had questions about different steps and she answered them all in the comments section. How awesome is that?

happy halloween cowl

Now I’m dreaming of my next crochet project.  I think Cal’s new shawl pattern is definitely on the list. Or I might try my hand at some amigurumi, but I can’t decide elephant or bear/mouse?  Or something totally different. What do you think?

p.s. taking pictures of yourself is hard. Happy Halloween!


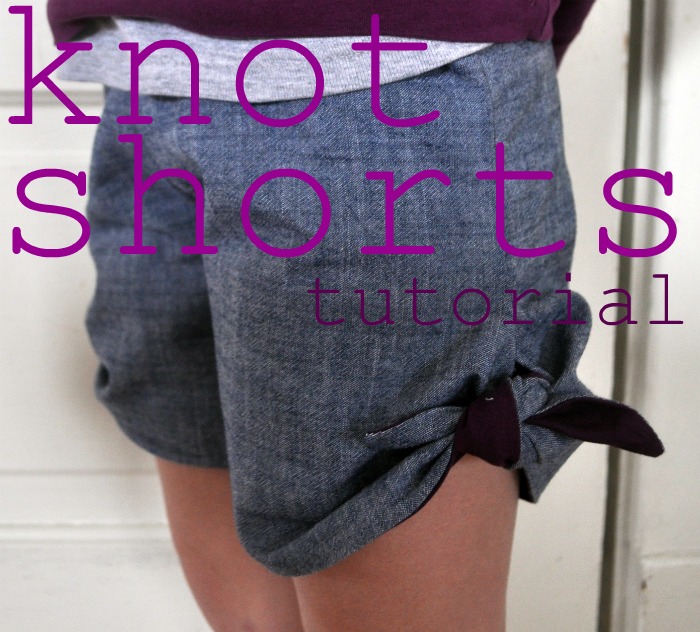
knot shorts

posting a project I did for grosgrain’s free pattern month:

Meg from elsie marley here and I’m very happy to be a part of all of this fantastic freeness on Grosgrain this month. For my contribution I’m going to show you how to alter a plain old pants pattern into one that will make super cute shorts for your little girl: knot shorts!

knot shorts tutorial by elsie marley

Materials

  • an existing kid’s shorts or pants pattern
  • one yard material
  • quarter yard (or so) contrasting material for facing
  • elastic (1 inch wide, or whatever you have lying around)
  • freezer paper, or some other paper to trace patterns

It might seem silly that for free pattern month, you first need to have a pattern. But making a kid’s pants pattern is easy as pie–you just trace some kid pants. Dana from Made has a very clear tutorial for making pants patterns that you can check out if you don’t have a pattern on hand. I have only made these for kids, but I don’t see why altering a grown up pattern in the same way wouldn’t work just as well.

Directions

1. First you need to trace your pattern onto pattern paper, or newsprint, or I like to use freezer paper.

2. Now you need to decided how long the inseam on your knot shorts will be. I made mine 4 inches long. This is a medium length pair of shorts on a 5 year old girl. A one or two inch inseam sounds scandalous, but I’ve made knot shorts that short and they look great. And besides, kids have very short legs, so it’s really not that short at all.

making the pattern for knot shorts

2. Whatever length inseam you choose divide it in half and make a mark. From that mark draw a line through the pattern and extend it 6 inches past the outer seam of the pants.

making the knot for knot shorts

3. From the end of the line draw a nice curve down to the bottom of the shorts. And draw another line that gracefully curves up to meet the outer seam.

4. Repeat the process for the back pattern piece.

making the facing pattern for the knot shorts

5. To make the facing for the shorts, first trace the front pattern piece. Then on your new piece, draw a straight line from the crotch (ugh, I can’t stand that word) to where the tie begins to curve out. Cut on that line. This will be your facing pattern.

6. Now that the pattern is made you can cut your fabric. Cut two front pieces and two back pieces out of your main fabric. From the contrasting fabric cut 4 facing pieces.

sewing inseam for the knot shorts

7.  Sew two facing pieces together, on the short straight side, right sides facing. Then serge or hem the long straight edge on top. Do this  for the other set of facing pieces as well.

8. Sew the inseam together on both legs of the shorts.

9. Open up one leg of the shorts and put the facing on top– as above–right sides facing.

10. Sew all around except where you hemmed (or serged). Clip the corners, turn out, and press.

11. Sew down the outer seams on both legs of the shorts. Stop right after you catch a bit of the facing, then backstitch a few times to secure.

12. Turn one leg inside out and the other right side out

last seam of the knot shorts

13. Put the right side out leg inside the inside out leg–now the right sides are together. Sew all around the crotch (that word again, ugh).

almost done with the knot shorts

14. Turn it out and press. You should have a very funny looking pair of shorts.

15. Make sure you have thread that matches exactly to your main fabric, then sew around the top of the facing to attach it to the shorts. Or if you want the seam to be even more invisible, you can sew it by hand.

tie the knots

16. Tie the knots, silly!

17. Fold the top edge under and press. Sew around to make a casing for the elastic. Insert elastic, insert child to see if they fit, sew up elastic and seam and ta da! Knot shorts!

I hope you enjoyed the knot shorts tutorial! Thanks so much for having me, Kathleen!


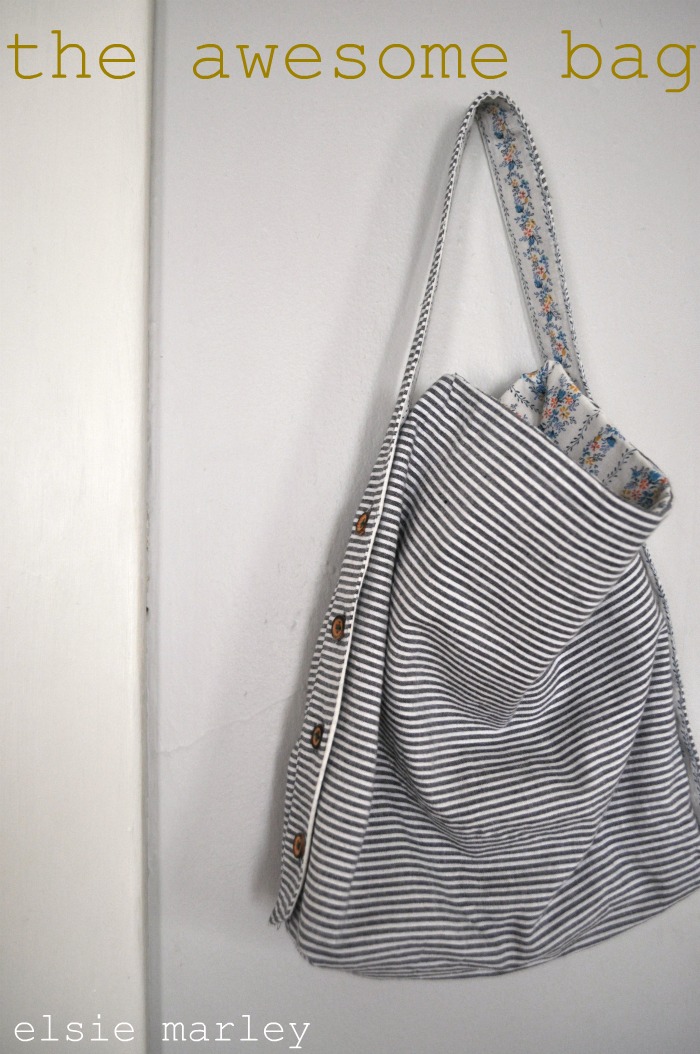
the awesome bag

This bag is truly awesome. It’s a messenger bag, a shoulder bag, a completely reversible bag…it’s so many different bags in one you have to make one just so you can discover how awesome it really is. And you can! Because I wrote an awesome pattern for it.

Shannon from luvinthemommyhood is encouraging the sewers and the knitters to duke it out finally and see who is left standing. So this is my little one-two for the sewing side.  No, it’s not foxy boxing, but it is one month full of super fantastic knitting and sewing tutorials with some friendly competition thrown in for good measure.  Sounds awesome, right? Head over to her blog for The Awesome Bag tutorial!

Once more for no good reason: awesome.

rainbow birthday dress

Please excuse the crappy photos. It seems it is difficult for me to focus before I’ve had coffee–the camera and otherwise. But hey, a rainbow dress! Finished and on time!

My little girl is five today. It seems a long time ago that we took a tiny little baby home to our Chicago apartment. She’s grown into a very organized kindergartener, prolific artist, helpful big sister and a beautiful little girl. Her favorite colors are pink and rainbow, so of course I had to make a rainbow dress. I had a bunch of ideas about how to make the rainbow all cool and modern, but in the end I just went for straight forward and simple. And she loved it.

The pattern for this dress came from this japanese book (sorry I have no idea what the title is). It’s a clever design: the top has buttons sewn around the hem and the skirt has buttonholes all along the waistband. And now that I’m thinking about it, this would be a great way to repurpose a button up shirt. I might buy a long sleeve shirt and sew buttons on the bottom to turn it into a winter dress, but it will be a while before I have the urge to sew 18 buttons on anything.

How does one accessorize a rainbow dress, you ask? With rainbow tights of course (and red high tops).