Posts Tagged ‘handmade’

kid clothes week part three

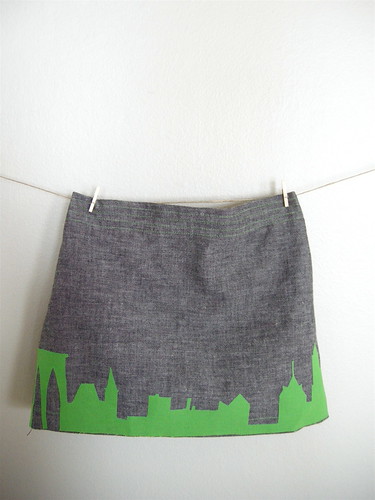
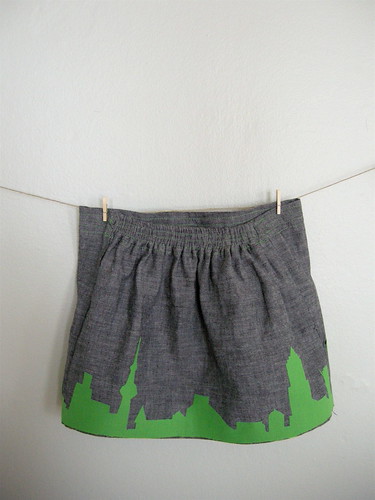
just one more and then kid clothes week is over for reals. I think the skirt was actually the first thing I finished, but I ran out of double sided fusible interfacing and it took me a few weeks to get my butt to the fabric store for more.  First I drew a skyline without any reference and it was pretty sad, so I looked up skyline on flickr and ta da! There’s a little New York, a little Shanghai, and a little Cleveland on this skirt and maybe some Chicago on the back.

I’m thinking about selling a few of these in my shop, maybe doing a county version too.  I still have no idea how to size a pattern (anyone? anyone?) but I’m confident I can wing it. Next week is making stuff for the shop week, so we’ll see. I put a few things up (have a look!) but there are many diggers to make, so I don’t know if I’ll even get to the skirts. Hope everyone had a good weekend. I’m off to have cocktails and listen to some french gypsy music with my best pal.

kid clothes week part two

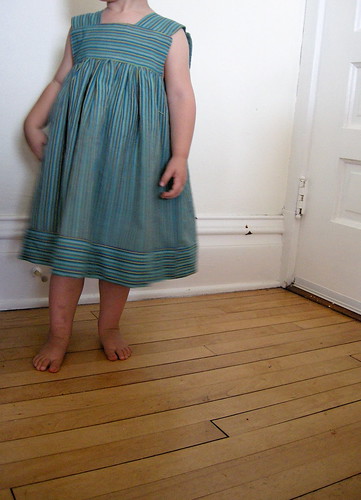
When I made a plan to just sew one kind of thing for a week, it was a good plan and I should have stuck to it. I completely lost my momentum and now it’s just a chore to go down in my studio.  Sewing from actual patterns didn’t help.  Everything was going fine and then suddenly:  step 12. put in zipper or step 7. sew continuous lap.  I still need a little hand holding when it comes to zippers (and who the hell wrote the instructions on the zipper package anyway? because they’re crap) and they could at least define continuous lap even if they’re not going to tell me how to do it.  I did figure them both out (thank you internet) but they are definitely a little off. A continuous lap is where the buttons are in the cuff of your sleeve, if you’d like to know.  You cut a slit in your fabric and then sew a piece of fabric to it in order to hem it, but not make it any smaller.  That’s very confusing, sorry–maybe that’s why they didn’t explain it in the instructions. Anyway, it’s on the back where the buttons go on this striped jumper.  The striped jumper that’s too big. Oh well, at least it’ll fit for sure next summer. I just can’t figure out sizing with patterns. I measured her and picked the size that matched, but I guess it just runs big, like one size too big.  The same thing happened with the other pattern I made.
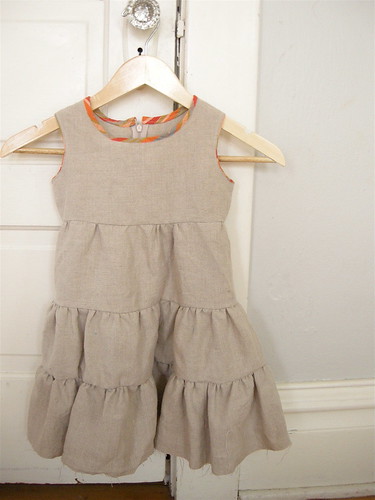
But this is heavier than I expected–Joann’s linen is not the finest quality, duh–so it might work well as a fall jumper.  I haven’t hemmed it yet because I can’t decide whether or not to use the striped fabric I used on the collar and armholes or just fold it up and hem it.  If I use the striped fabric do you think I need to make bias tape, or can I just cut it straight?

So I have a few things to finish up this week for my kids and other people kids, but next week I’m moving on whether I’m done or not.  But when I do get back to sewing kid’s clothes I’d like to be able to sell some, but I don’t have the foggiest idea how to size them.  Does anyone have any good resources about this?

*edited to add*  both the patterns I got at a thrift store, so I don’t know if they still sell them, but the striped number is Simplicity 6500 and the one with ruffles is Butterick 6089.
patchwork jumper

This is the first dress I’ve made for my daughter, even though I’ve bought yards (and yards) of different pretty prints since she was born (2 and a half years ago!) intending to make many dresses and skirts. I was nervous about using a pattern and nervous about trying to fit a garment on a toddlers, but they are straight little noodles, so really it’s not hard at all.  When Martha from Uniform Studio started making a garment a day for the month of may, I thought if she could whip out 30, then I could probably make one.   So now that May is 2/3rds over it’s done. Granted it took me most of the month to find the pattern, but last weekend at the thrift store there it was and for 10 cents!

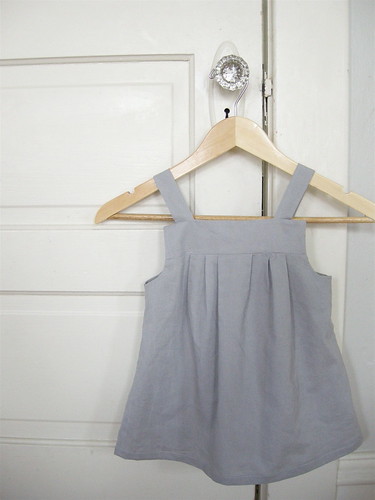
I had the idea for a little dress with a big pleat in the front and a strip of patchwork going down the middle and it turned out exactly the way I wanted, thanks mostly to the pattern.  The back and the front are the same in the original, I just combined all the little pleats into one big pleat in the front and kept the back the same.

There is a lot going in these parts over the next month, so things might be quiet here.  I’ll try to pop in once and a while, but I don’t think I’ll have much time for making.  In the meantime, I’ve updated some of my links (especially the clothing section) so you can jump over there for your craft blog fix.

have a great weekend!

dress

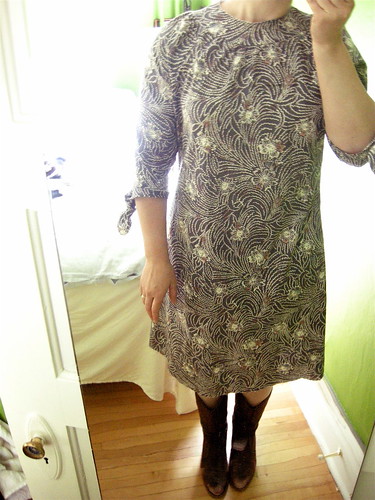
Simplicity 3835, almost done.  This is my first dress and it went surprisingly well. I don’t know what I was afraid of really.  Everything I had trouble with was only due to me not paying attention (or not reading the directions).  But it’s too big.  I wanted to make sure it wasn’t going to be too small and I guess I did that, but dammit now I have to fix it.  I read somewhere that the arms were cut on the small side in this pattern and with my baby hefting biceps, this bigger size fits my arms just fine.  So do I have to take the arms completely off to take the dress in?  I’m guessing the answer is yes.  Oh well.

A few other garment making questions:

when do you finish the raw edges?  As you go or should you wait on certain ones until your sure it fits (yup, I zigzagged those damn armholes)?  My kenmore sewing machine has an “overlock” stitch–not the real thing I’m sure, but should I use that or a zigzag to finish the edges?

I fell in love with the print at the store ($3 a yard = $10 dress) but it’s a lot of print in one place and I’m not too sure if I can pull it off. Maybe it’ll look better when it actually fits.  I’m on the garment making bandwagon for sure now.  No one told me how easy this is.  So I’m telling you.  The pattern is by built by wendy and the directions are clear as a bell (the zipper was almost too easy).  So stop being intimidated by some tissue paper and sew yourself an outfit.  I already have a long list of things to add to my wardrobe.

bags

I making bags like crazy over here.  All, of course, for the sale that you are sick of hearing about.  It’s this weekend and I’m actually getting a little nervous.  I’m sure all the self doubt will all go away when someone buys something–if someone buys something!  I’m used to selling pastries and breads and chocolates that I’ve made, where if you make a mistake it gets eaten anyway.  But someone will own these bags and use them, and if they fall apart their mother will be cursing me.  Or maybe they will be used and loved and come out of the washing machine in one piece.

You can see I finally made the toy bags I was talking about and though I wasn’t excited about them while I was making them, or even after I was done, but they are growing on me now.  Simple muslin drawstring bags with some applique (and stamped labels? yes? no? still can’t decide anything over here). The other bags in the picture are kiddy messenger bags.  I made one for my daughter just like it for christmas.  She got so many compliments on it, I thought they would go over well at the sale.  There are pictures of more bags over at my flickr site, if you are interested.  Have a good day.