Posts Tagged ‘craft’

hot dog shirt

FxCam_1270055329656

Before easter we went to a fantastic birthday party for a 2 year old. A two year old who loves hot dogs and balloons more than anything, so of course the party had lots of balloons and hot dogs. awesome!  I had plans to make this shirt weeks before the party, but of course I ended up doing it the night before.  I was inspired by this picture I found on flickr:

I just used freezer paper and paint and it was done. I tried to make the bun a little less 2 dimensional, but I’m no artist so it only kind of worked. It’s good to know that freezer paper prints don’t have to just be blocks of color–you can art it up all you want.

FxCam_1270055348614

A few people have emailed me to ask what the hell is freezer paper anyway. And because I’m lazy and waaay behind on replying to email (sorry) I will just tell you all here: it’s like butcher paper, where one side is paper and the other is plasticy. The plasticy side can be ironed onto fabric and then peeled off making it perfect for a ton of projects. I even use it to make patterns so I can just iron the patterns on and skip pinning. The kind I have is made by Reynolds and it’s right next to the tin foil in my grocery store.  There is a whole group on flickr devoted to freezer paper stencils and there are some pretty awesome ones there.

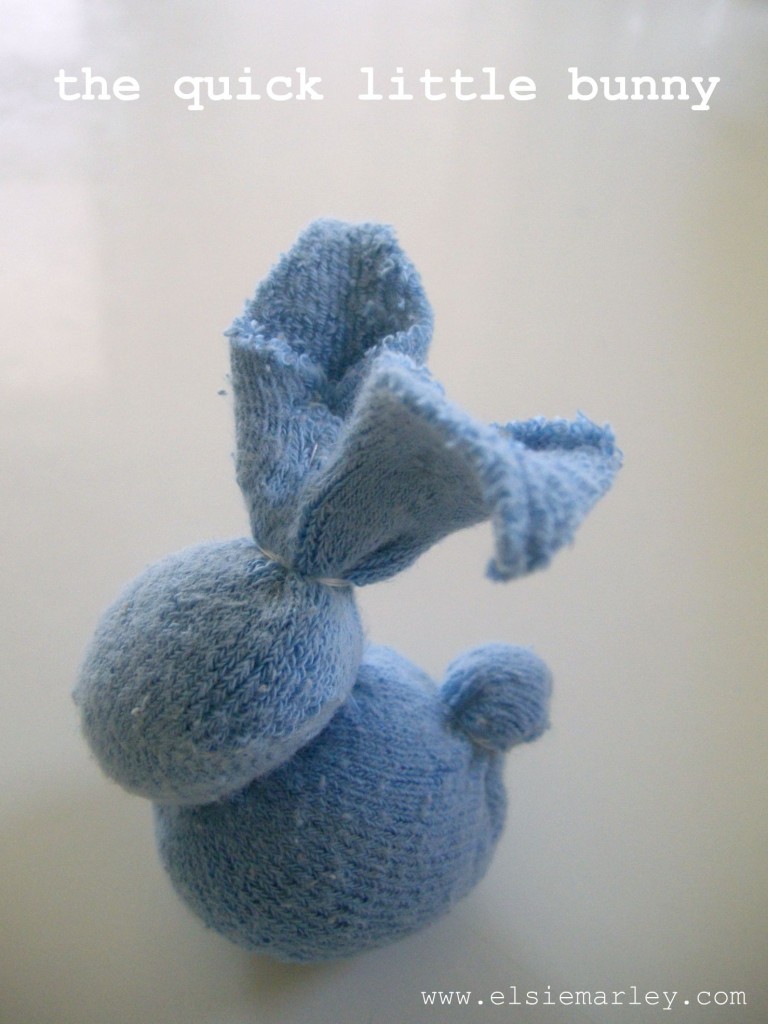
the quick little bunny tutorial

quickbunny

I really wanted to make the sock bunny that Heidi (from My Paper Crane) created, but I didn’t have any of those fantastic red and brown monkey socks. What I do have is baby socks: tons of cute, mismatched, totally useless, never stay on baby socks. Now that my littlest is very much not an infant and too soon will be a toddler it seems kind of silly to keep all those teeny tiny socks. So I made a bunny out of them. And a tutorial too.

DSCN1529 DSCN1537

This is indeed a quick little bunny. After I figured out the pattern, start to finish each bunny took me just 15 minutes.  So if you are anything like me and never get around to the easter baskets until the night before, you can whip up this little softie and still have time to run to the drugstore to score the last bag of jelly beans.

The quick little bunny tutorial

DSCN1486

Materials:

  • baby sock
  • a handful of stuffing
  • heavy duty thread
  • scissors

Make that bunny:

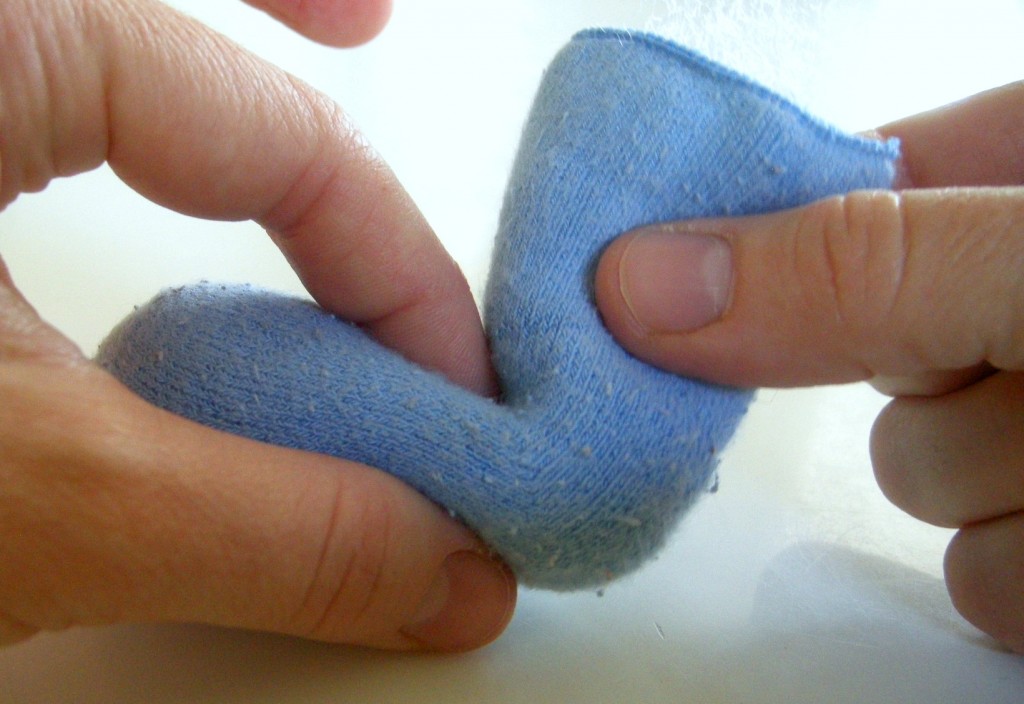
Before you start sewing take second to look at the sock you have. Most of the foot part will be the body and the heel area will be the head. Yours might be a little different, depending on your sock. If you look at the picture below you can almost see the bunny already.
DSCN1495

the body:

Take some stuffing and stuff the foot part of the sock–not too tight! this is just a little, squishy baby bunny. Where the foot part ends and the heal begins sew a running stitch around the sock and pull to gather it. I like to wrap my thread around where I’ve stitched a few times just so it’s secure. Knot your thread and snip.

the tail:

DSCN1498

On the top of the bunny’s back,  sew a circle about an inch in diameter with a simple running stitch. Then pull to gather. You may have to mush the stuffing around so you can pull it tight  to make a tail shape. When you have a little bunny tail, wrap your thread around a few times and knot off (do people say “knot off?” does it sound too much like I’m yelling at you to go “knot off!”).

the head:

DSCN1504

To make the head, put a little stuffing inside the sock and sew a running stitch around the top of the heel. Before you pull it taut make sure all the stuffing is pushed down under your stitches. Then wrap the thread around and knot off!

the ears:
DSCN1508

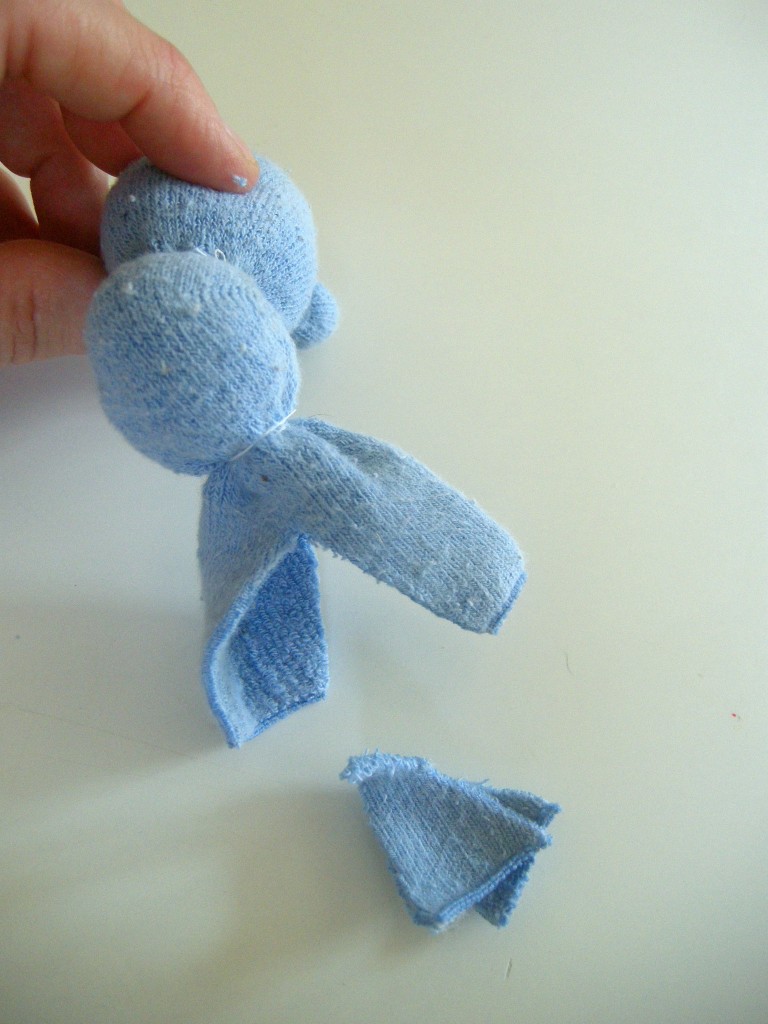
Cut a big V shape out of the top of the sock. Now trim the top part of each ear to a point.  Then fold the two sides of the bottom part of one ear in to meet and sew together. This is a little easier to understand when you look at a picture:

DSCN1509 DSCN1511

When you sew that seam down the middle of the ear, it’s good to catch some of the back of the ear with your stitches, so the ears are a little thinner.

The attitude:

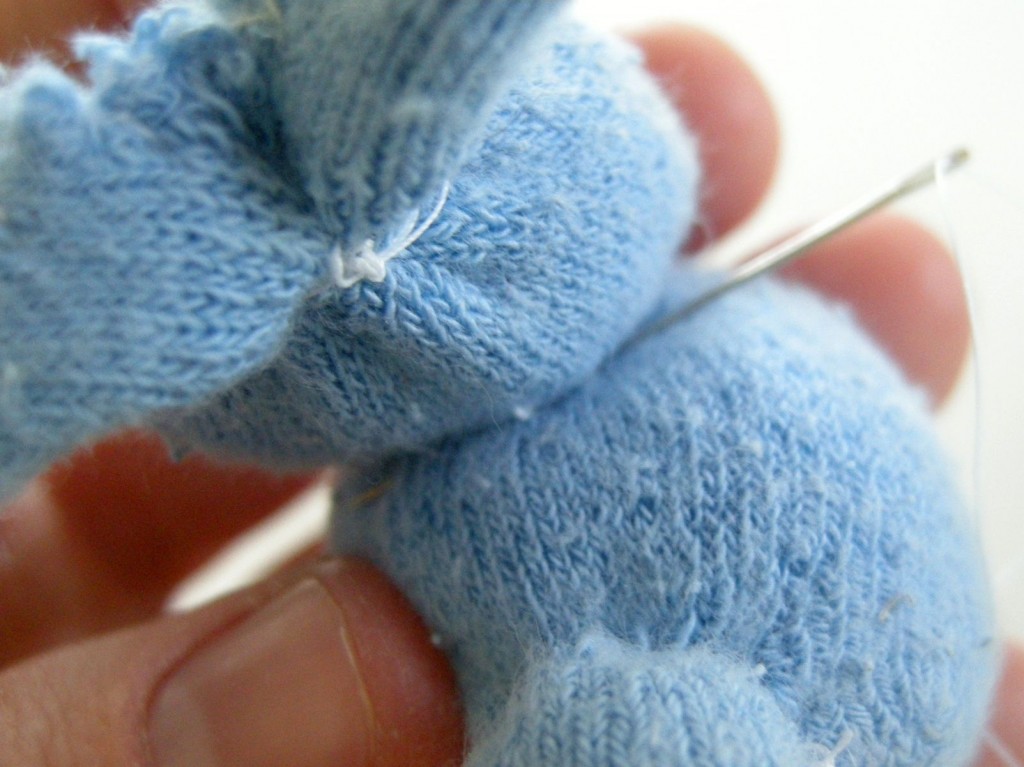
Okay, that is a dorky title, but this is the fun part. Now you can play around with the ears and the head, moving them to where you want and putting a stitch here and a stitch there so they will stay.
DSCN1515

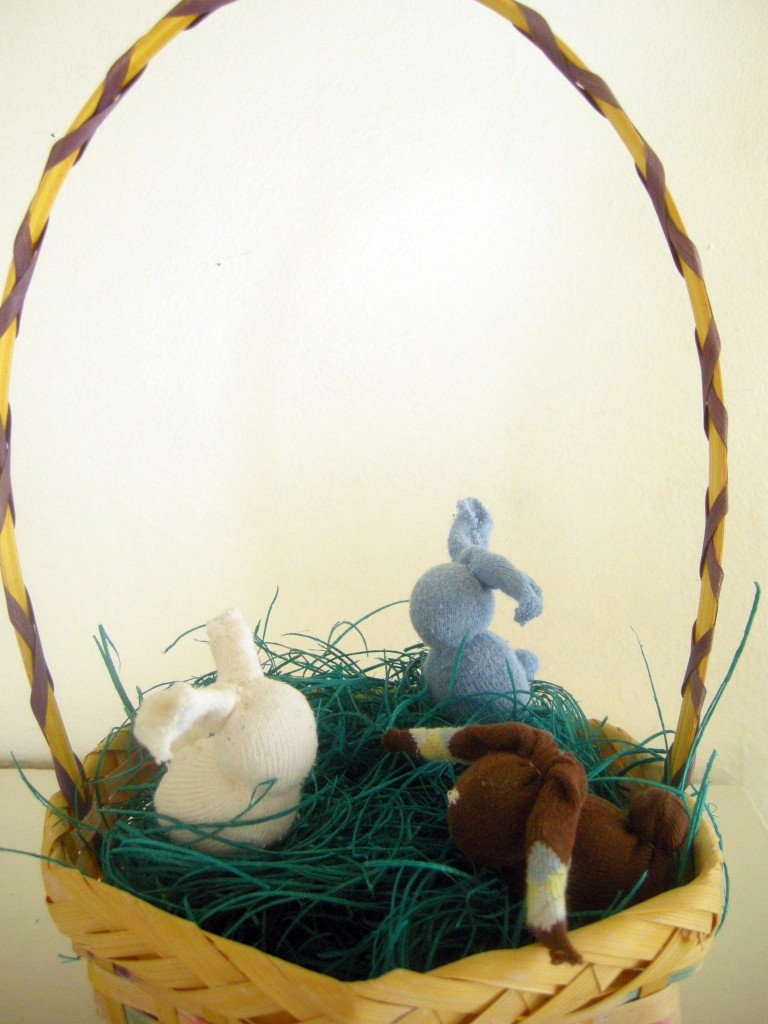
You don’t have to give your bunny an attitude, but you should stitch the back of the head to the body a little, so it looks more bunny like and less like a cinched up sock. There! you did it! Now go dig around in the sock drawer and see what else you can make into a bunny.
DSCN1538

braided shirt

It seems that all anthropology and jcrew are doing these days is slapping things on t-shirts and calling it couture, then charging 60 bucks for it (see here and here if you don’t know what I’m taking about). I mean come on people, we can make this stuff.  Look!  I just turned into my mother before your very eyes! Shopping with her was awful (sorry mom) because no matter what I picked out she would say, “oh, you could make that.” Not necessarily me, I was 12 years old, but “one” could make it.  No “one” ever did, of course. Until 20 years later.

DSCN0770

So anyway, a while back a friend invited me over to slap some things on t-shirts and call it couture. I came up with this braided number.  I think it actually was inspired by an anthropology shirt, but I can’t remember which one. I bought two 5 dollar shirts from Target and washed them both, one shrunk up really weird (only on one side–that’s what 5 bucks will get you) so I cut that one up. I started at the bottom and cut spiraling up to the armpits. The strip was super long and was about an inch wide. Then I cut it into three equal pieces and braided it.

DSCN0763

Then I pinned it on, starting from the bottom and going up around the neckline, then back down the front and then I hand sewed that sucker on. I was watching a movie while I did it, so it’s a little uneven, but you can’t really tell when I wear it. I’ve got more anthrocopies (awesome word coined by the angry chicken!) planned, but that baby up there? he is just all over the place these days. So maybe you look to these people for inspiration while I go chase him down:

rainbow rain

DSCN1378

Yesterday morning was rainy and crummy. My daughter wanted to do a project, “I’ll go in my room and when you think of a project for me say ding-a-ling-a-ling.” so I came up with this (rain on a rainy day: my creativity knows no bounds). I cut out a raindrop shape for her to trace and my son was in charge of the tape. She wanted to make a rainbow, because where there is rain there are rainbows, and my son made a sort of deconstructed rainbow (up there on the right). He also wanted to know where the umbrella was, so we made one of those too.  Now that it’s sunny, my daughter wants to know when we are going to make the sun.

yellow stripe shirt

DSCN1291

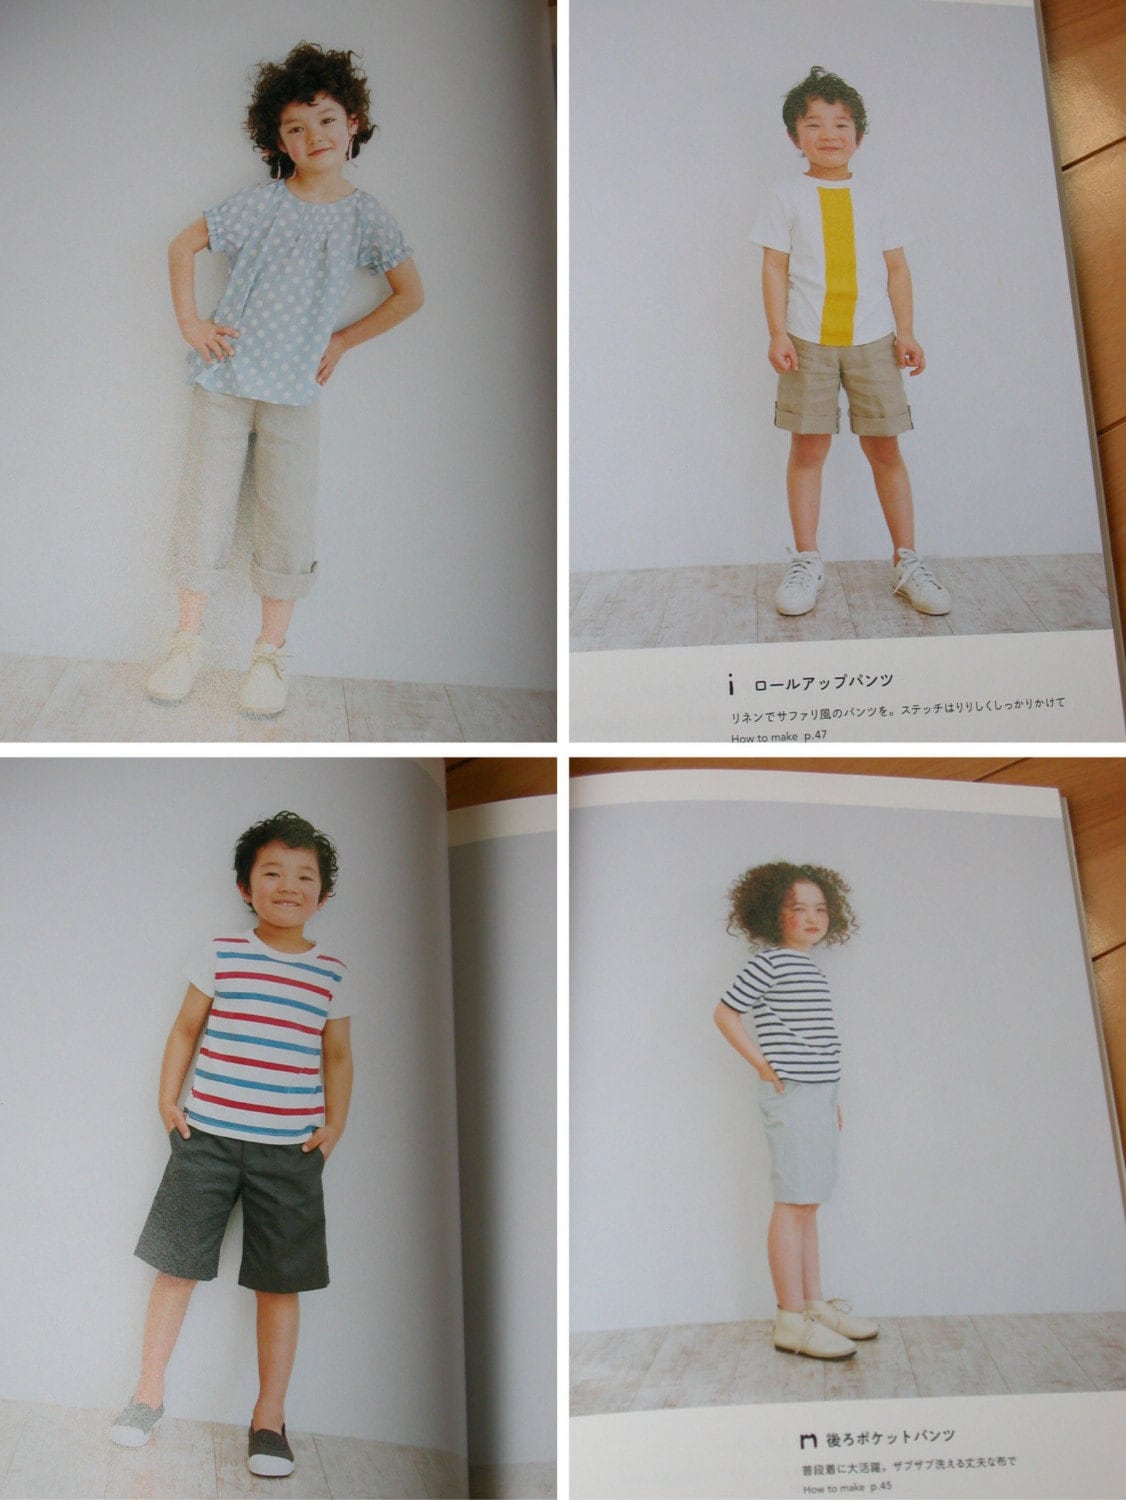
This is a crazy easy project. Just iron down some freezer paper on a shirt and slap some yellow paint on it. It’s a super springy shirt that I copied straight out of this japanese craft book. I don’t own the book, but it looks like it has some awesome patterns in it. As with most japanese craft books the shapes are so simple and the fabric choices so spot on you want to make everything in it, but then dammit it’s just not as easy to follow directions in japanese as they say it is–even if there are lots of pictures. I’m working on a japanese pattern right now and it’s slow going. It’s yellow too actually. We need some yellow here in the grey midwest, but if this 50 degree weather will stay I won’t complain about the grey.

and here he is showing off his matching yellow star undies.

DSCN1299