Posts Tagged ‘cover’

color block pillow tutorial

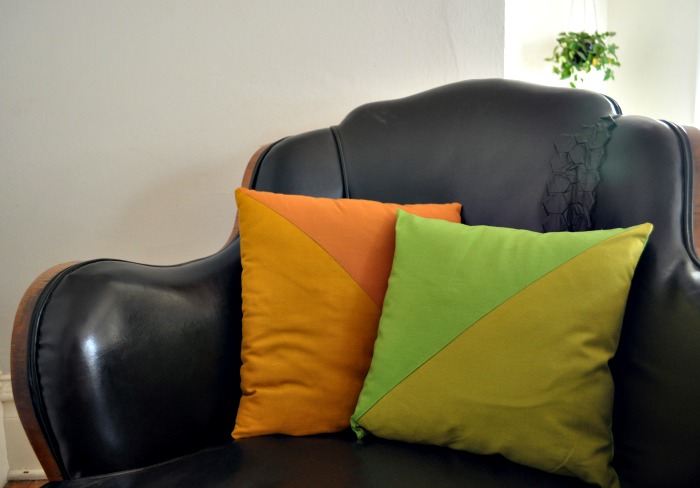
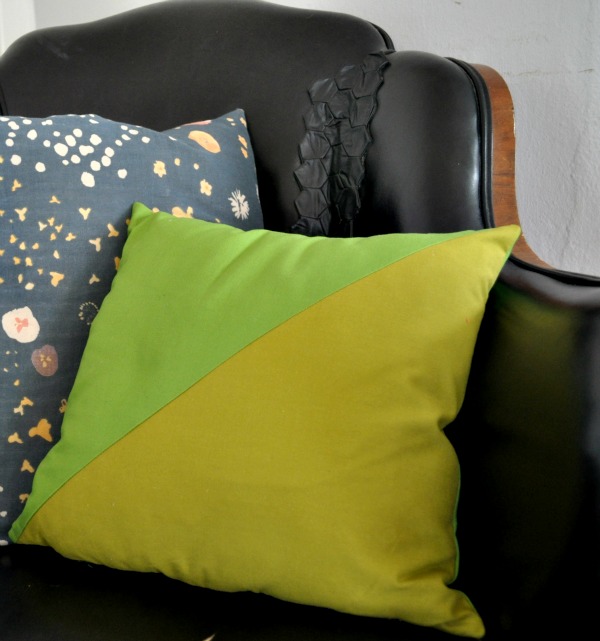
color block pillow

Here is a little project to spring up your home.  I made this pillow in springy greens, but any colors would of course work. Ticking would look very nice, with the stripes going opposite ways. The pillow is based on a simple quilt square (does it have a name?) and comes together super fast.  Happy Spring!

color block pillow

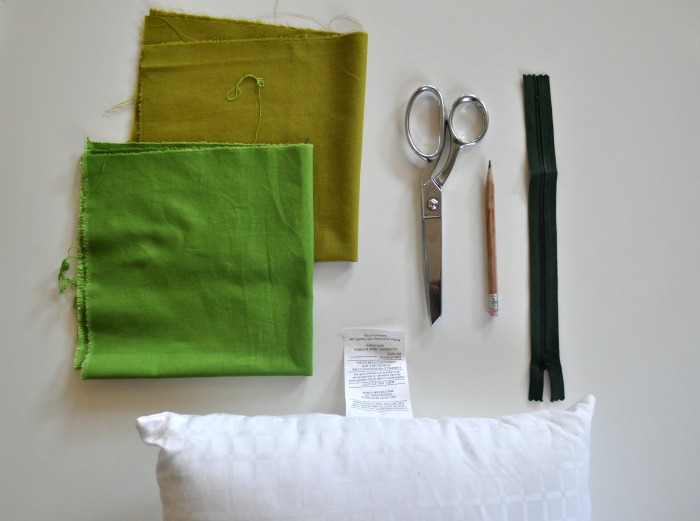
color block pillow materials

materials:

  • two squares of fabric slightly larger than your pillow
  • square pillow form
  • zipper slightly smaller than your pillow


directions:

1.  Cut your fabric 2 inches larger than your pillow. For example: my pillow was 13in square, so I cut my fabric into 15in squares.

color block pillow step one and two

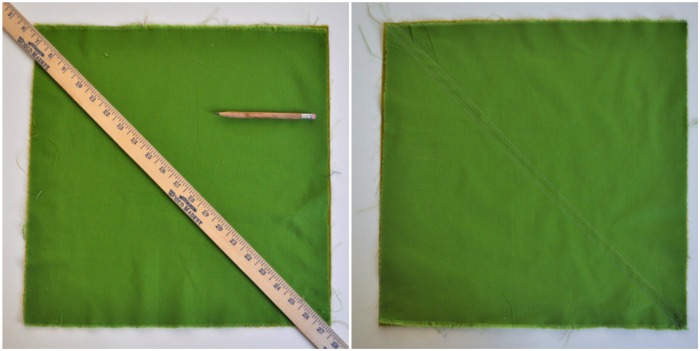
2. Put the squares together, right sides facing. Using a straight edge, draw a line diagonally across the fabric. No one will see the line, so you can use a regular pencil or pen.

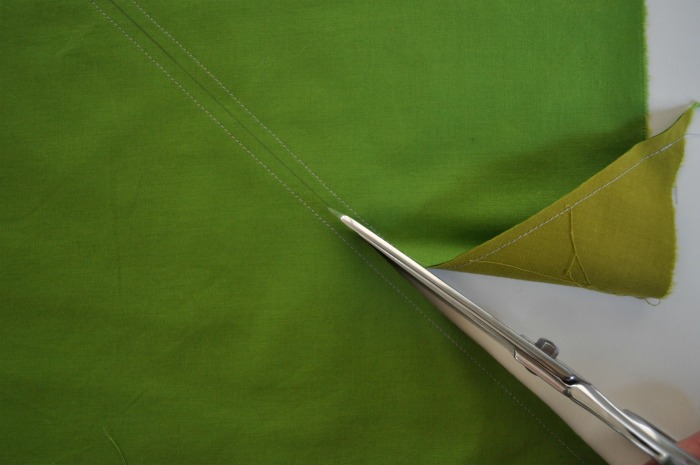
3. Sew 1/4in from the line. First sew on one side of the line, and then on the other. You will have two seams, one on each side of the line. This is shown more clearly in the photo below.

color block pillow step three

4. Cut directly on the line you drew.

color block pillow step four

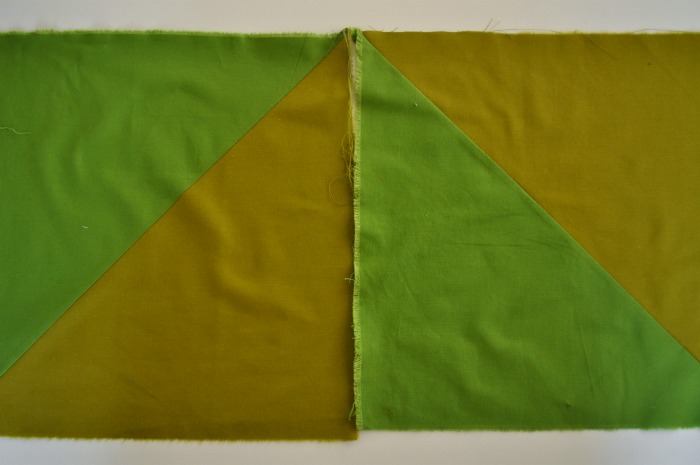
5. Ta Da! You now have two squares. Open them up and press the seam to one side–the side with the darker colored fabric.

color block pillow step five

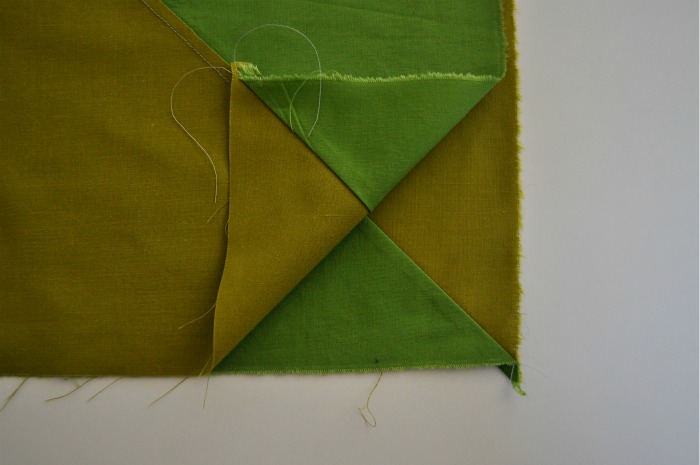
6. Now you have a choice. You can line the squares up, right sides facing, with the seams also alined like I did in the photo above. Or you can arrange it so the triangles are oriented differently on each side–the seams will not line up, but will make an X. Play around with it and see what you like. But unless you have a clear fiberglass couch no one is going to see both sides at once.

7. I am not going to explain how to do the zipper, because there is a good tutorial that does it already–Sewing 101: Zippered Throw Pillows. This is the method I use for putting zippers in pillows and it is dead easy. There are other ways that look a bit nicer, but this one is super fast and hard to screw up. I encourage you to try it if you haven’t used zippers before–you will succeed, I know it!

color block pillow done!

8. Try the pillow on your pillow form. It might need some taking in. I had to take mine off and sew it a bit smaller to make it fit. Hey look, you’re done! And you made a super chic, color block, geometric, trendy as all get out pillow. Your couch will thank you.
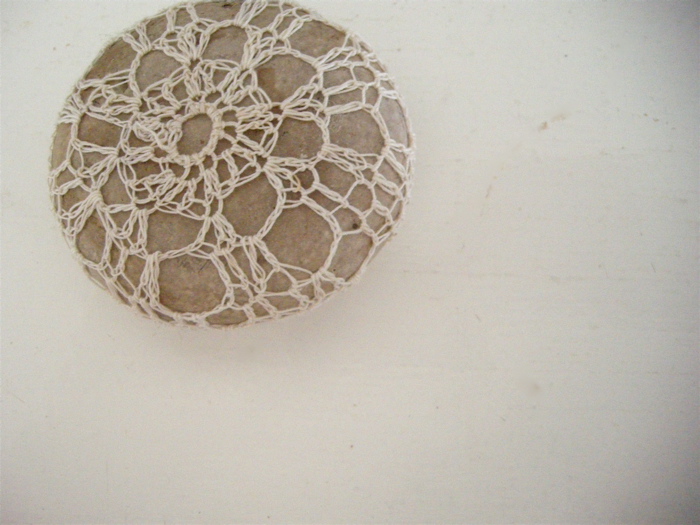
crocheted stone

I crocheted this sweet little stone for a friend’s birthday this weekend.  Margie Oomen makes beautiful covered stones and kindly wrote up a pattern for this one: little urchin crochet covered sea stone.  It was my first time using crochet thread and it was a little difficult, but very satisfying–I see many doilies in my future. This was a great first project because it doesn’t have to be perfect and in fact it looks better when it’s not.

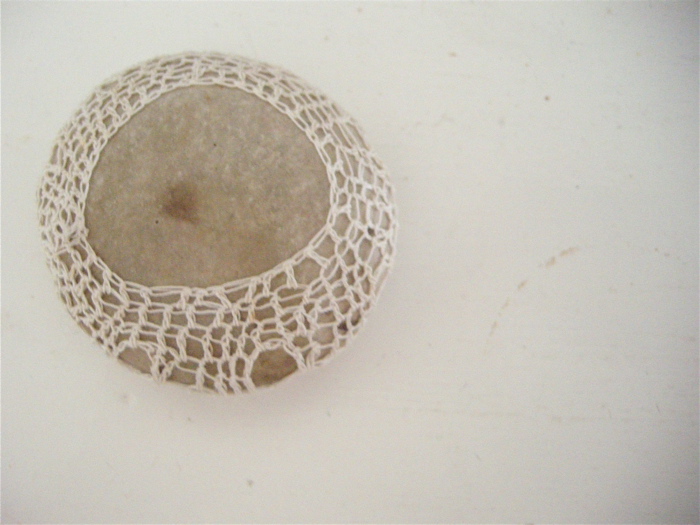
(I think I might even like the back better than the front) The rock came from schoolhouse beach on Washington Island in Wisconsin: a beautiful beach covered in stones, that we found out later you aren’t supposed to remove from the beach. oops.

thank you and a sewing machine cozy

Thank you everyone who is visiting from Sew Mama Sew. And thank you to Sew Mama Sew for featuring me a few times (!) this week. It’s an honor to have my things on such a fantastic blog. If you’d like to know who’s writing this blog (me) you can click on the about link on the right. Thank you for all your kind comments. I try to reply to most, but I’m a little behind because of the holidays. Starting a blog was on my to do list for most of this (2007) year and I’m so glad to have finally crossed it off. I never would have believed that a few kind words from strangers could inspire me so much. Many of you are no longer strangers, but people I look to often for advice.  Thank you for sharing your ideas and thoughts with me. It’s a pleasure to be a part of such a creative and supportive community. I’ll need even more of that support next year because one of my resolutions is to start an etsy shop.  And sew myself some clothes that don’t suck.  Do you have any crafty resolutions for the new year?

The picture is a present I made for another sister.  I showed you the needlebook and pincushion already, but I made the sewing machine cover to match after seeing the sorry looking toaster cozy she was using to cover up her sewing machine. Just a simple lined piece of patchwork with ribbon ties on each end.  And an embroidered sewing machine so she knows where it goes (not on the toaster).

Hope you all have a happy new year!