Hour #3
1. bodice: Here we are at hour number 3 already and there’s hardly been any sewing! Well that’s about to change. The first bit of sewing I tackled was the bodice. That went so fast that I didn’t even photograph it–and I even made two bodices (one for the main dress and one for the lining).
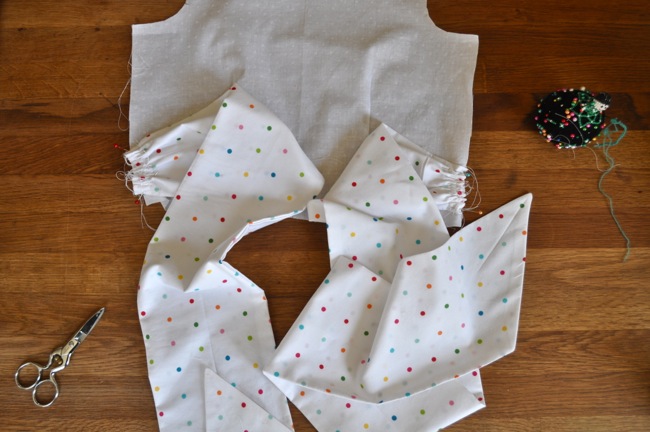
2. bow: The pattern for the bow on this dress seems hilariously huge. Once you’ve folded it over and sewed up it, the bow takes on slightly more normal proportions. Then you have to gather the ends and place it in just the right place on the bodice.
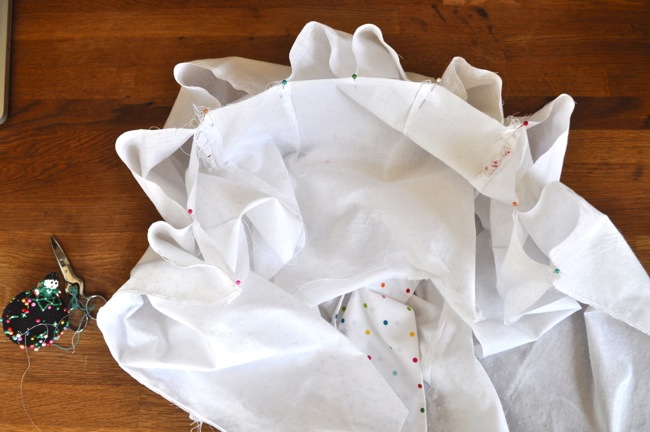
3. skirt: The skirt on the fairy tale dress is a giant rectangle. This make it easy to sew up (and to hem later), but to attach such a large rectangle to the bodice requires lots and lots of ruffles.
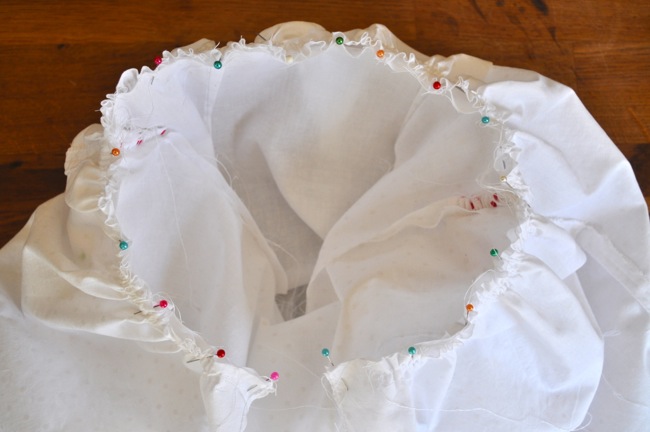
4. attaching the skirt to the bodice: I have to admit gathering ruffles is one of my favorite bits of sewing: pinning two very different lengths of fabric together and gathering the longer one to magically match up just right. And look, they match!
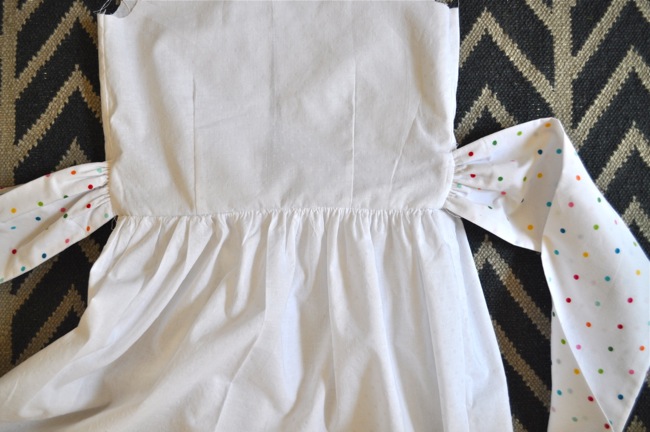
Success! The bow didn’t even get caught all crazy in the seam. I had to pat myself on the back for that one!
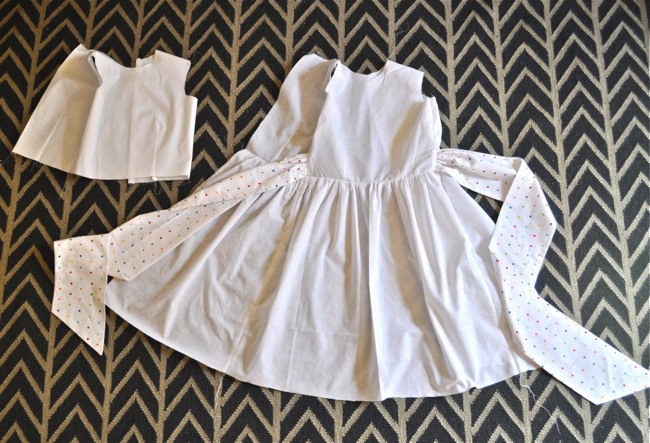
Day three and I’ve made the main dress and the lining of the bodice. Looks like the dress is practically done, but we’re not even halfway to the finished product!
Tomorrow: more polka dots!
Posted in kcw spring 2013, kids clothes week challenge. 9 Comments »
Hour #2
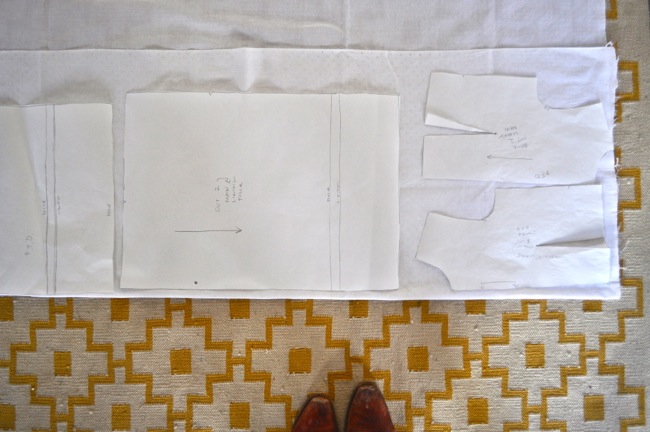
1. laying out pattern pieces: I think laying out pattern pieces to use the least amount of fabric is a lost art. I am certainly no good at it. And I find many new patterns I buy don’t even include a layout diagram! Oliver + S does of course. I tend to use freezer paper for my patterns so I don’t have to pin anything. This photo is right before I ironed all the pattern pieces down. And right after I took this picture I thought, “wait! I should really make a muslin.”

2. making a muslin: this photo should be titled “trying to sew a muslin while carrying on a conversation with a 3 year old (about snacktime) and a 6 year old (about what a muslin is) simultaneously.” The title explains why the darts are on the outside and why one shoulder seam is right and the other so wrong. It did fit–it may not look like it in the photo, but trust me it fit.

3. cutting the fabric: now this took me the whole hour. Every piece up there is double (either folded in half or two pieces stacked on top of each other). This is how 6 yards of fabric comes together to make one little dress!

The fairy tale dress (view B) is mostly one color, but the collar and bow can be a contrasting color. Well, obviously you can do whatever you like, but two fabrics are suggested (and it’s a good suggestion). I was going to find a sweet floral print for the second fabric, but then I discovered this vintage sheet in my fabric stash. White swiss dot for the main fabric and multi color polka dot for the contrasting fabric? I mean come on! It’s perfect!
Posted in kcw spring 2013, kids clothes week challenge. 14 Comments »
Kid’s Clothes Week has started! We will be featuring beautiful handmade clothes everyday on the kcw blog. There are already some lovely things to see on day one! In the past, I’ve tried to have a new garment to show you each day, but this time I’m going to do something a bit different.
We like to talk about the process, but tend to only show the finished product. The finished part is pretty, the seam ripping and the swearing not so much. I wanted to take this week to break down a project into all its parts. Kid’s Clothes Week says to take an hour each day to focus on making kid’s clothes, so each post this week will be how I spent that hour. And by sheer luck I chose a project that took me a little over 7 hours.
Hour #1 :
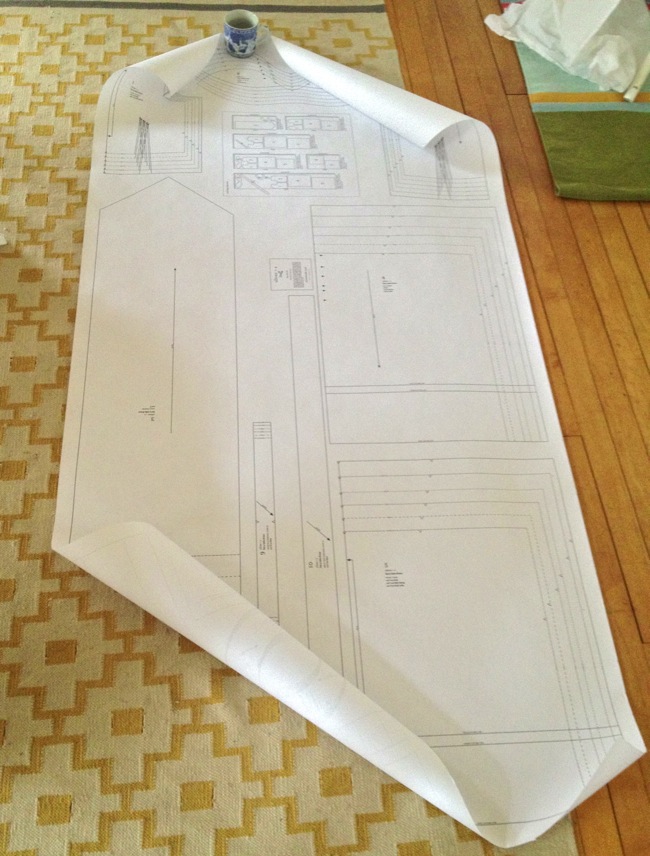
1. printing out the pattern: I’m using the Fairy Tale Dress pattern by Oliver + S. This is my first pattern by them (I know, I know) and I chose it because I wanted something complex but totally clear. Also, my daughter’s first communion is at the end of kcw and she need a dress for the occasion. It’s true Oliver + S patterns are expensive, but when I saw this beautiful dress on flickr made with the same pattern I knew the pattern would be used for years to come.
I purchased the pdf version of the pattern because none of the shops in my area had it in stock (and I didn’t plan ahead). Instead of printing and taping all the millions of pages together, I sent the pdf to my local print shop. They printed it out on one giant ream of paper. It was slightly more expensive than I hoped ($12) but it also saved me a ton of time. I was in and out of the shop in 5 minutes.
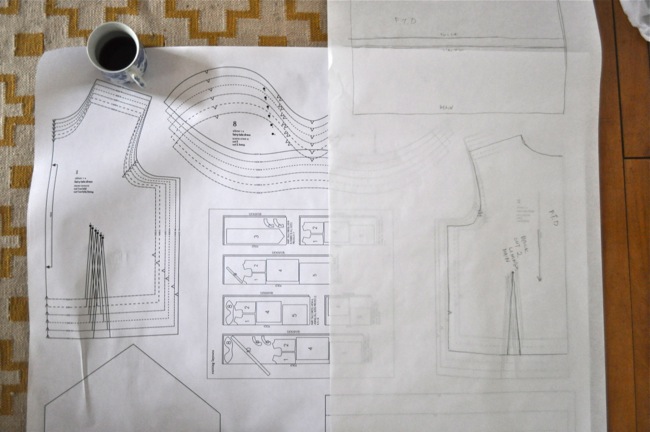
2. tracing the pattern: I could have just cut it out, but that seemed too wasteful. I’m starting to warm up to tracing patterns. Armed with a hot cup of coffee, I might even say I enjoy it.

3. ironing fabric: ironing on the other hand, not so enjoyable. For a size 7, the fairy tale dress pattern requires almost 6 yards of fabric. Crazy, right?! I was lucky to hit Joann’s on a 50% off sale day. The main fabric is a pretty swiss dot ($4/yard), the contrasting fabric (for the collar and bow) is a sheet I got at the thrift store long ago, and the lining is simple white shirting ($3/yard). I wanted to do it in eyelet, but I had no idea eyelet was $20/yard! I love the fabrics I ended up using, but they wrinkle easily. The ironing took me at least an hour if not more!
Stay tuned tomorrow for hour #2. It will be riveting, I’m sure!
Posted in kcw spring 2013, kids clothes week challenge. 21 Comments »
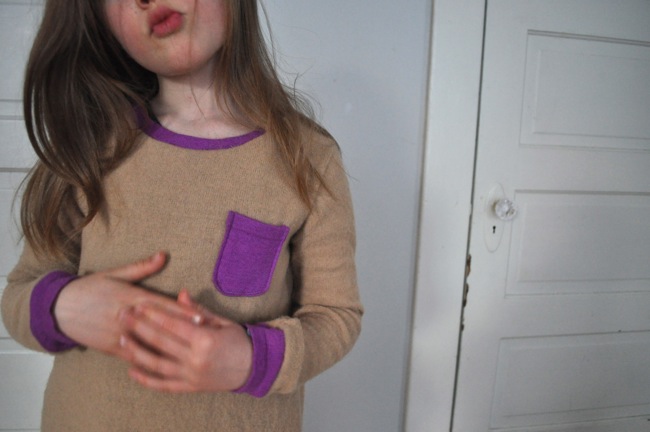
We have had a very chilly spring here is Wisconsin this year. Thank goodness too, because this sweater dress has been on the to sew list since the fall! You know how it is: all the new, exciting projects always budge in line.
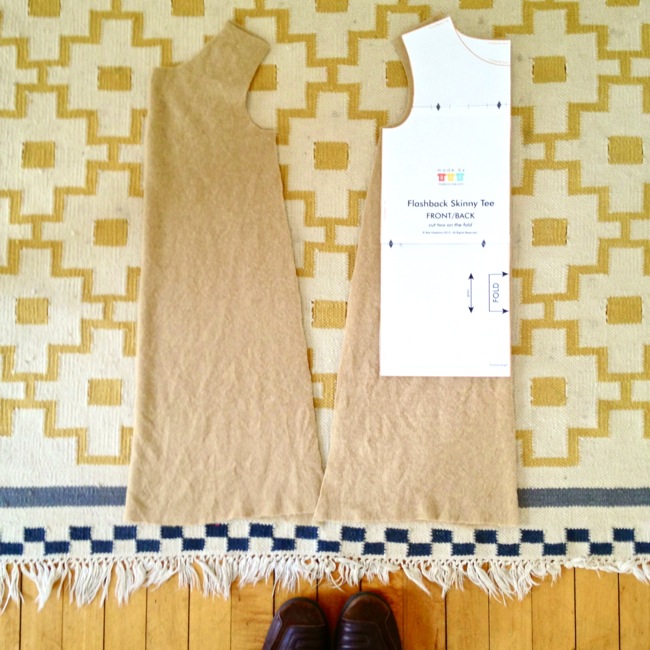
the pattern: Rae’s Flashback Skinny Tee , size 7. Obviously, I lengthened it. I also created more of an A-line shape by drawing an angled line from the armpit to the hem. Kristin explained how to transform the pattern into a summer dress for last spring’s KCW. Speaking of, did you see we kicked off a week of guest post-ers on the new kcw blog?
the fabric: an odd bit of sweater-y fabric I found in a thrift store in northern Wisconsin + a bit of a purple sweater (the one I used to make this cardigan).

the sewing: The main part of the dress came together super quick. The neckline tripped me up a bit. Mostly because I tried to use the neckline from the purple sweater. I had to rip it up and start again over. I also used the cuffs from the purple sweater, which I don’t like, but they aren’t awful so I skipped redoing them.
the fit: spot on! The last flashback skinny dress I made, I sized it up myself. It worked, but it wasn’t perfect. Rae has since sized the pattern up for bigger kids. The skinny tee is such a wardrobe staple, I know this pattern will get used for a long time.
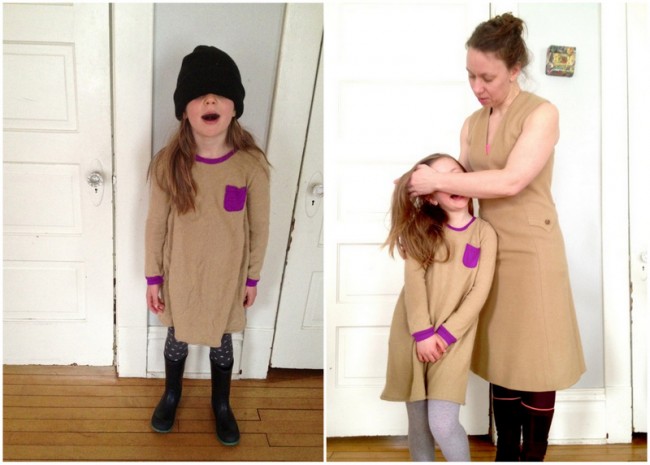
The dress is getting worn–caught on film a few times, too! Paired with a polka dot tights, wellies, and a stocking cap one time. Another time she even matched her mama!
Posted in sewing clothes. 12 Comments »
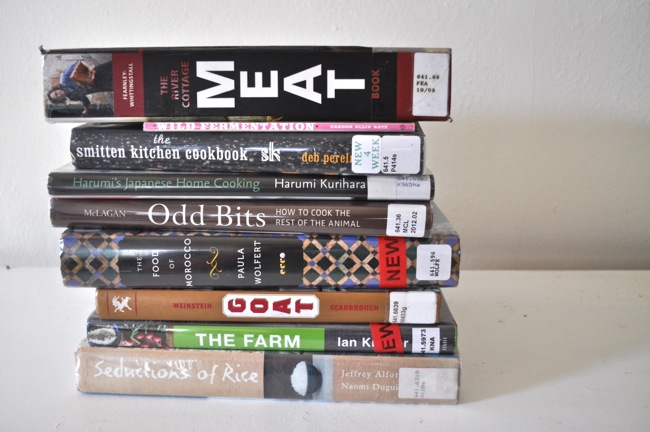
Abby from things for boys asked me to be a part of her Cooking the Books series. The idea is that we all have (or in my case check out from the library) an enormous amount of cookbooks, but we don’t always cook the recipes in them. I love a good kick in the pants challenge like this series! Head on over to Abby’s blog to see which book I picked from that huge stack!
Posted in food/recipes. 3 Comments »


