I discovered Mary Frances work during one of the first KCWCs. She spent the week making outfits inspired by illustrations in children’s books–the frog and toad trousers were so stylish I wanted some for myself! For this pre-kcwc party week, Mary Frances has written a fantastic tutorial for hoods. You can add a hood to an existing shirt or a pattern you are working on, she has directions for both. Plus she’s put a bit of elastic in the hood to help it stay on which I think is absolutely genius!

Hello elsie marley readers! I was so excited when Meg asked me to guest post about clothing details that I quickly signed up for pants closures… then spent half that night lying awake, gripped by visions of HOODS and the finer points of their construction. Luckily Meg is one who understands late night visits from the (pushy, pushy) sewing muses and she tolerated–nay, encouraged!–my change of heart.

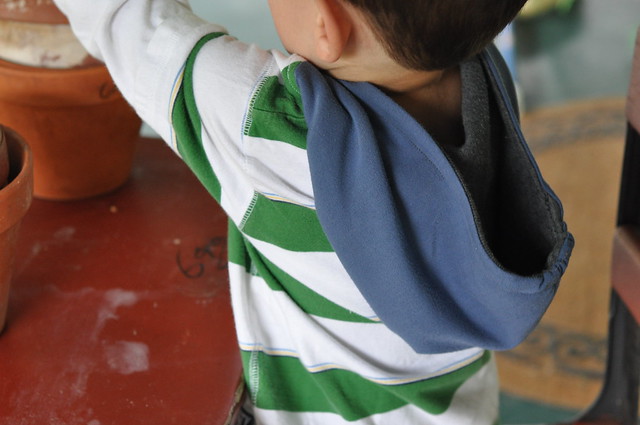
But really, who could blame me? Hoods are a fun and easy detail to add to any shirt or jacket. They provide the functionality of convenient warmth (no more losing track of hats) and the fashion bonus of being particularly cute on kids. They are great for boys’ or girls’ clothes, evoking the fly-behind feeling of a superhero’s cape as easily as the fairytale mood of Little Red or a princess-in-the-woods.
Hoods provide a surprising number of opportunities for personalization and creativity. The tutorial below is for a pretty basic lined hood, but you could use the same techniques to come up with many different variations:
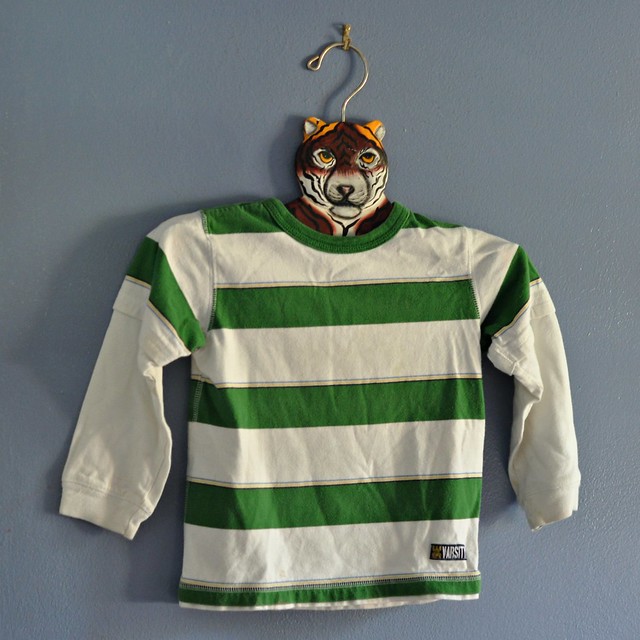
–Experiment with shape–this pointy one (via Meg’s pins) makes me swoon.
–Add cat/dog/bear ears or dinosaur fins for a Halloween (or any day!) costume.
–Play with different kinds of gaps and overlaps at the neck, like these from Trula.
–Use the liner to showcase a special or wild fabric that might be a little much for a full garment: I like this one by Heidi of mypapercrane.
–Add embellishments like decorative topstitching, edge lace, fancy drawstrings, or piping.
–Once you have mastered the two-panel hood, experiment with three-panel construction–these are more common on heavy garments like rain jackets and offer yet another fabric “zone” to play with; the jacket in Anna Maria Horner’s Handmade Beginnings is a great example.
Ready to add a hood? Here’s the higly official

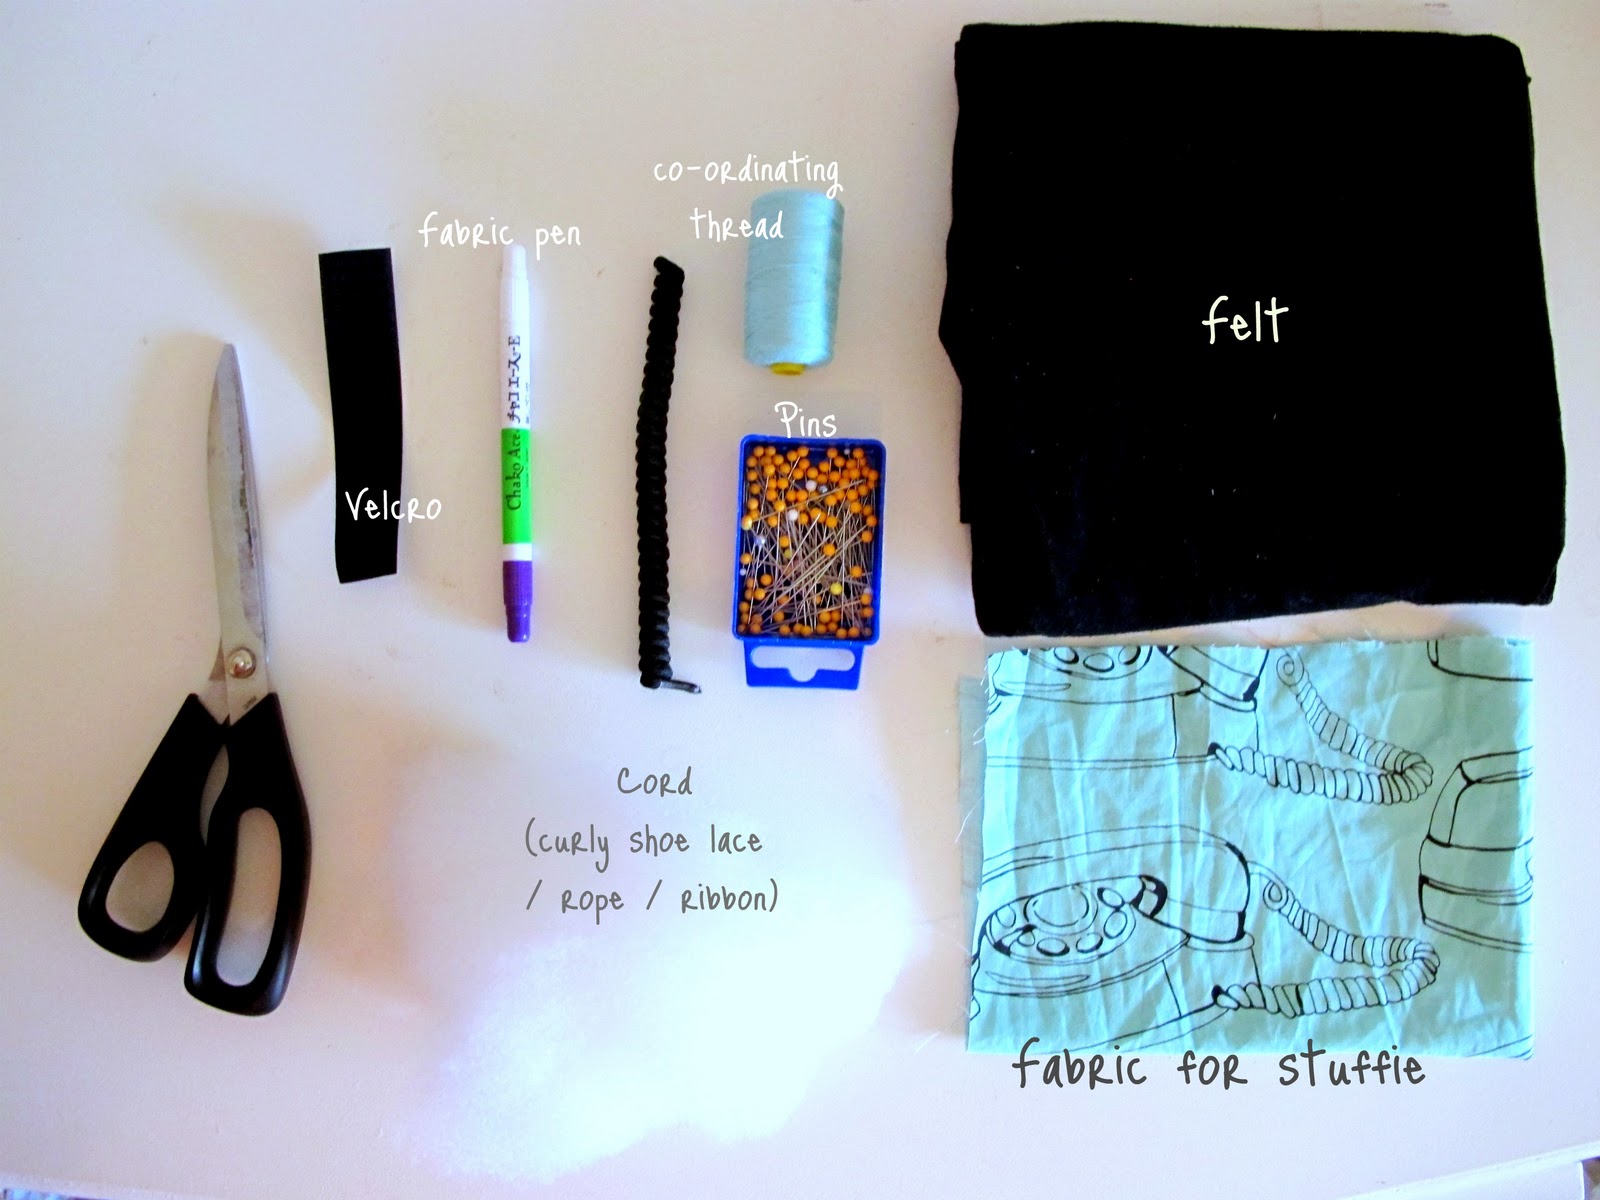
Gather Your Materials
You will need:
–The shirt you’ll put the hood onto. I used a hand-me-down storebought shirt, but you could also modify a pattern to include a hood. Just make the shirt/jacket/cardigan up to the point of attaching the collar, and make and attach a hood instead.
–1/3 yard outer fabric
–1/3 lining fabric
(I used an old knit shirt for the outer and an old sweater for the lining. You can use any fabrics that you think will complement and sew nicely onto the base shirt.)
–3 inches of 1/4″ elastic (optional)
–paper and pencil for tracing the pattern
–pins, scissors, thread, measuring tape and whatever other sewing gadgets you like to use
Make Your Pattern
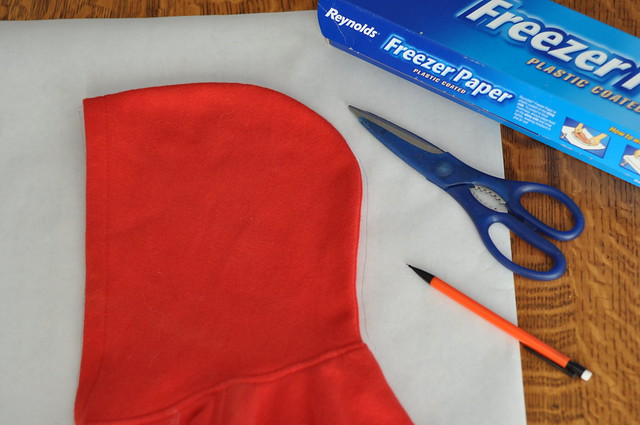
1. You can use a hoodie you already have to get the general shape. Fold your hoodie in half longwise, lay it on your pattern paper (I use freezer paper so I can iron the pattern on at the cutting stage) and then trace the hood with a pencil.
2. After you trace the hood (or maybe you just winged it and drew a hood-like shape; that’s OK too), you’ll need to check your dimensions and adjust slightly:
–With a flexible measuring tape, first measure from the top of your child’s head down to the base of their neck. Add 1 to 2 inches to this number (1″ will be a more closely fitting hood, 2″ will be looser; err on the long side if you are planning to cut an exisiting collar away from a shirt) and adjust the height of your hood pattern to match.
–Now measure the circumference of the collar of the shirt you’ve chosen. If you’re going to cut off a pre-existing collar (see below), be sure to measure below it at the cutting point (the measurement will be slightly larger than the top-of-collar circumference). Take half of that measurement and adjust the width of your hood pattern: a larger width will mean your hood overlaps at the front, a smaller width will leave a gap at the neck.
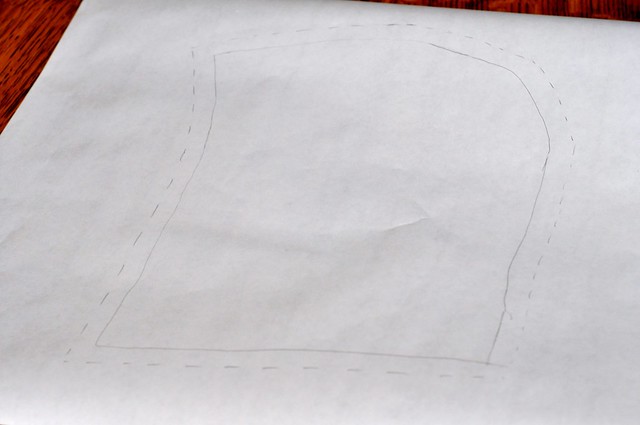
3. Add 1/2″ seam allowance all the way around the new pattern.
4. Cut your pattern out!
Cut Out Your Hood Pieces
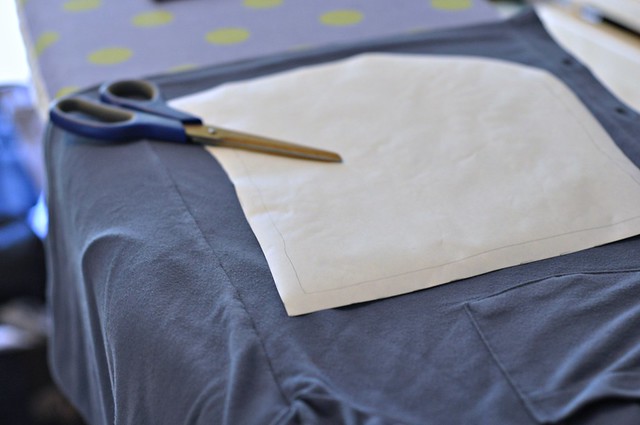
1. Fold your outer fabric in half such that the hood pattern will fit onto it.
2. Lay the hood pattern on top (not directly along a fold), pin or iron in place, and cut through both layers of fabric (cutting the two sides at once helps keep you from making the unfortunate mistake of forgetting to reverse the pattern piece on one-sided fabrics).
3. Repeat for lining fabric.
4. You will have 4 identically-shaped hood pieces: 2 outer and 2 liner.
Sew the Hood
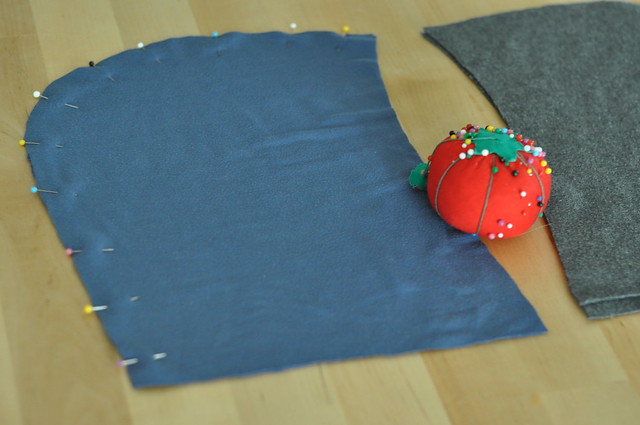
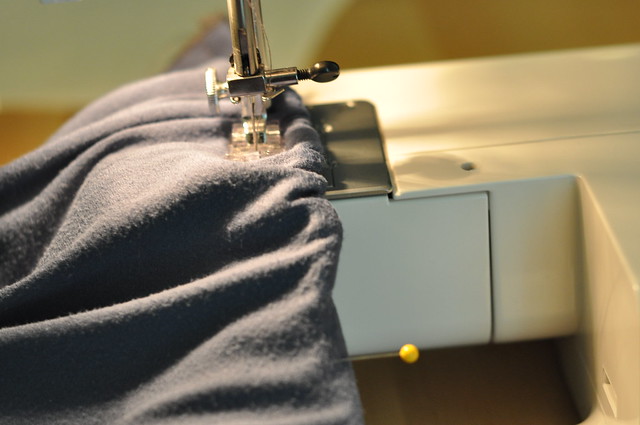
1. Take your two outer pieces and, with right sides together, pin along the curved side of the hood (you are making the main seam that goes from the top of the head all the way down the back).
2. Stitch a 1/2″ seam, backstitching at beginning and end and removing pins as you go.
3. Repeat steps 1-2 for liner fabric.
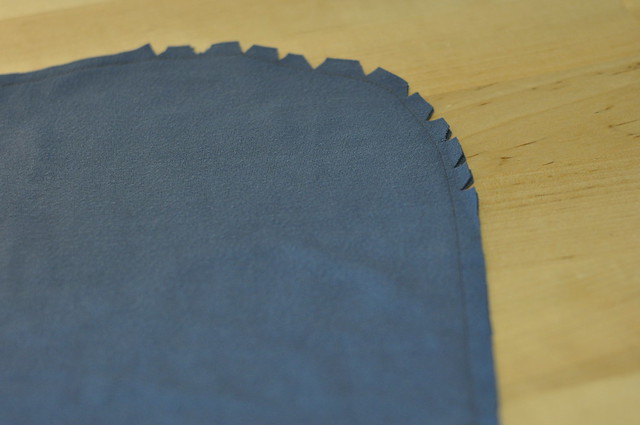
4. For outer and liner, trim seam to 1/4″ and clip notches along the curve.
5. Press seams open.
6. With right sides together, slide outer hood into hood liner; match center seams and pin together along “face edge” of hood.
7. Stitch a 1/2″ seam along the edge you have just pinned, backstitching at beginning and end and removing pins as you go.
(**Steps 8-10 are optional and a little fussy, but I think they really help the hood stay on the head!**)
8. Take your 3″ piece of elastic and mark the center.
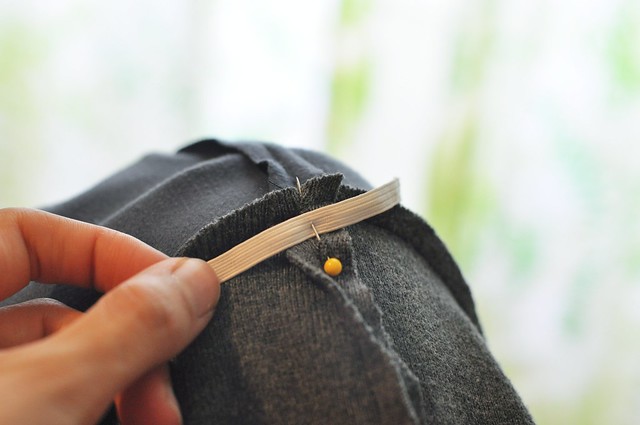
9. Spread the outer and liner of the hood open (I found this easiest to do over my knee) and pin the center of the elastic to the center seam of the liner fabric only. You want to position the elastic as close to the edge seam as possible (without crossing into the seam allowance)–you are going to enclose it within the topstitching.
10. Using a zigzag stitch, stretch and attach the elastic to the hood liner. I pull the first part of the elastic out about 2″ extra (or as far as it will go) and use my presser foot to catch it, then use my hands to stretch the elastic as I stitch. Make sure you are only stretching the elastic, not the fabric itself.
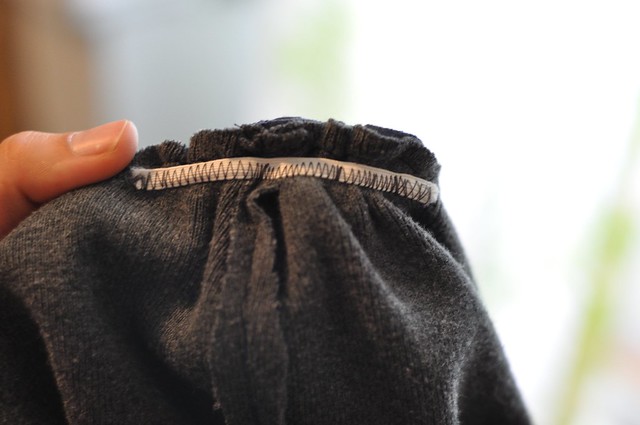
11. Turn the hood right side out and press.
12. Pin along the face edge again, making sure to match center seams. This is so the two layers won’t slip around while you are topstitching.
13. Topstitch along the face edge about 1/2 to 5/8″ in. from the edge. If you used elastic, sew carefully along that area, using your hands to keep the liner flat as you go (don’t stretch the hood fabric itself).
Attach the Hood to the Shirt
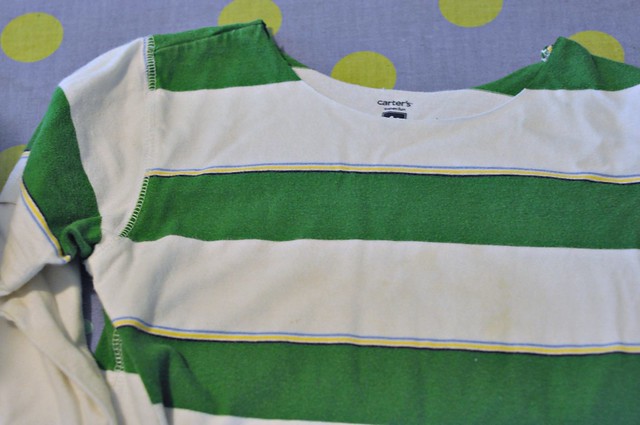
1. If you are using a premade shirt, you will probably want to remove the existing collar. Cut it away from the shirt closely and carefully.
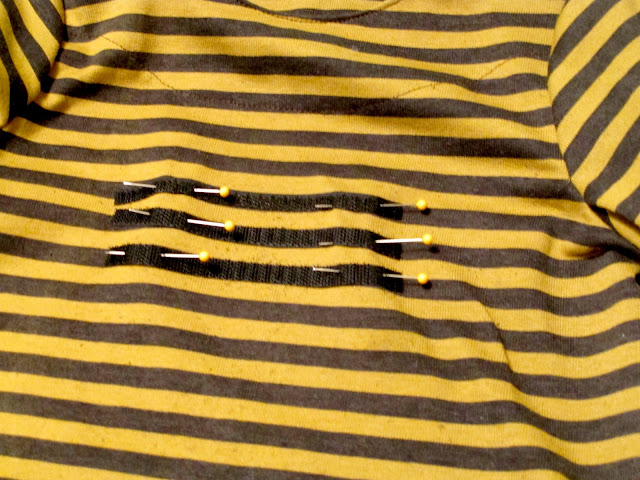
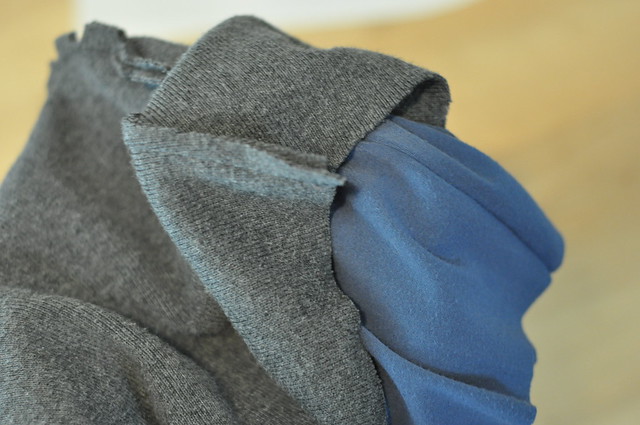
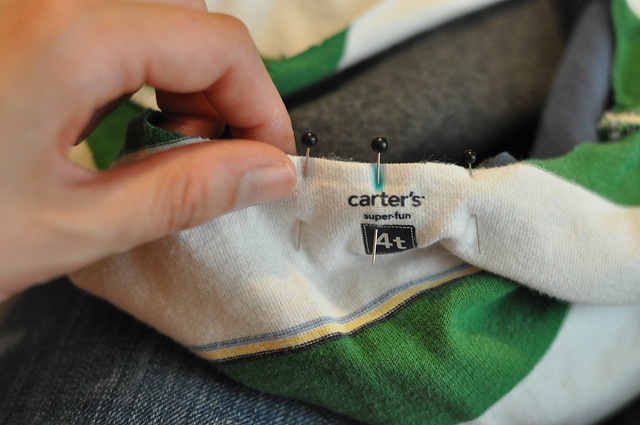
2. Fold your shirt in half longways and mark the center front and back of the raw collar. Use these points to guide you as you pin the hood to the shirt, right sides and raw edges together. Make sure the overlap or gap at the front lines up the way you want it to. (I pinned with the shirt inside out, so the hood is inside the shirt in this picture. It would have been easier, however, to turn the shirt right side out. I ended up doing that anyway before I sewed.)
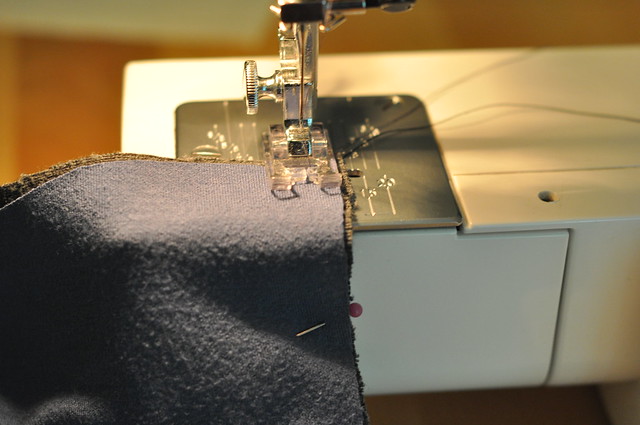
3. Stich all the way around the hood to attach it to the collar.
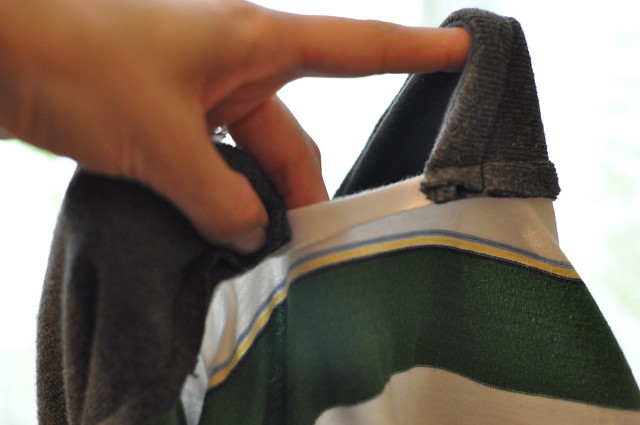
4. Turn the shirt right side out and check to make sure the hood looks ok! Then turn it inside out again.
5. To finish the inside, trim seam neatly and press toward bottom of shirt. Topstitch all the way around the collar within the seam allowance, catching the gap fabric (if you have a gap) to hem it as you go. (If you are the fancy type, you could also use twill tape or a serger to finish the seam.)
6. Admire your new hooded garment! I mean, your kid’s. Unless you cheated on kcwc and used this tutorial to make a hoodie for yourself, which would work, but would be highly, highly unethical. So don’t even think about it.


Mary Frances blogs bits of craft and life at this is marzipan. Come say hello!