Archive for the ‘food/recipes’ Category

smokey, roasted eggplant

two eggplants

I’ve never been a picky eater. Partly because picky eaters were not allowed in the house I grew up in and partly because there is just so much delicious food out there I don’t want to miss. But eggplant, well eggplant never did it for me.

eggplant before

I always looked at it as the vegetarian’s meat. And not being a vegetarian, I chose the actual meat. Eggplant sat there spongy and tasteless. Yes, eggplant parmesan is delicious, but if you accidentally breaded and fried your kitchen sponge, then doused it in tomato sauce, it might be delicious too.

eggplant after

This past year, I waged a food war with my pickiest eater, my youngest. I’m happy to say I won (and have been thinking of posting about it–would you be interested?) but part of the battle involved looking at the food I ate. Was I picky? I didn’t think so, but I had fallen into a food rut. I bought the same things every week, so we ate some variation of the same things every week.  I went out and bought 2 eggplants.

smoky, roasted eggplant

Then I had to figure out a way to cook them. I found a good recipe, messed with it a bit, and have made it at least ten times. I eat eggplant–willingly! This eggplant is smoky and bold, bright and fresh, a little winter-y and a little spring-y. It is lovely warm, but equally as good cold.  Can you tell I love it? I love it even more the next day with a fried egg on top.

egg and eggplant


smokey, roasted eggplant

adapted from this recipe on the kitchn

ingredients

  • 2 large eggplants
  • 1 tablespoon Kosher salt
  • 1/3 cup olive oil
  • 2 tablespoons cider vinegar
  • 2 teaspoon smoked paprika (don’t substitute regular paprika, go get the smoked stuff)
  • 1 teaspoon cumin
  • 1 tablespoon maple syrup (optional, but good)
  • 2 large garlic cloves
  • 1 cup flat parsley leaves, chopped
  • Juice of 1 lemon

directions

  1. Heat the oven to 375 degrees F
  2. Cut the eggplant into cubes (1 inch or so) and sprinkle with the salt
  3. Whisk the oil, vinegar, paprika, cumin, and maple syrup together
  4. Add the garlic and the eggplant.
  5. Mix everything up and spread it out on one sheet pant (it looks like a lot for one sheet pan, but the eggplant shrinks considerably)
  6. Put it in the oven for 1 hour–stirring now and then. Really it can stay in for even longer, it just gets better.
  7. When the eggplant is done, take it out and squeeze the juice of 1 lemon over the top.
  8. Stir in the parsley and eat!
 

kale and apple salad

kale and apple salad

When my kids ask me what’s for dinner and I tell them kale and apple salad is on the menu, they actually do a little dance. Crazy, right? I still can’t believe how much they love this salad. It is ridiculously simple and super healthy too. Doesn’t get better than that.

kale and apple salad

I think the appeal might have something to do with how I cut the kale. Big leaves of kale make your salad tough and chewy. But thin, noodle-y strips of kale make a light and crunchy salad. To do this, strip the kale leaves off the thick ribs and roll them into a long bundle (if it’s easier to handle, make two bundles). Cutting perpendicular to the bundle, with your sharpest knife, cut the kale into thin strips.

kale and apple salad

A grated apple and some vinegar-y dressing is all that is needed to finish this salad off.  I like my dressing to be almost equal parts vinegar and oil, which might sound a little strong, but works with a mild vinegar. Rice wine vinegar is my favorite, but either white wine or apple cider vinegar would work too. The vinegar also breaks down the kale a bit. It helps to massage the kale after you mix it with the dressing. I feel like a fool every time I do it, but don’t skip this step.  Massage your kale! Everyone needs a little love.

kale and apple salad

kale and apple salad

for the salad

  • one bunch kale
  • one tart apple (I like pink lady apples)

for the dressing

  • 2 Tbsp rice vinegar (or apple cider vinegar or white wine vinegar)
  • 3 Tbsp olive oil
  • salt & pepper


Mix up your dressing in a medium-sized bowl. Cut your kale in thin strips. Mix the kale with the dressing. Massage your kale! Grate an apple on top. Mix and serve. You can make the salad ahead of time, but don’t mix the apple in until right before you serve it. Enjoy!


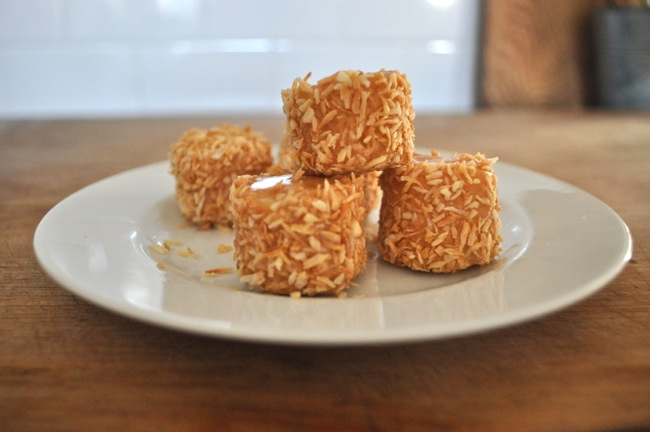
coconut banana bon-bons

coconut banana bon bons

I may have talked you in to making toasted coconut butter, but now you’re yelling, “Meg, what am I supposed to do with this stuff anyway?!” Besides eating it straight from the jar, which I find myself doing often, toasted coconut butter is lovely melted and stirred into oatmeal (with some chopped, dried mango sprinkled on top); made into a PB&TCB; melted, swirled into yogurt, and poured on top of pancakes; or added to a coconut based curry to deepen the flavor. But my favorite way to eat toasted coconut butter is in bon-bon form.

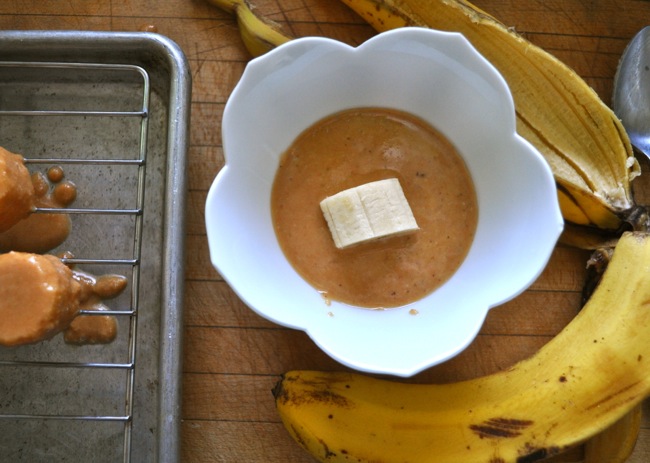
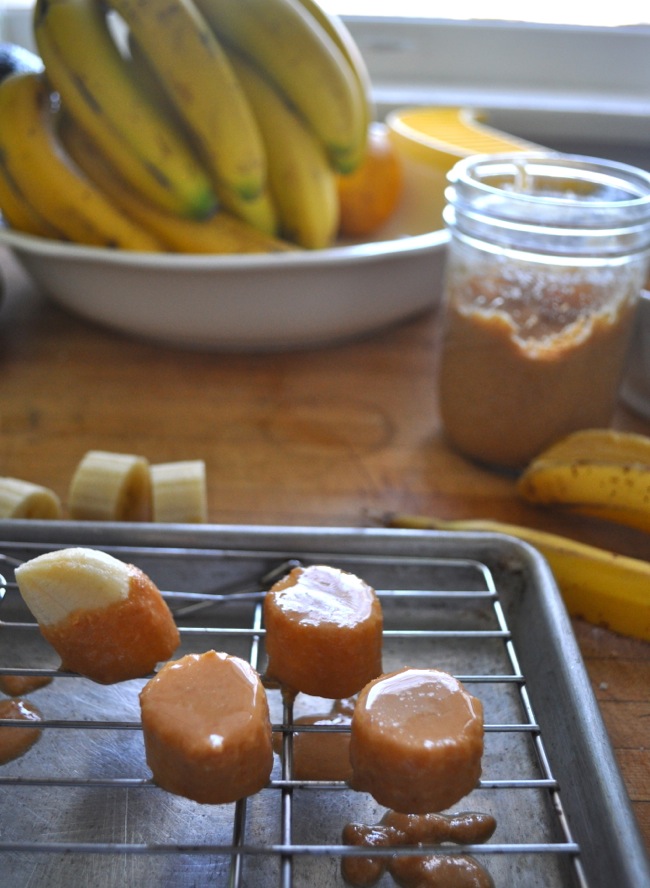
bananas dipped in toasted coconut butter

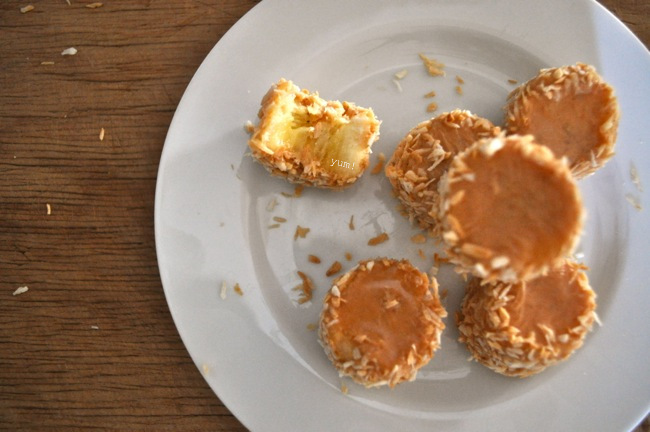
coconut banana bon bons

gluten free, dairy free, sugar free, but oh so good

ingredients:

  • 1 or 2 bananas
  • 1/2 cup or so toasted coconut butter
  • 1/4 cup toasted coconut (optional)


bananas dipped in toasted coconut butter

directions:

  1. melt the toasted coconut butter in the microwave at half power (or if you don’t have a microwave, in a double boiler) 
  2. slice the bananas into thick 1 to 2 inch pieces
  3. roll the bananas in the melted coconut butter and place on a cooling rack to let the excess drip off. 
  4. for an extra thick coating of coconut butter, wait until the first coat is hardened (or pop in the freezer for a few minutes to speed up the process) then dip again
  5. before the coconut has set up, roll the edges in toasted coconut
  6. eat immediately!


coconut banana bon bons

The kids are crazy for these! My youngest asks to make them almost everyday. Even though he is only 3, he probably could make them himself at this point!

Do tell me if you make them. I’d love to know what you think!

toasted coconut butter

a jar of homemade toasted coconut butter

Thank you, everyone for all the emails and comments after my last post! One of the things you want more of is food and recipe posts. And I do too! I am a little insecure about my food photography skills especially when there are so many drop dead gorgeous food blog out there, but that is a silly reason not to share the awesome recipes I’ve found with you. I also wonder if you will find the recipes I like awesome, because I’ve adopted a rather odd way of eating–no, not with my toes. Last year I stopped eating gluten and felt so great I soon forced my whole family over to the gluten-free/dark side.  Slowly I stopped eating legumes and most grains too and one of my new year’s resolutions was to cut out sugar from my diet. Wow, could I be more unfun?

toasting the coconut

I feel like I have to confess this all to you because the recipes I make are sometimes odd. Even if I don’t eat a lot of what is normal, the food I eat is always delicious! This recipe for toasted coconut butter proves my point (I think, I hope). I never knew coconut butter existed before last year. It’s a lot like nut butters, super delicious but more savory and crazy expensive ($15 a jar!). Toasting the coconut brings out a nutty sweetness and grinding it yourself brings the price down (~$5 a jar). All these dietary confessions are making me hungry–I think I might go scrape the last bit of toasted coconut butter out of that jar up there–and you need to go make some!

toasted coconut butter

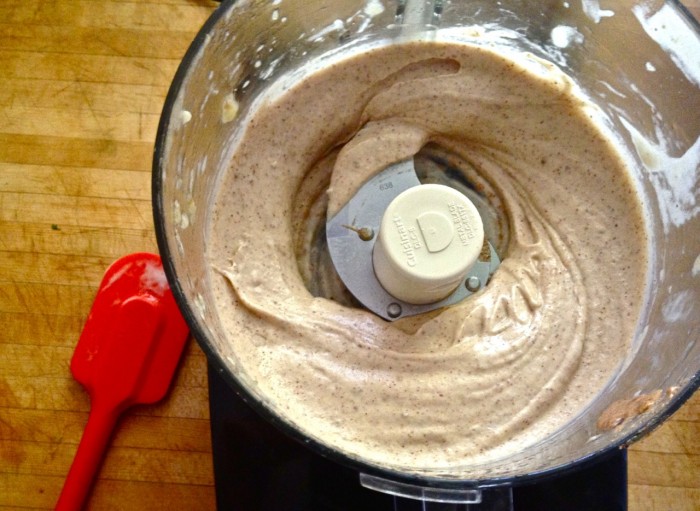
making toasted coconut butter

ingredients:

  • 16 oz unsweetened, shredded coconut
  • a pinch of salt

directions:

  1. Heat the oven to 325 degrees
  2. Spread the coconut out on a cookie sheet and put in the oven for 10-12 minutes. Taking it out after 5 minutes to stir the coconut, so it toasts evenly.
  3. Let the coconut cool (at least 10 minutes, but longer is fine)
  4. Put the coconut and salt in your food processor or high-powered blender.
  5. Buzz, whiz, chop, whatever the verb is, for 5 minutes. The coconut will get clumpy at first, then slowly turn more smooth and liquid-y. Be sure to scrape down the sides with a rubber spatula a few times, so all the coconut turns into coconut butter.
  6. Pour into a jar and store in the cupboard.

a word about texture

Coconut butter is weird. It is liquid when it’s warm (and when you make it fresh) and very solid below 70 degrees F (20 C). Think of coconut butter like you on a tropical island: totally relaxed when it’s over 80 degrees F, but uptight and pissy when it falls below 70 degrees F. So be sure to store your coconut butter in the cupboard. because it will turn into cement in the fridge. To eat it you can warm the whole jar in a hot water bath or heat a bit up in the microwave (30 seconds at 50% power–it burns easily!). What to eat it with, you ask? I have a delicious recipe coming up on Monday, so you’ll have to eat it straight from the jar until then!

room temperature toasted coconut butter

variations:

quick disclaimer: I haven’t tried any of these, but really you can’t go wrong adding sugar and nuts or chocolate to pretty much anything.

maple pecan coconut butter:

follow the recipe above, but toast 1 cup pecans at the same time as the coconut (on a separate pan), then grind both the nuts and coconut together. When all is mixed up and smooth, add 1/4 cup real maple syrup.

honey cashew coconut:

same as the maple pecan, but use honey and cashews instead!

chocolate coconut swirl:

after everything is smooth, swirl in 4 oz. melted dark chocolate. It’s like a grown up Goobers.

coconut caramel butter:

okay, this one might be a little much, but I think a mixture of  1 part dulce de leche and 1 part coconut butter would be pretty freakin amazing. Oh look, I have a recipe for dulce de leche right here.


summer journal: banana ice cream

cutting bananas

I could have called this post, Sugar Free! Grain Free! Gluten Free! Vegan! All Natural! Possibly Organic! Ice Cream! Because this ice cream is actually all of those things.  If you take all the exclamation points away though this ice cream is frozen bananas in your blender.  And frozen bananas in your blender makes some seriously awesome ice cream! Damn another exclamation point snuck in there.

bananas + almond butter

Banana ice cream is so dead easy, you really don’t need a recipe, but this is how it goes. Peel a banana (or 10), cut it (or don’t), put it in the freezer. Then go about your day. When you remember there are bananas in your freezer, take them out and put them in your food processor (or blender). Push the button. 5 minutes later you will have something very much like ice cream. You can also add a few tablespoons of peanut butter–which is delicious–or a handful of frozen berries, or really anything your little heart desires: chopped nuts, chocolate chips, pretzels, granola.

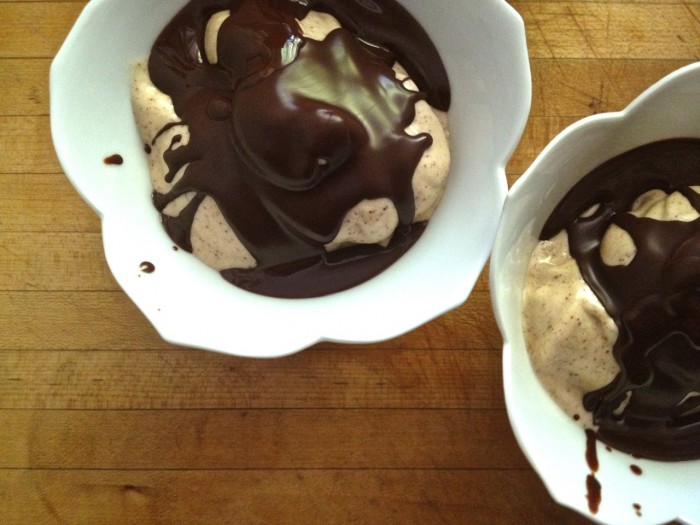
banana ice cream with homemade magic shell

Every time we make it (and we make it a lot) it’s different. Last night we mixed in almond butter and made some Magic Shell to go on top. Do you remember magic shell? I was crazy for the stuff when I was a kid. I don’t know how I got my mother to buy it–I must have somehow snuck it into our grocery cart. It seems odd and chemically and not at all natural, right? Actually you can make it with two things: chocolate and coconut oil. I melted a bar of dark chocolate, which is about 4 oz, and added 2 tablespoons coconut oil. Mix until everything is smooth and melty. You are now the most awesome mom in the world (until you tell them it’s time for bed).

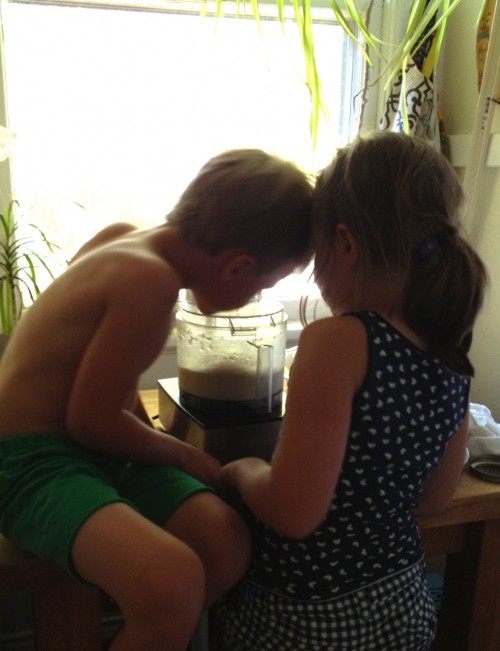
making banana ice cream

One more thing: don’t store your magic shell in the fridge or it will magically turn hard as a rock.